|
|
Post by Art Laski on Dec 25, 2019 1:45:57 GMT -5
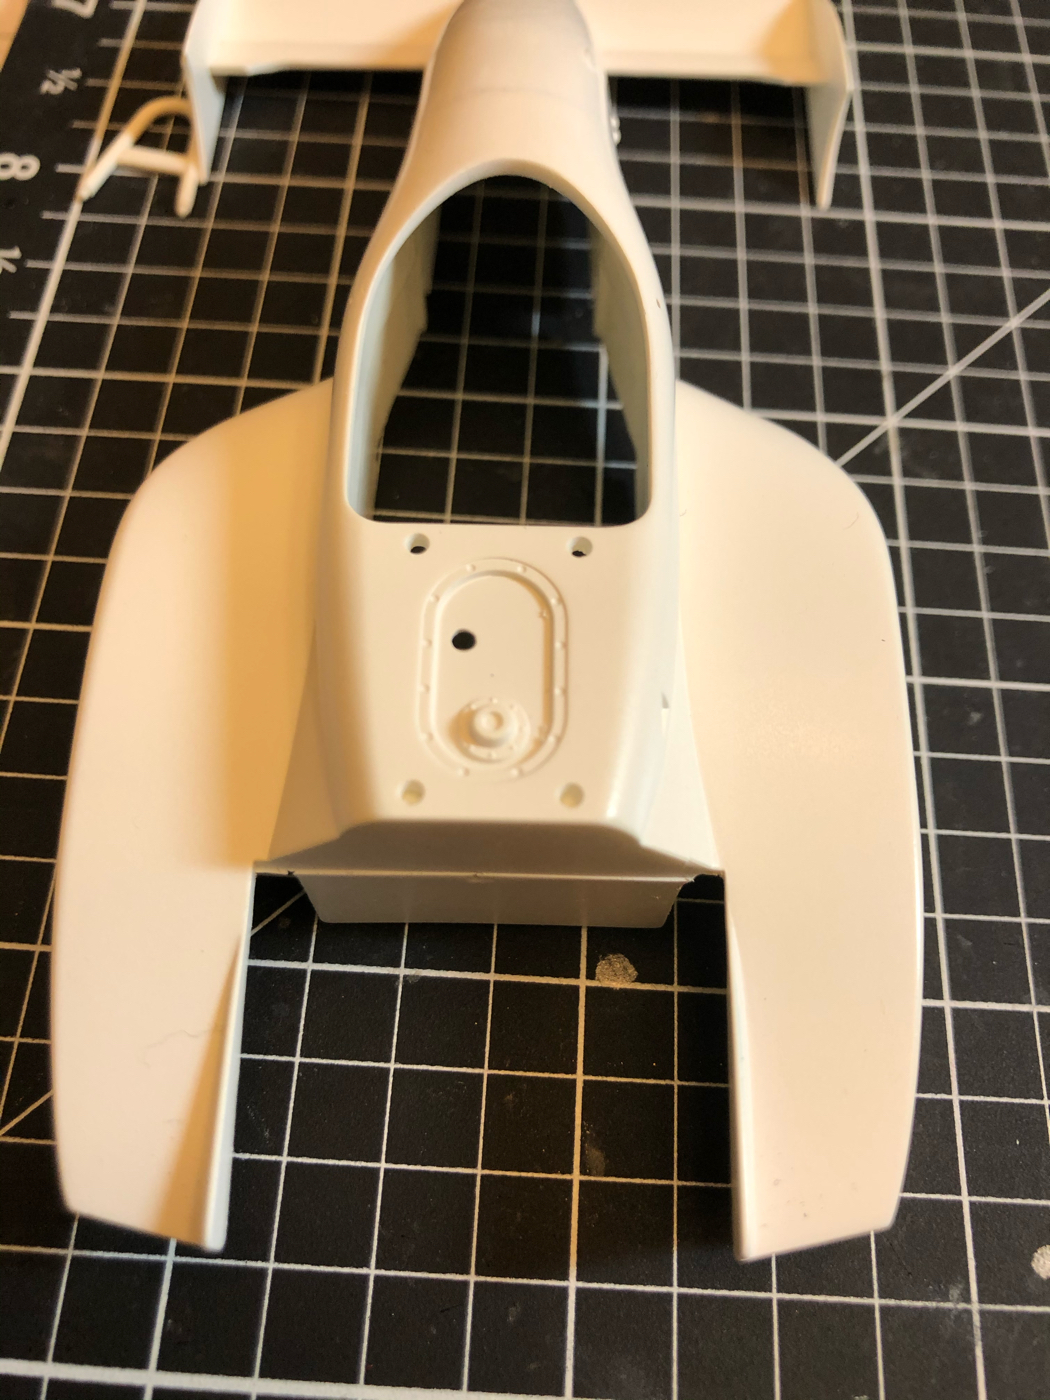
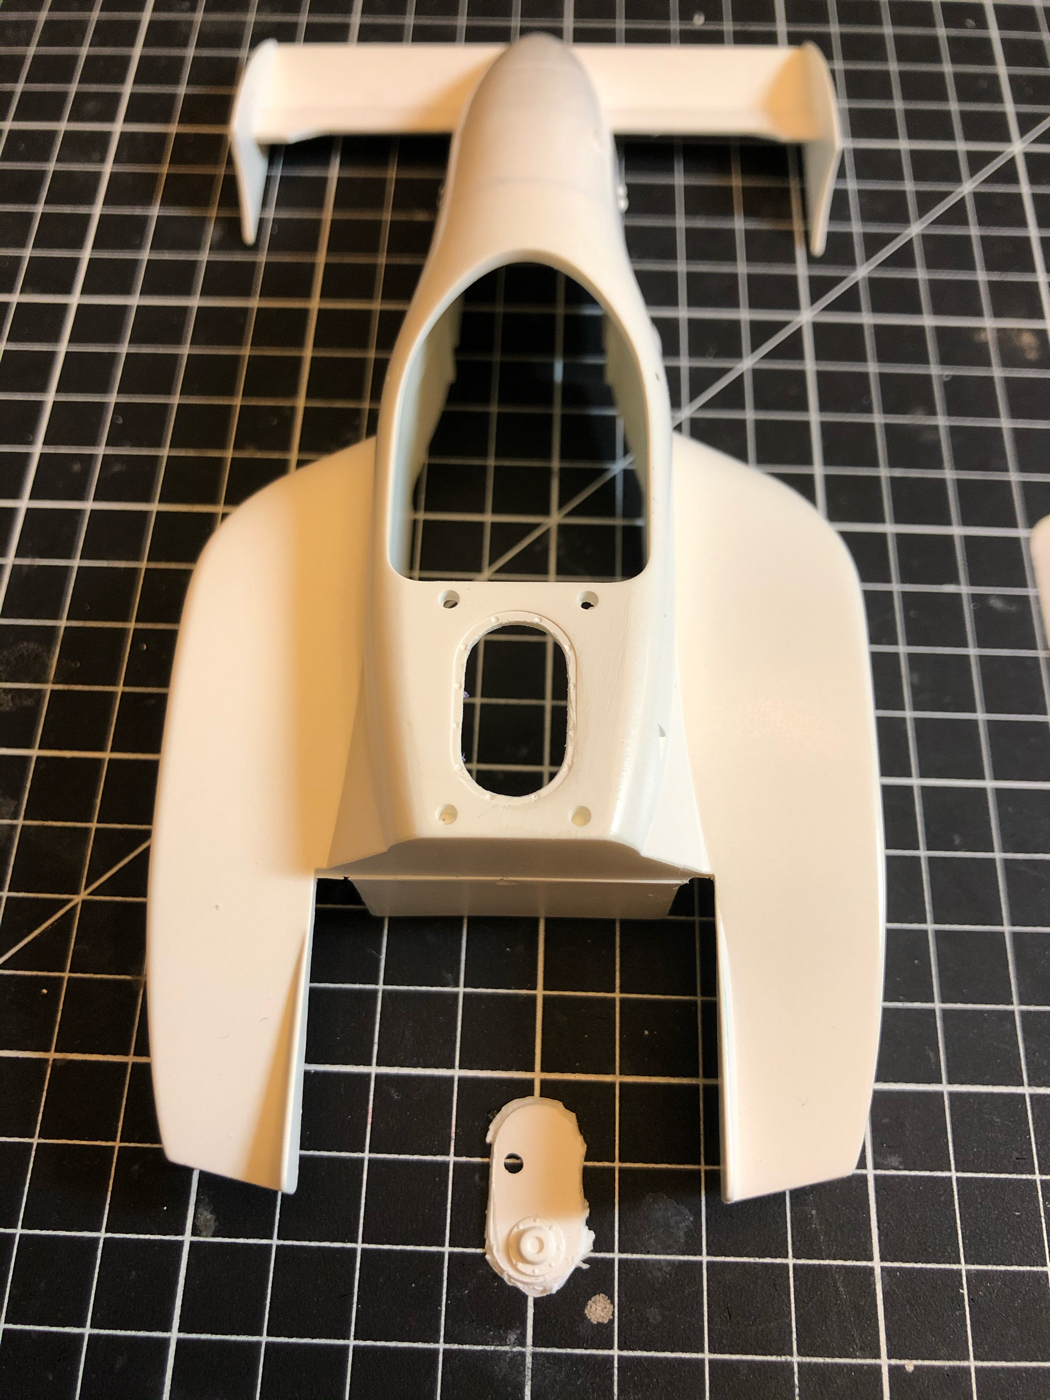
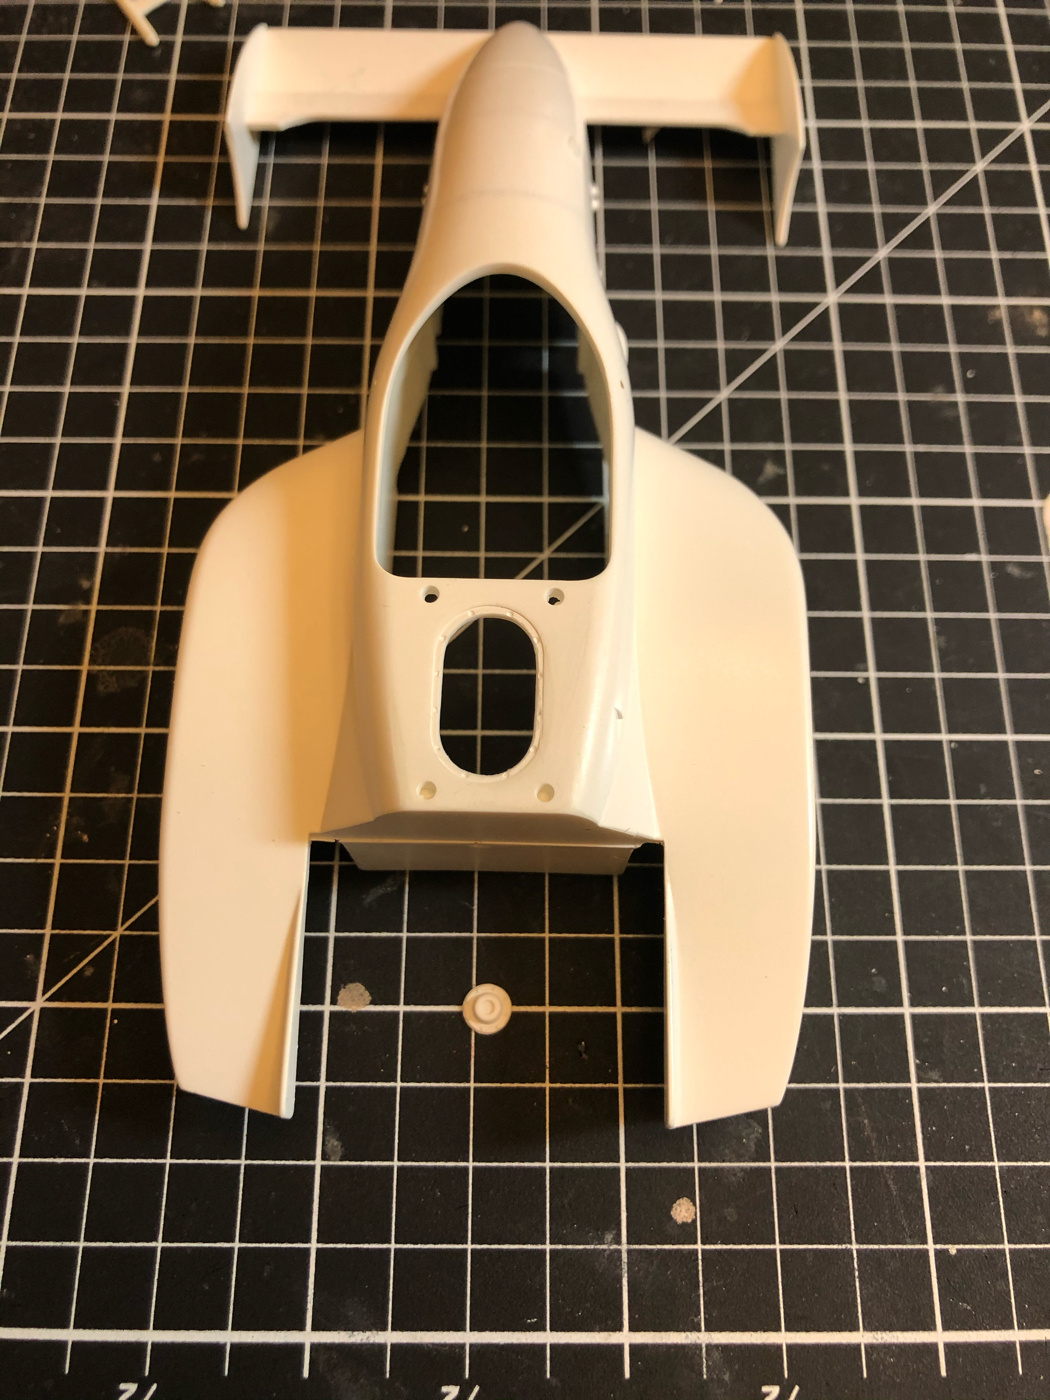
It's been a while since I've built a model for myself, and haven't finished a build in over a year. So I decided to try and complete a kit I started cleaning up about a year ago, but never got started on in earnest. It's a long out of production kit from Modeler's in Japan, and I really like the detail out of the box. I'll just be making a few mods, but not much on this one, since my goal is to complete it for NNL West in January. Here's the box of the kit. There are a few variations of this kit, and I have two of them. I really liked the Marlb0r0 livery on this one. I had some Gravity paint I bought for another build that I'll be trying for the first time, including the White, Flo Red, and their clear system. 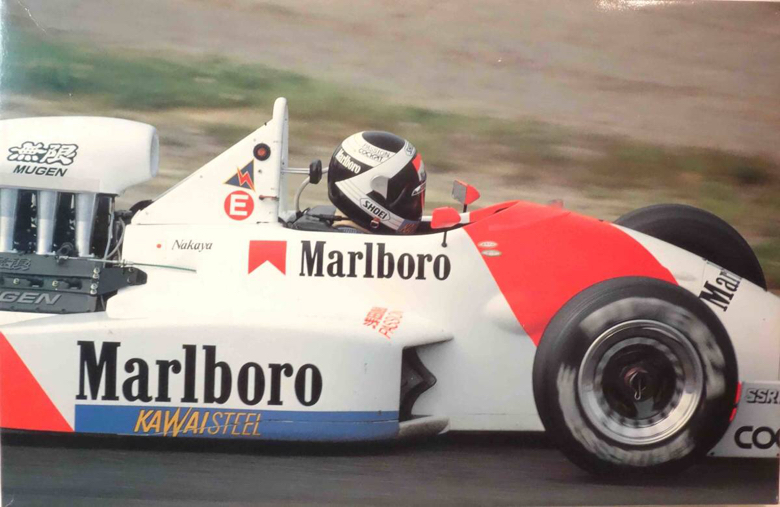 These are my humble beginnings. I'm going to add a little detail to the shifter. It may not be the best use of my time, but it seemed like an easy upgrade, so I started by removing the molded-in shifter rod. 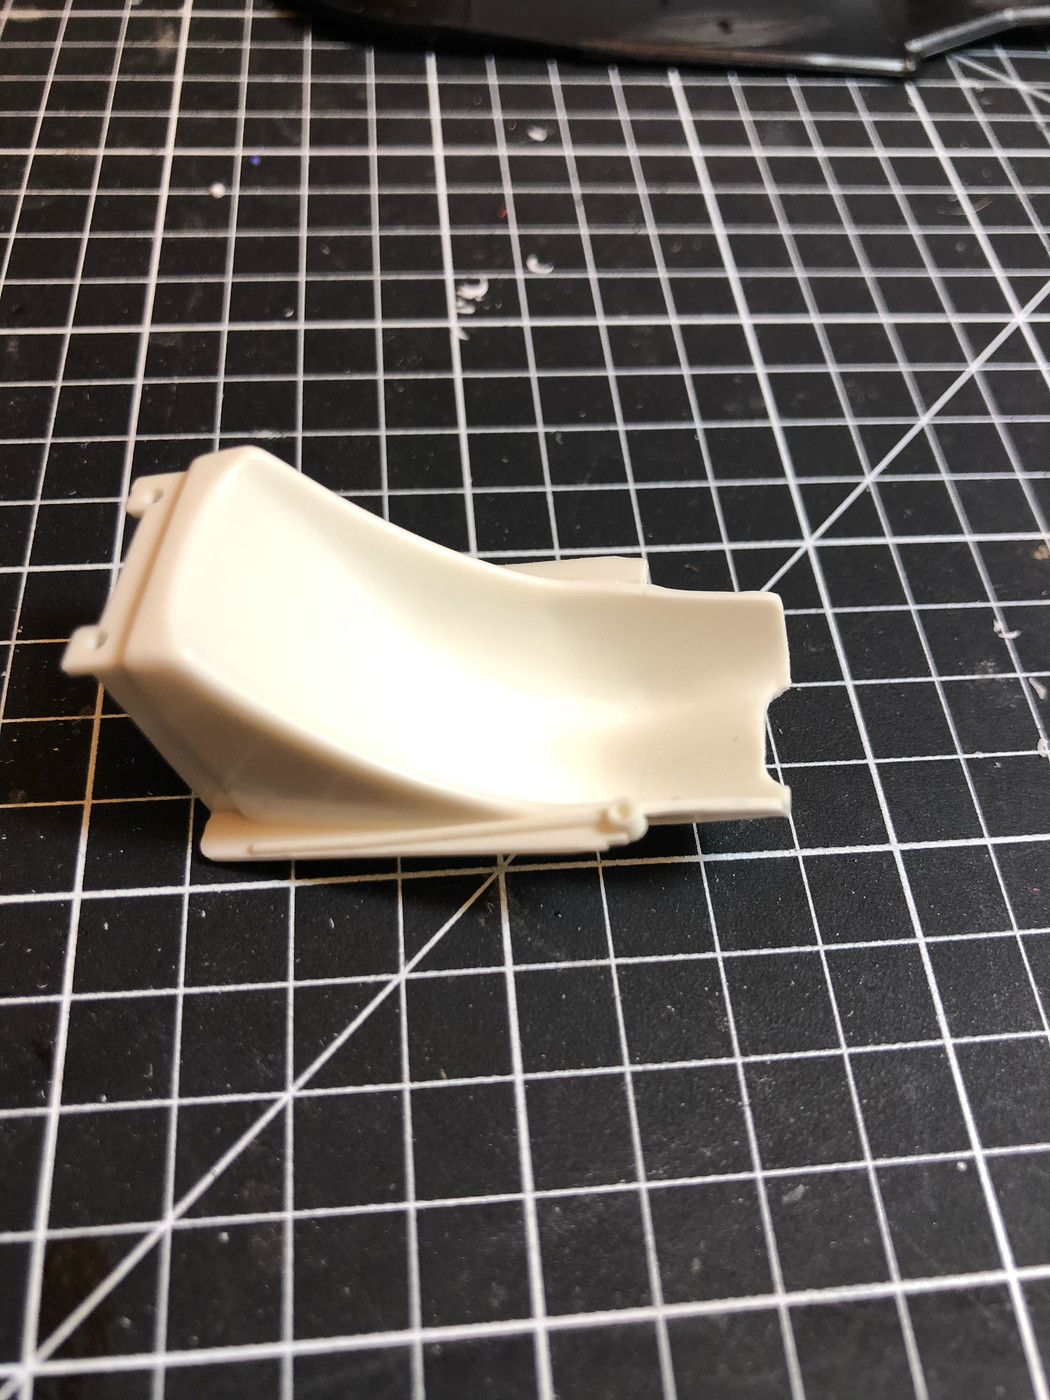 ![]() images40.fotki.com/v719/photos/9/1464279/16203792/1577250230857-vi.jpg images40.fotki.com/v719/photos/9/1464279/16203792/1577250230857-vi.jpg![]() My start on the engine block. I tried a couple of different Alclad aluminum shades until I found what I was looking for. I think I ended up with Dark Aluminum, but it had a sheen I didn't like, so I hit it with some flat lacquer. I then used some Tamiya black and gray panel line wash mixed together to try to bring out some of the detail. It's not all that visible in this pic, though. I used Testors Titanium Metalizer on the cam covers. 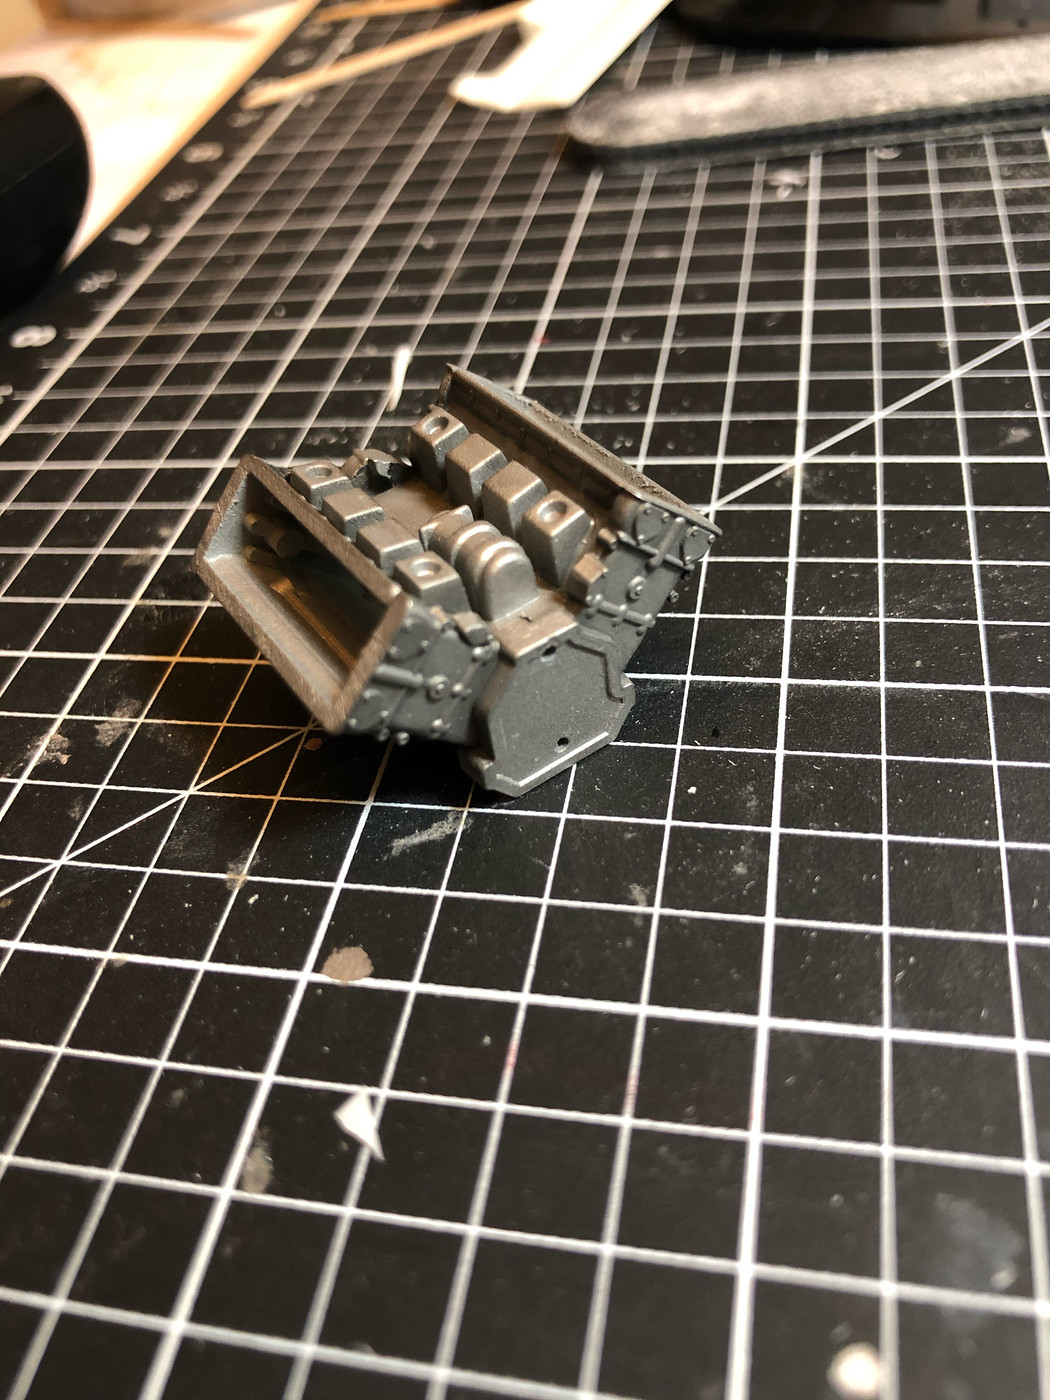 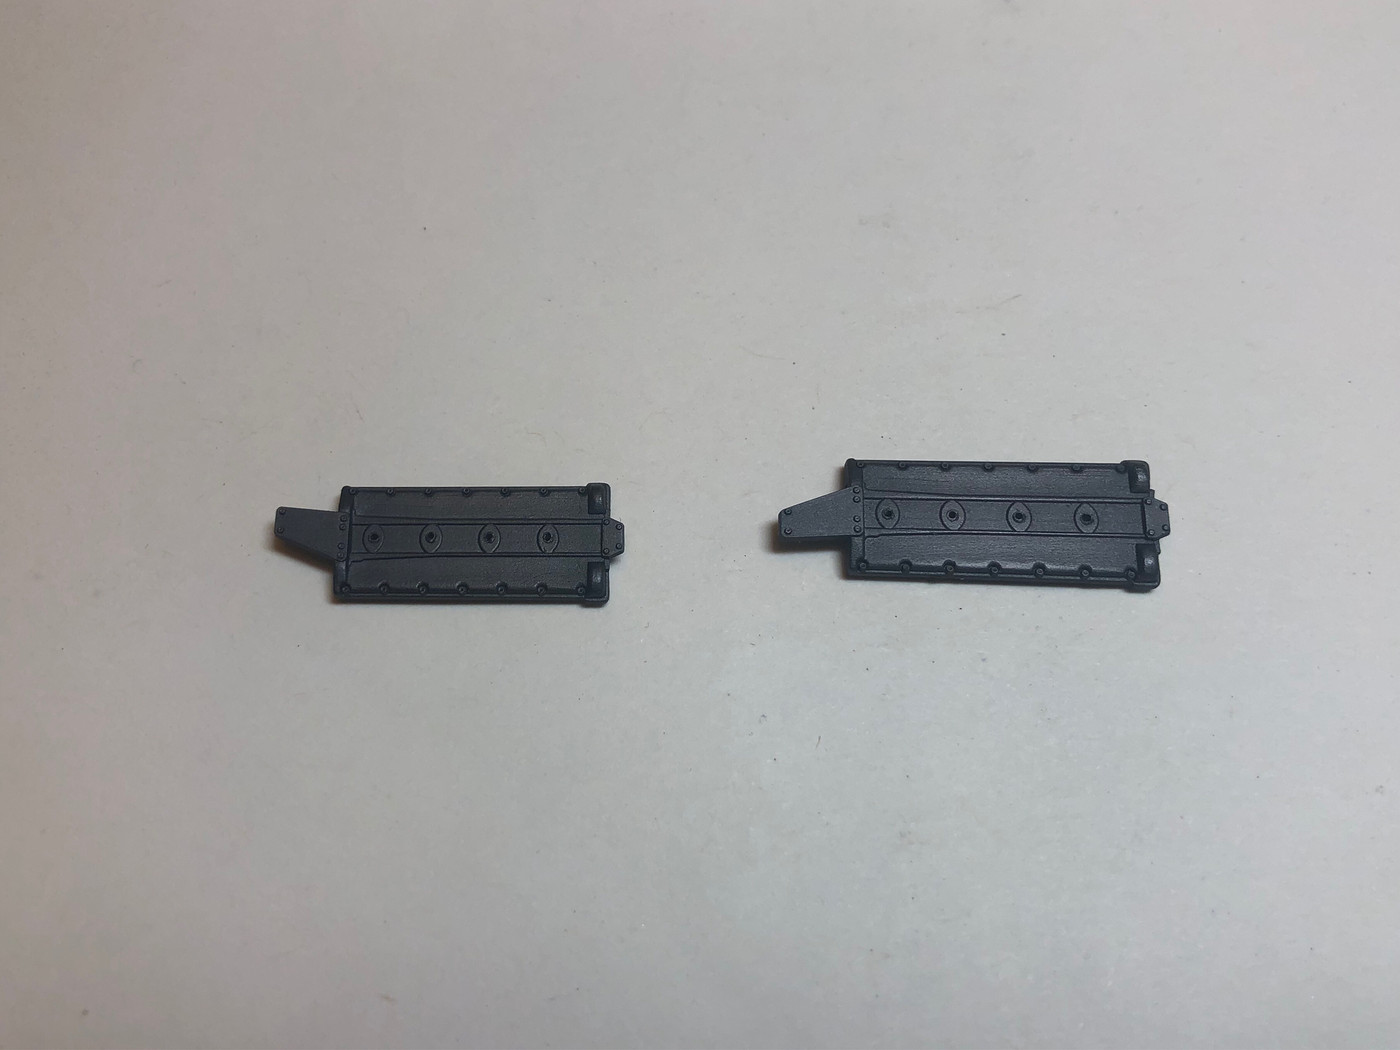 All for now, but more soon. Thanks for looking! |
|
|
|
Post by illeagle10 on Dec 26, 2019 6:44:15 GMT -5
Good to see you back at it Art!
Jim
|
|
|
|
Post by Art Laski on Jan 21, 2020 21:08:37 GMT -5
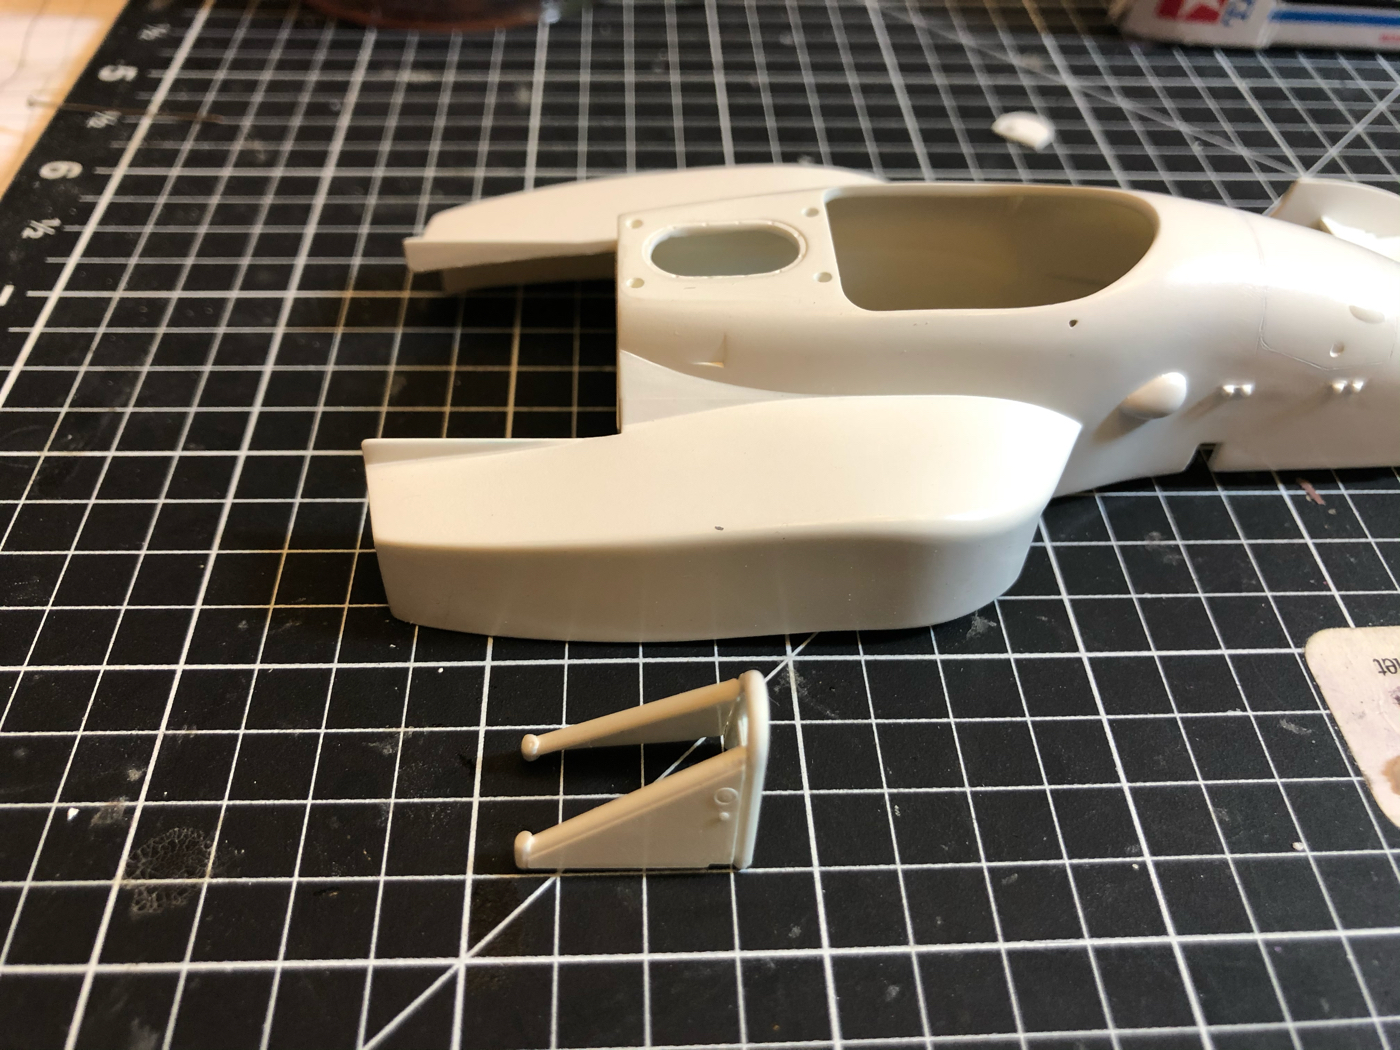
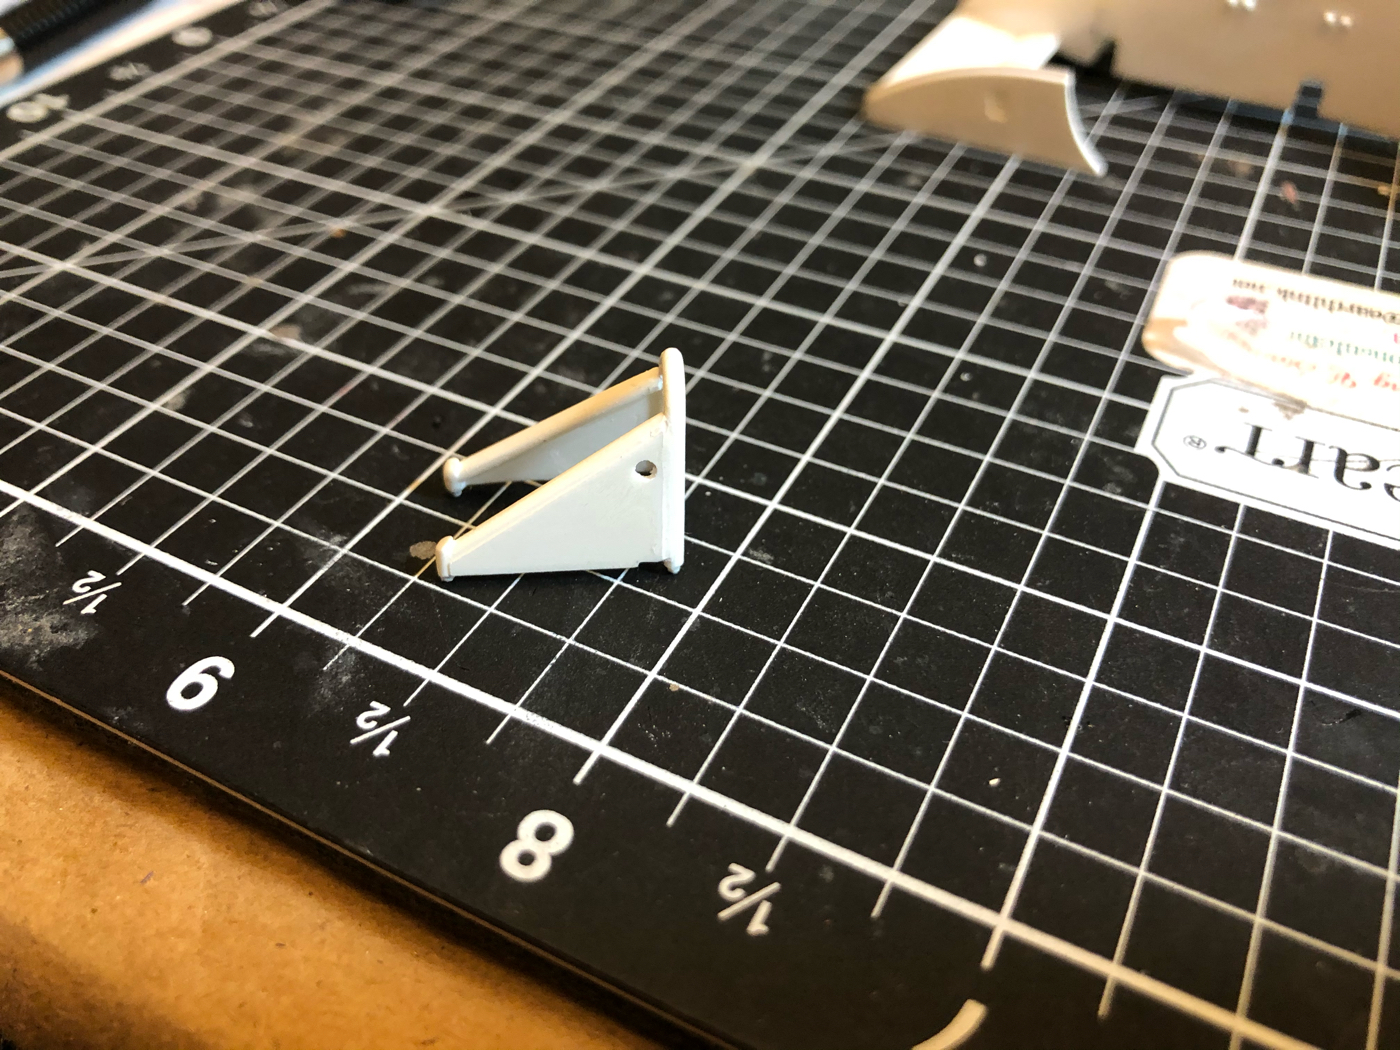
Thanks, Jim! I was able to get some other things off my bench and squeeze in some time to make some progress on this one. I was hoping to get it done in time for NNL West, but I need at least another week. That, or ignore EVERYTHING else, but I don't have that luxury! Started on the transmission/rear suspension first, per the instructions. The rear brake ducts were not open, so I corrected that. 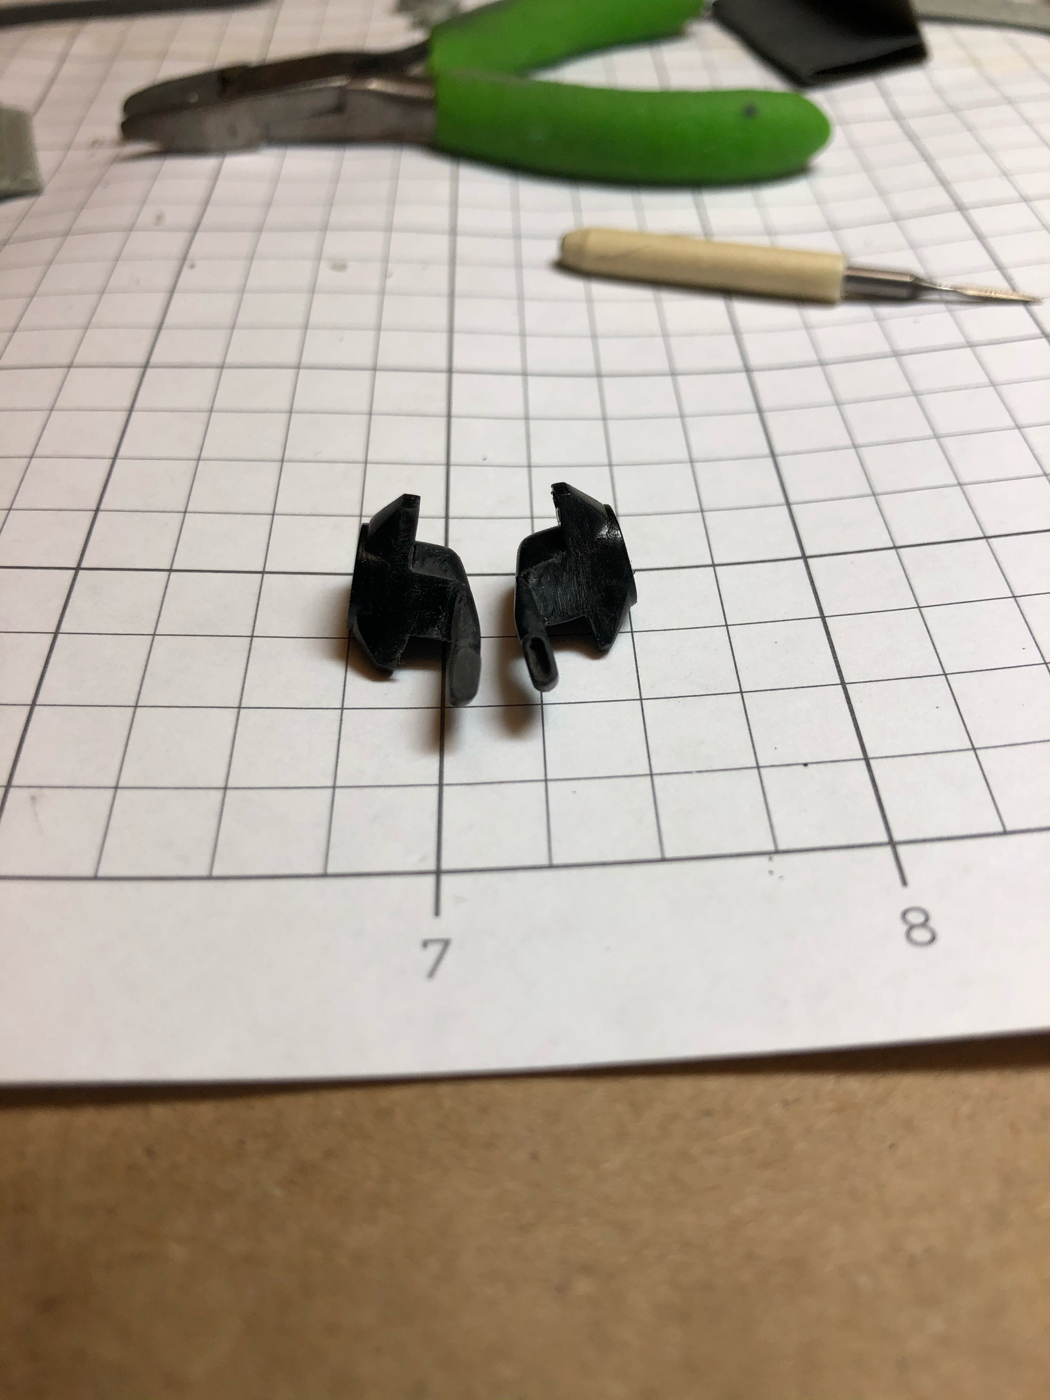 I wasn't sure if I was going to do this or not, because the molded rear springs were pretty good for what they were, but I went for it and used real springs and aluminum shocks. Kit piece on the right, modified version on the left. 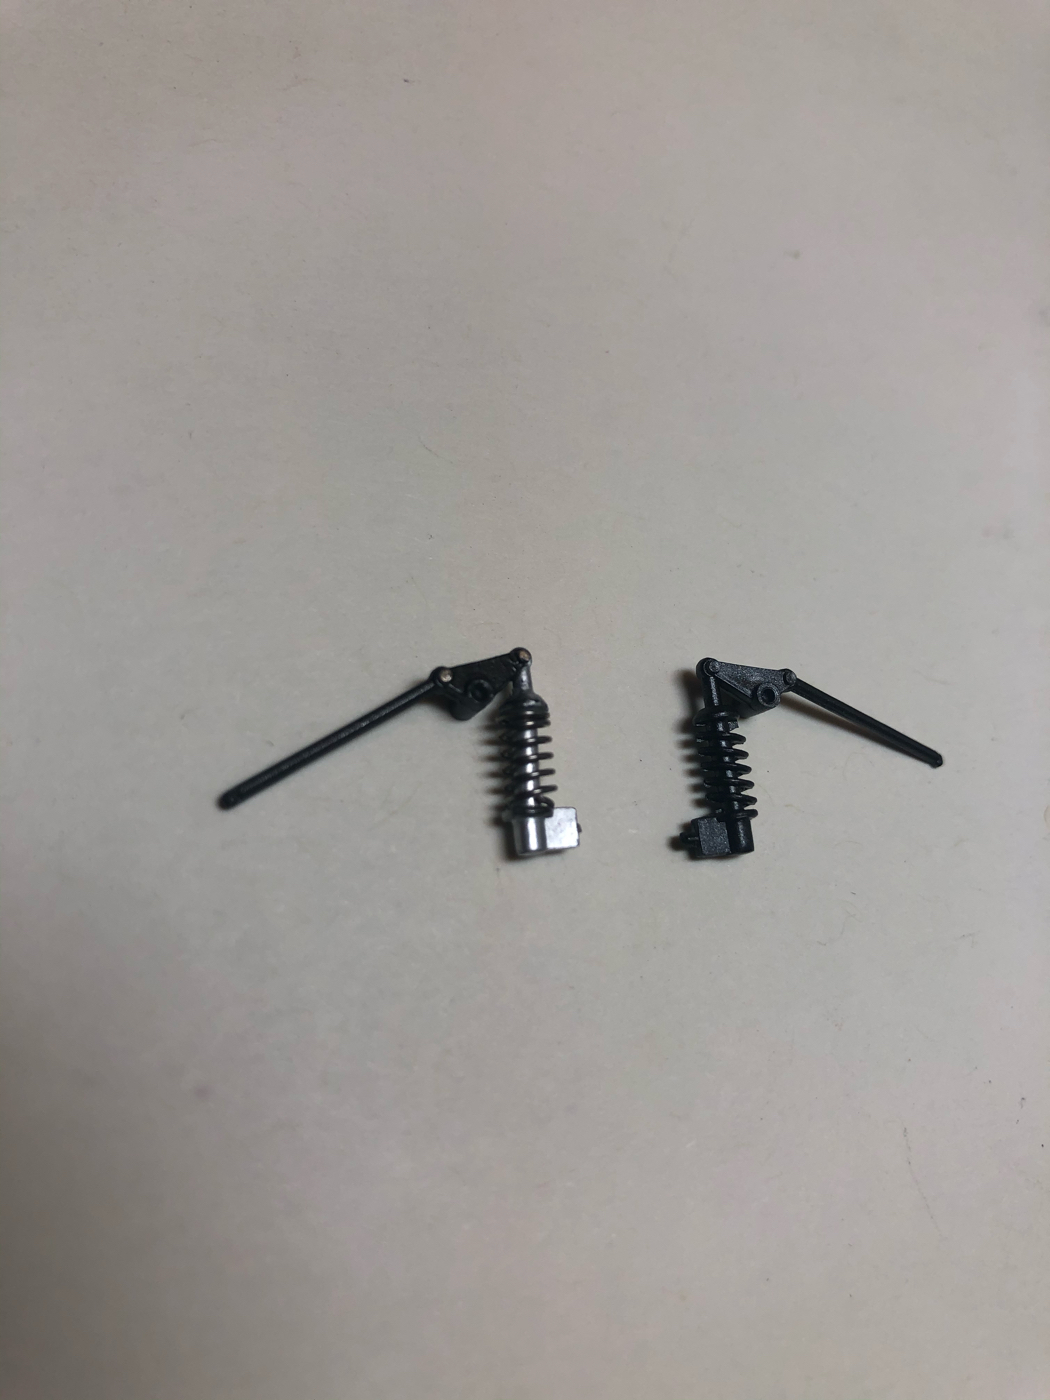  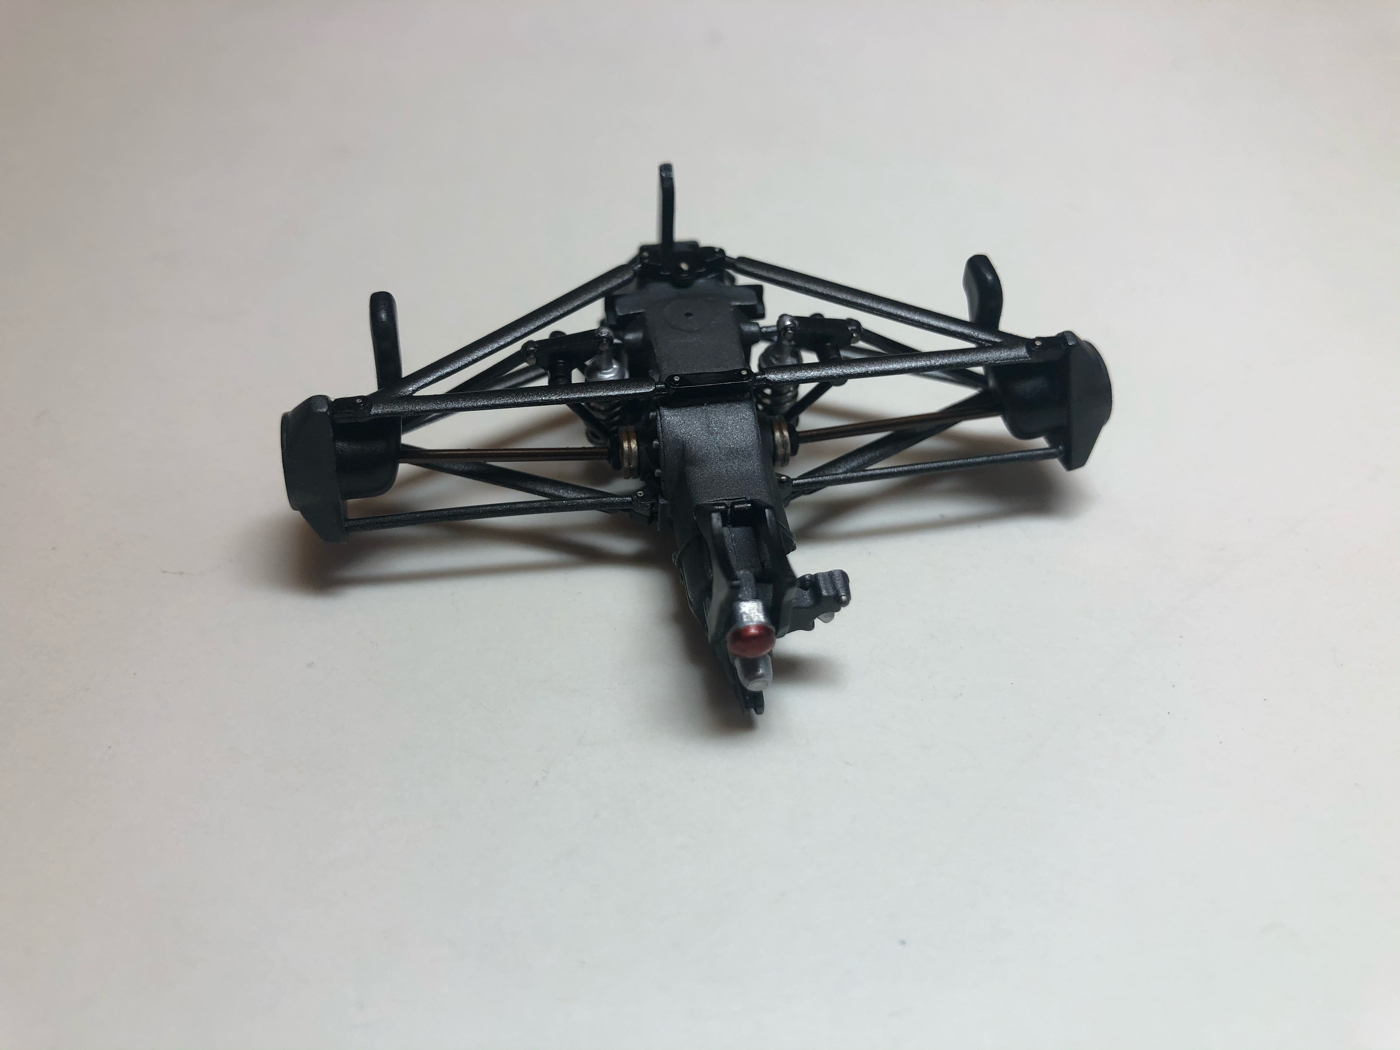 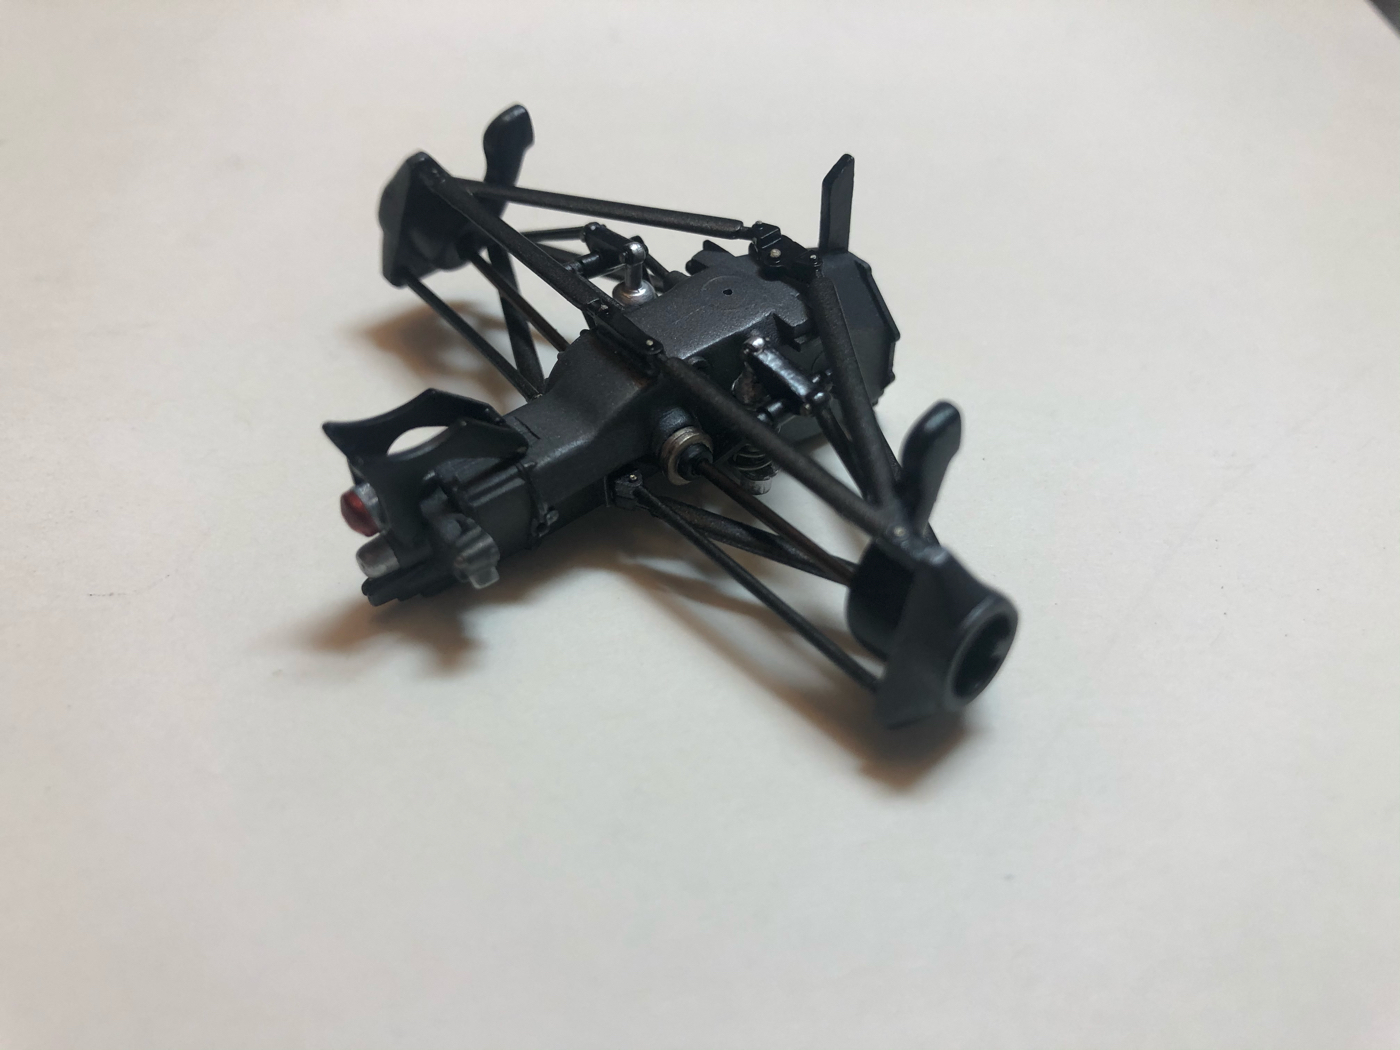 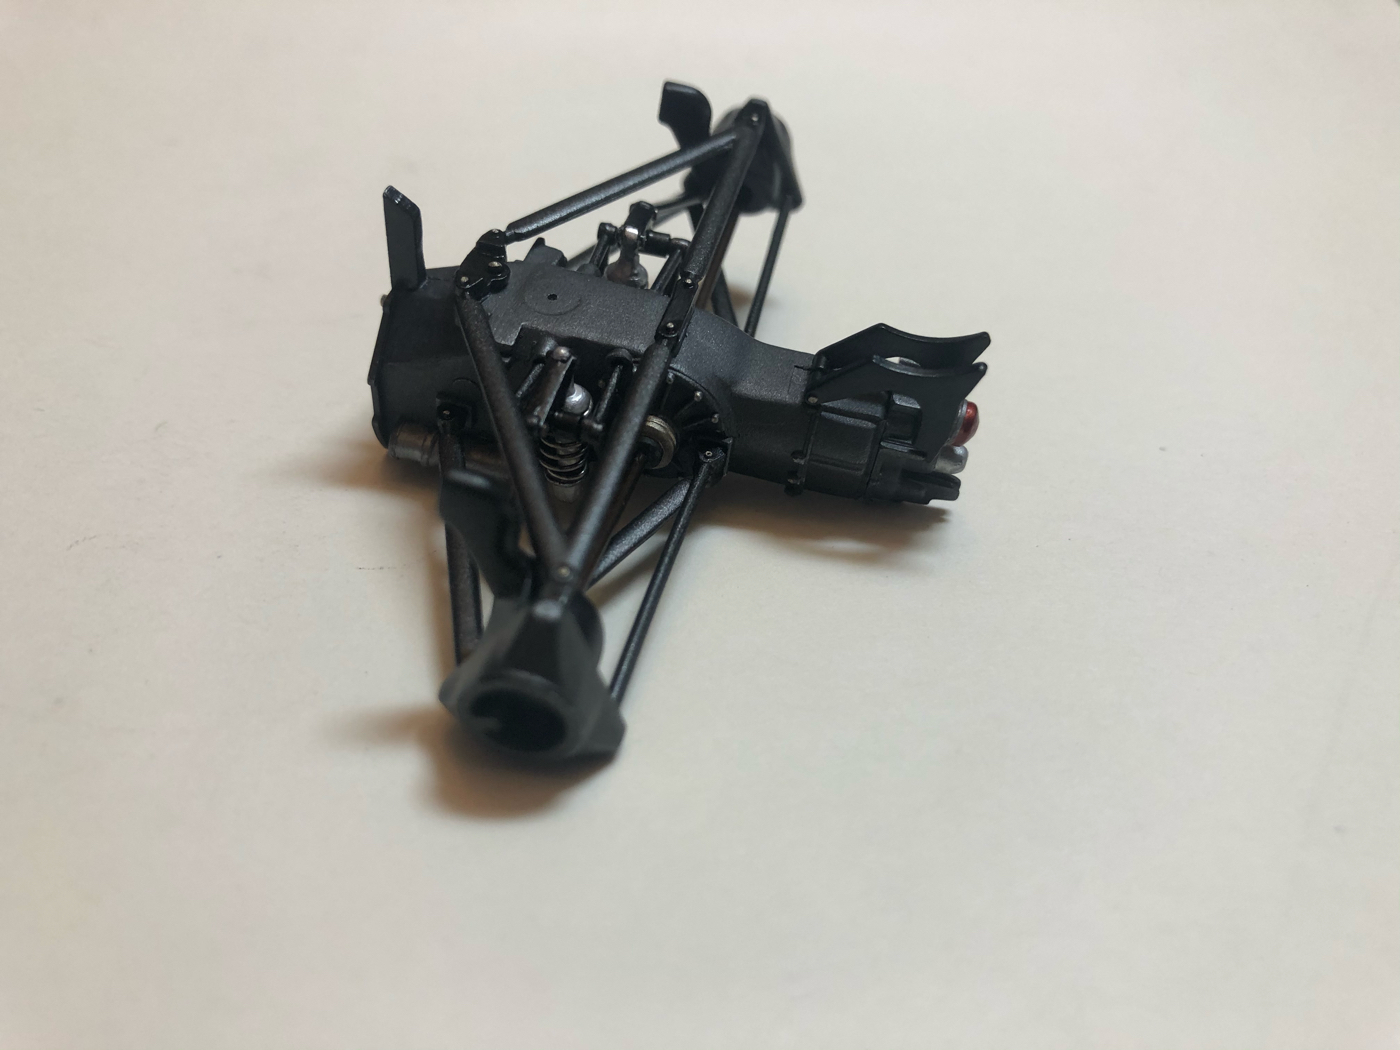 More soon! |
|
|
|
Post by Dan Belcher on Jan 21, 2020 22:18:16 GMT -5
Nice detailing work! Those little things really add up.
|
|
|
|
Post by illeagle10 on Jan 22, 2020 11:42:17 GMT -5
Great work as always Art!
Jim
|
|
|
|
Post by Art Laski on Jan 22, 2020 12:37:50 GMT -5
Dan and Jim, thanks for the comments! Did some of the work on the engine... 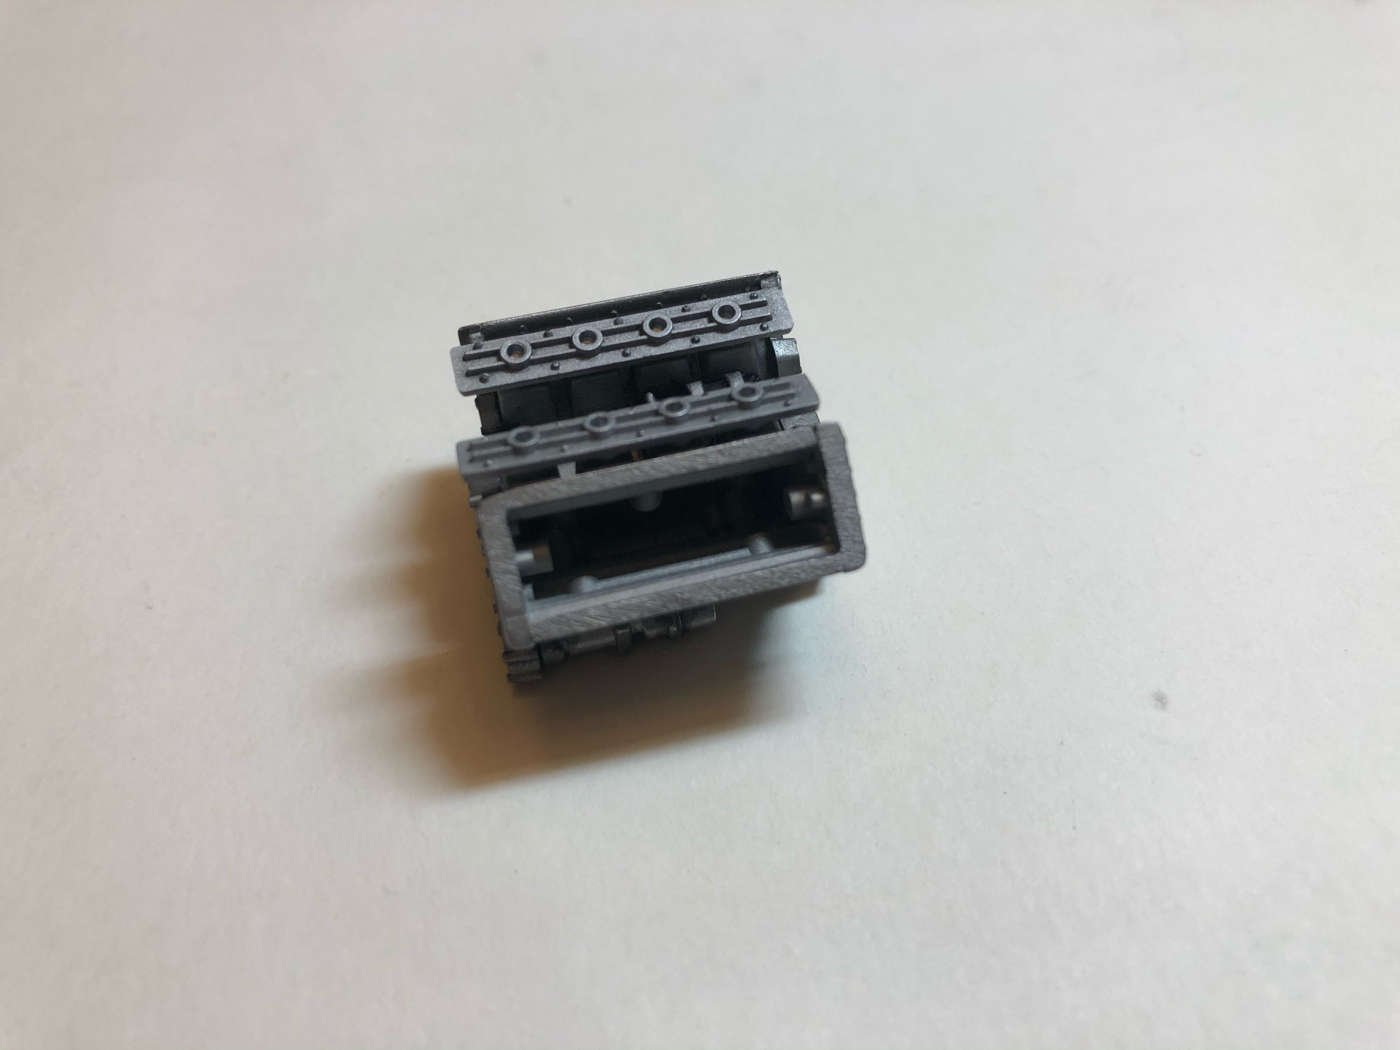  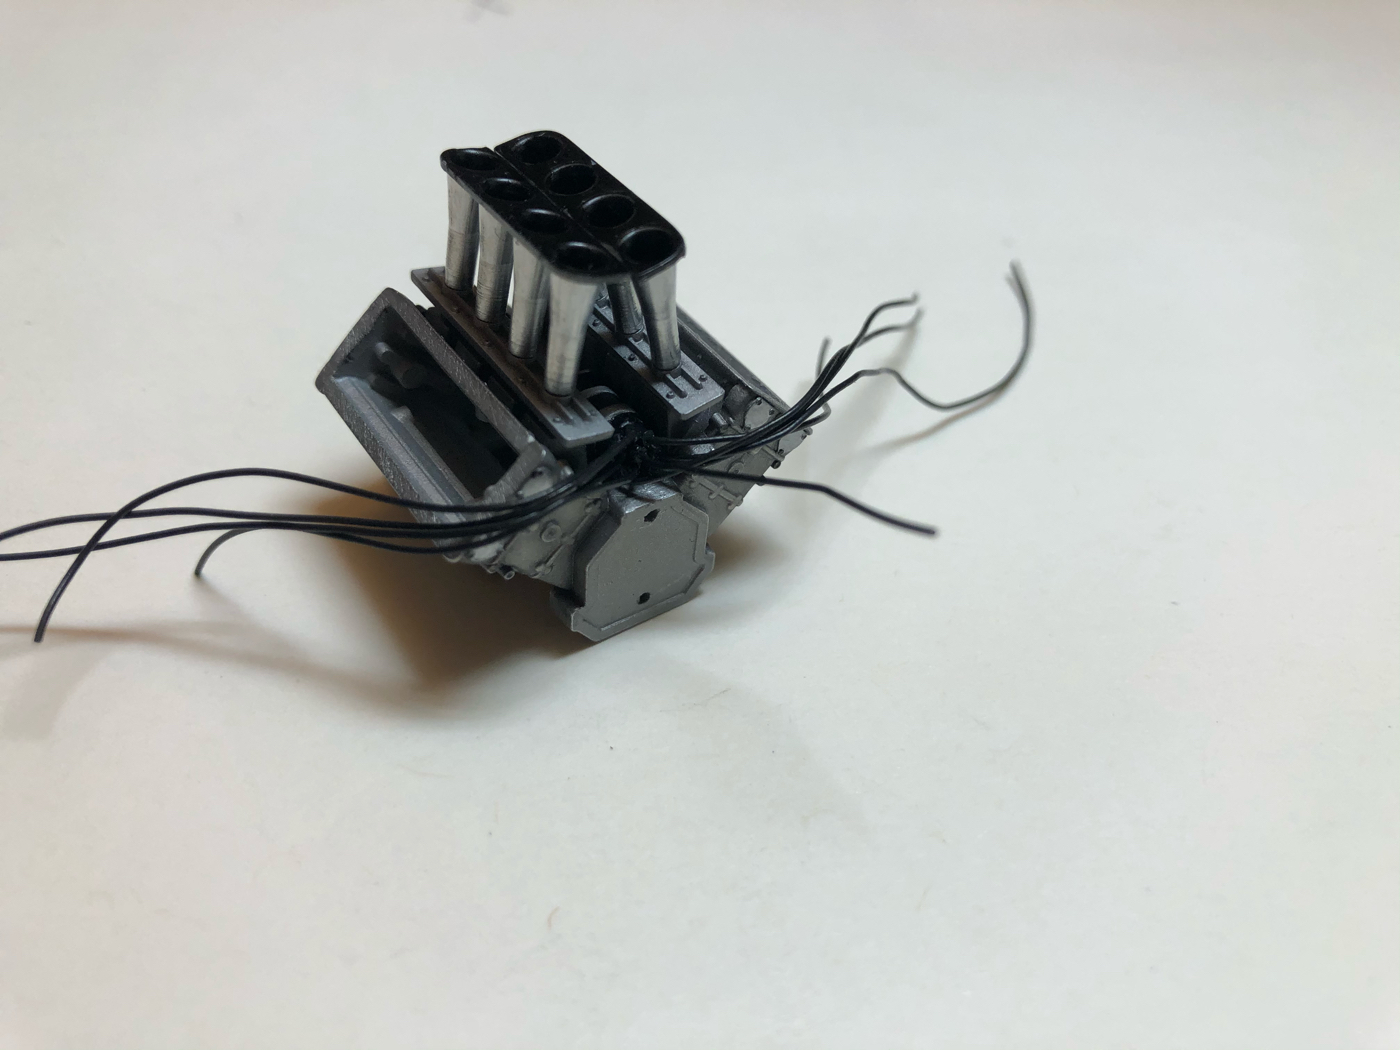 The heads go on after the engine is in the car, so I detailed them and added the plug wire boots to finish wiring it up once installed. Pro Tech .20 photo etch nut and bolt heads worked great on this. Available at scaleproshop.com  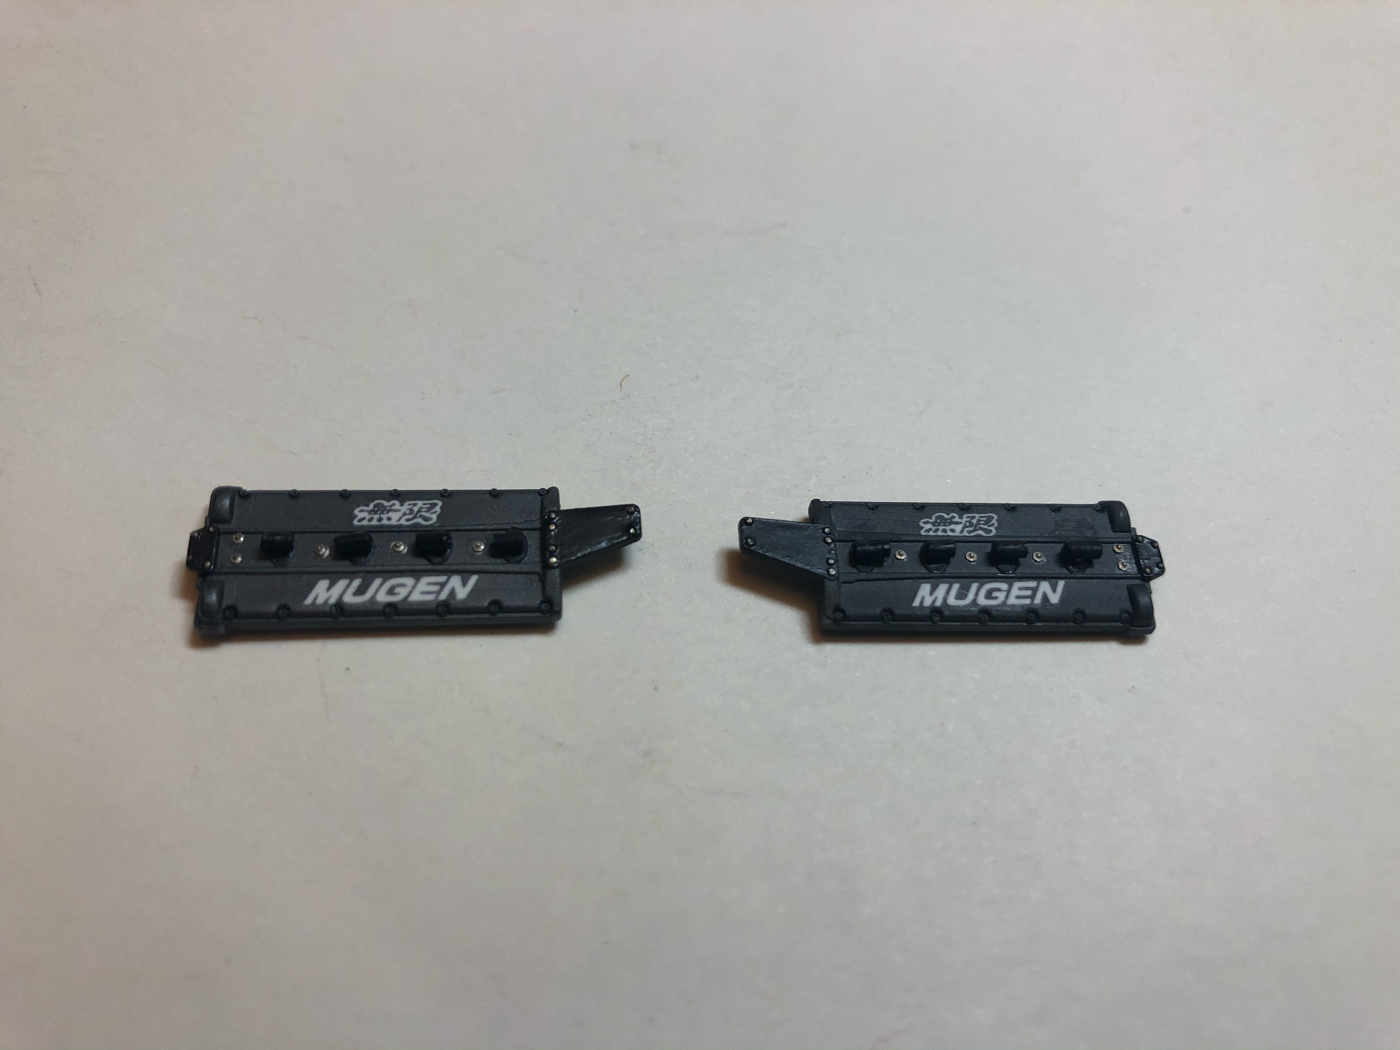 |
|
|
|
Post by illeagle10 on Jan 23, 2020 6:03:28 GMT -5
I must say, I love the detail you put into your builds Art!
Jim
|
|
|
|
Post by Art Laski on Jan 23, 2020 18:15:34 GMT -5
|
|
|
|
Post by Art Laski on Jan 27, 2020 17:42:59 GMT -5
The decals provided the flo red parts, but they were off register so I wasn't interested in using them. I later found that they crack easy, so it would have just been frustrating! I had some Gravity paint, which I had never used before and was eager to try, that I obtained for a McLaren build that didn't get started yet. It turned out to be a perfect match for the flo red decals that will be used, like the front number. 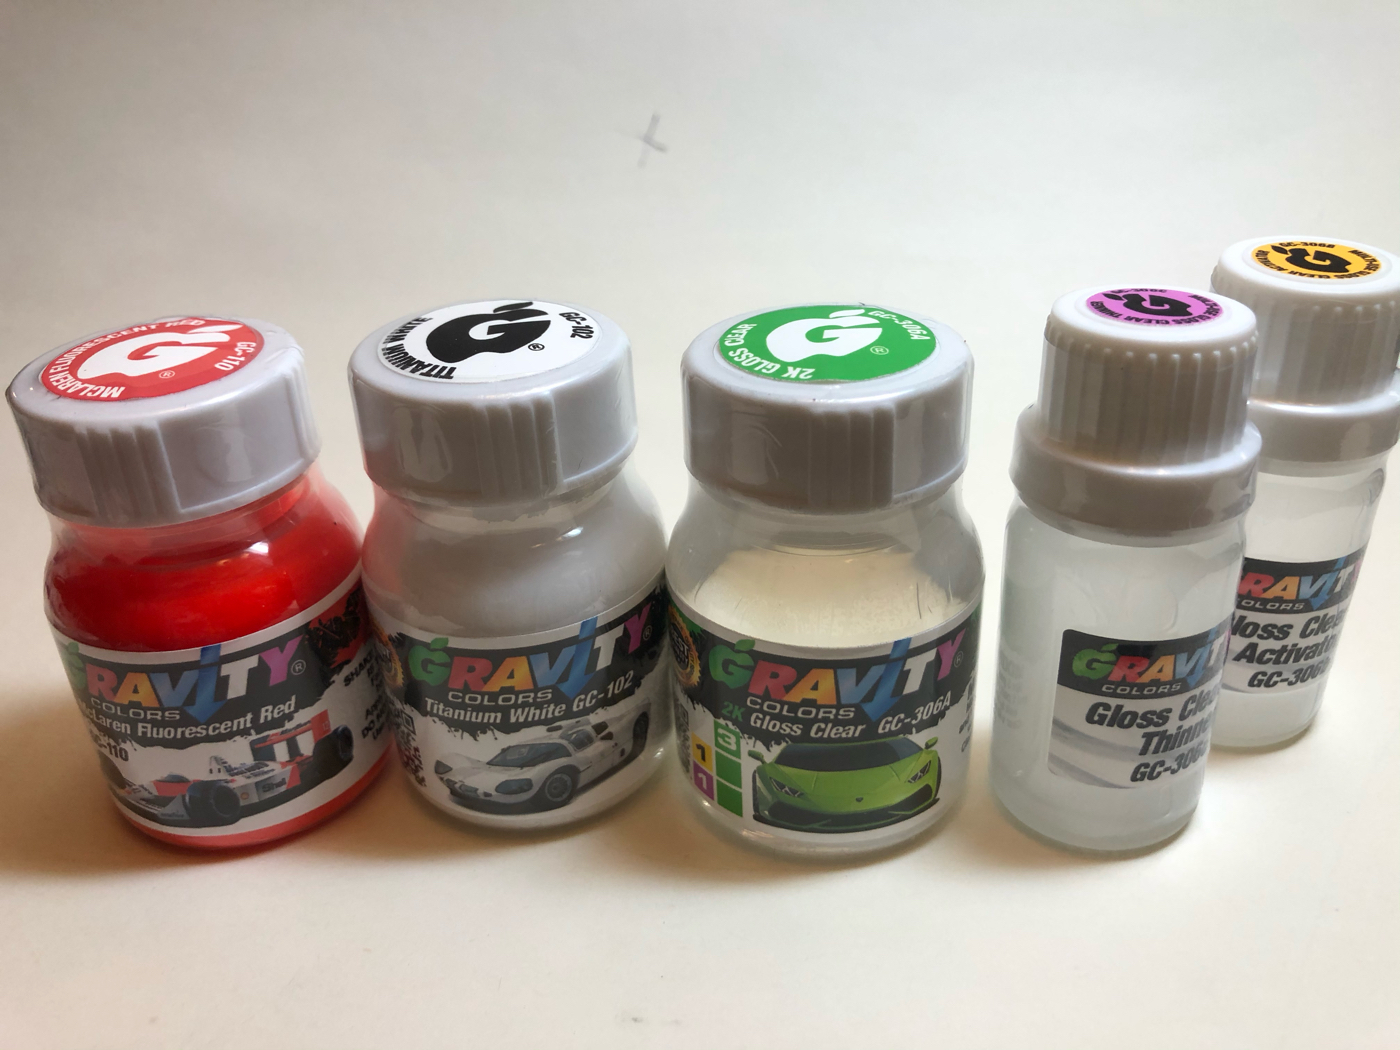 I scanned the decals so I could use them as a template. 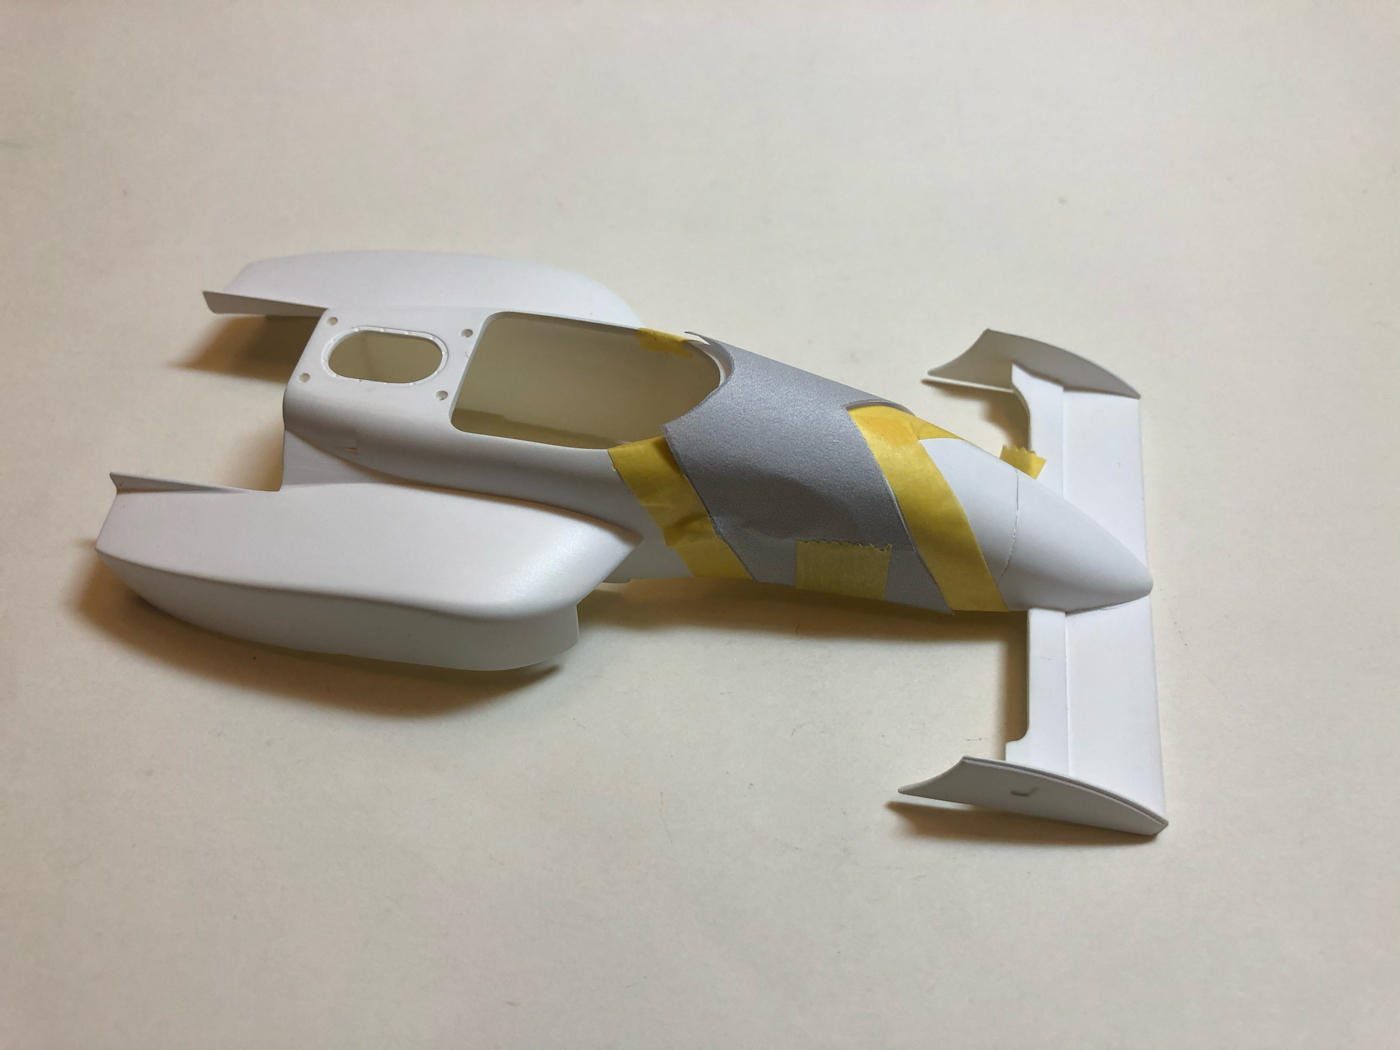 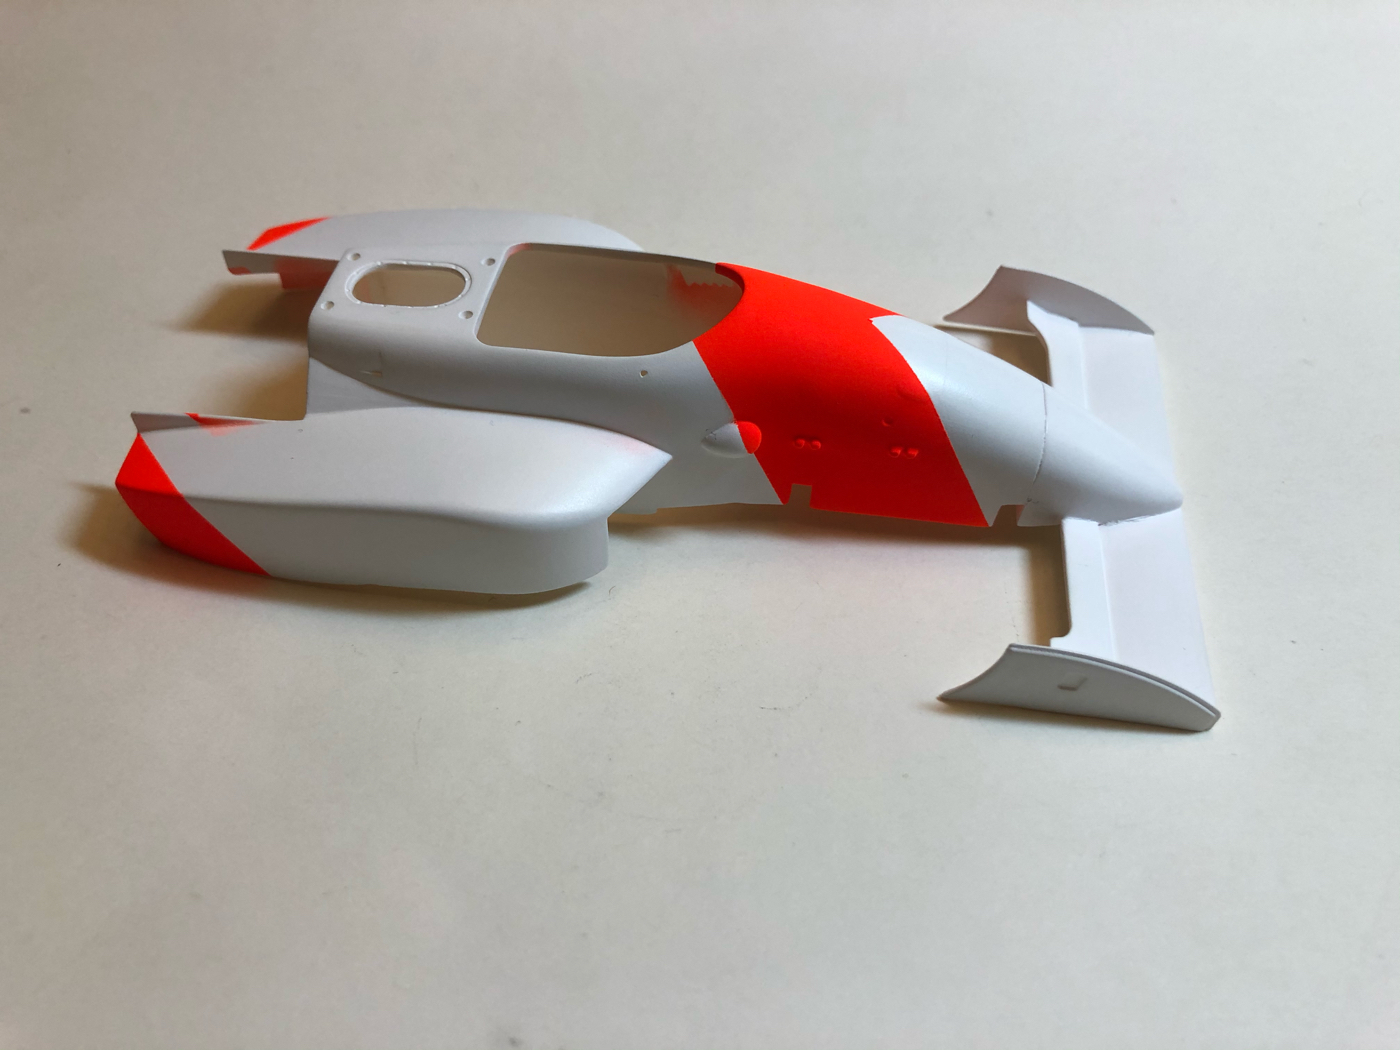 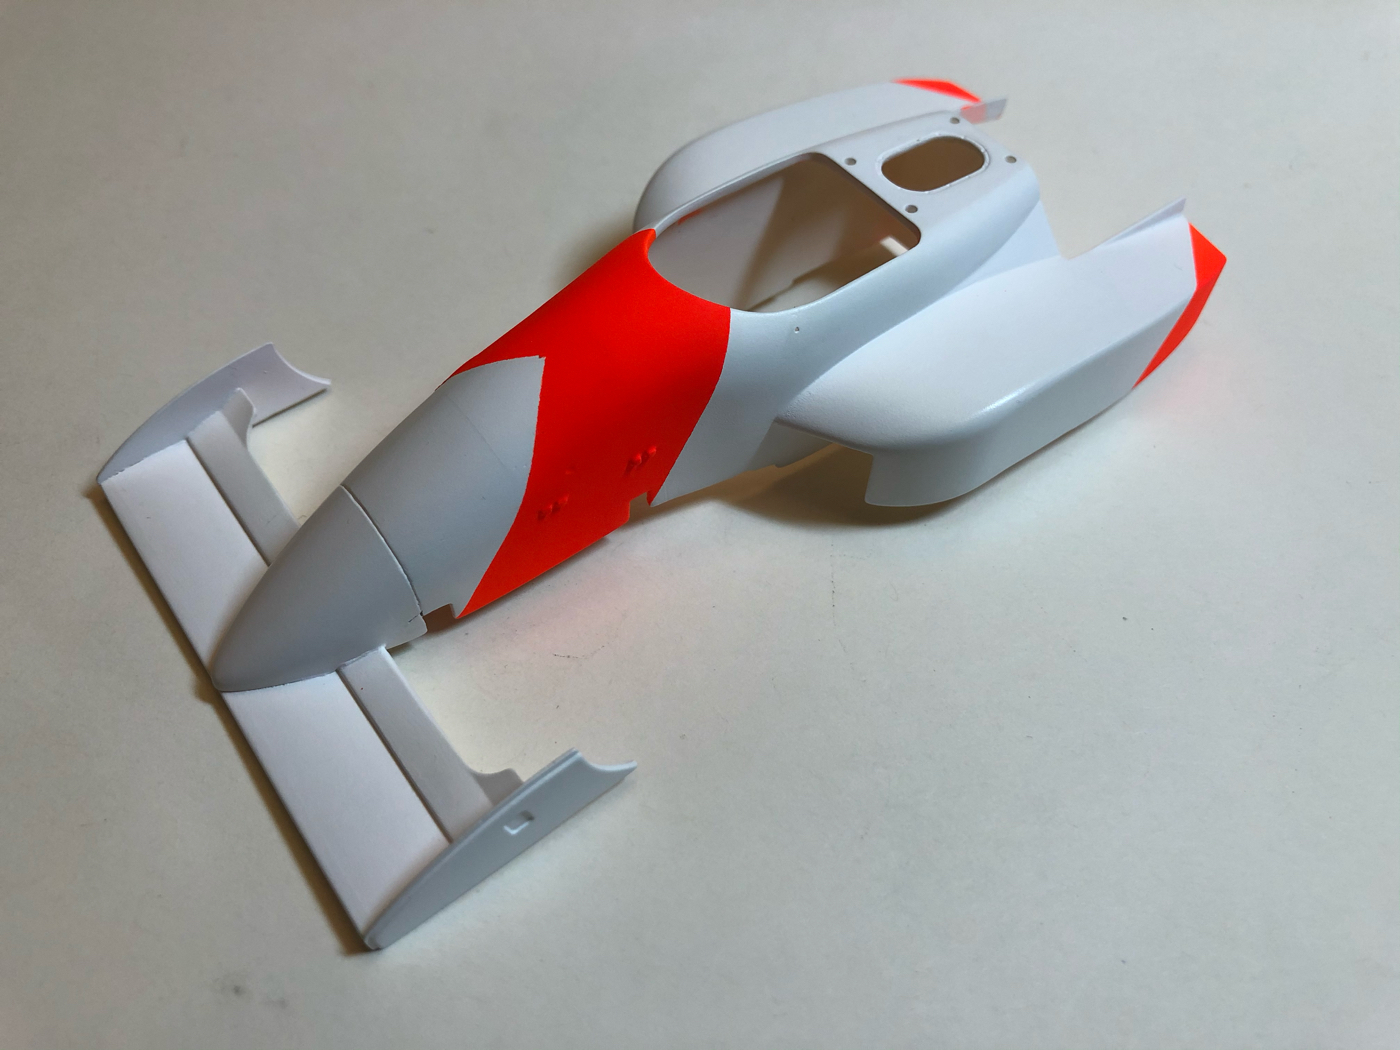 No clear yet. 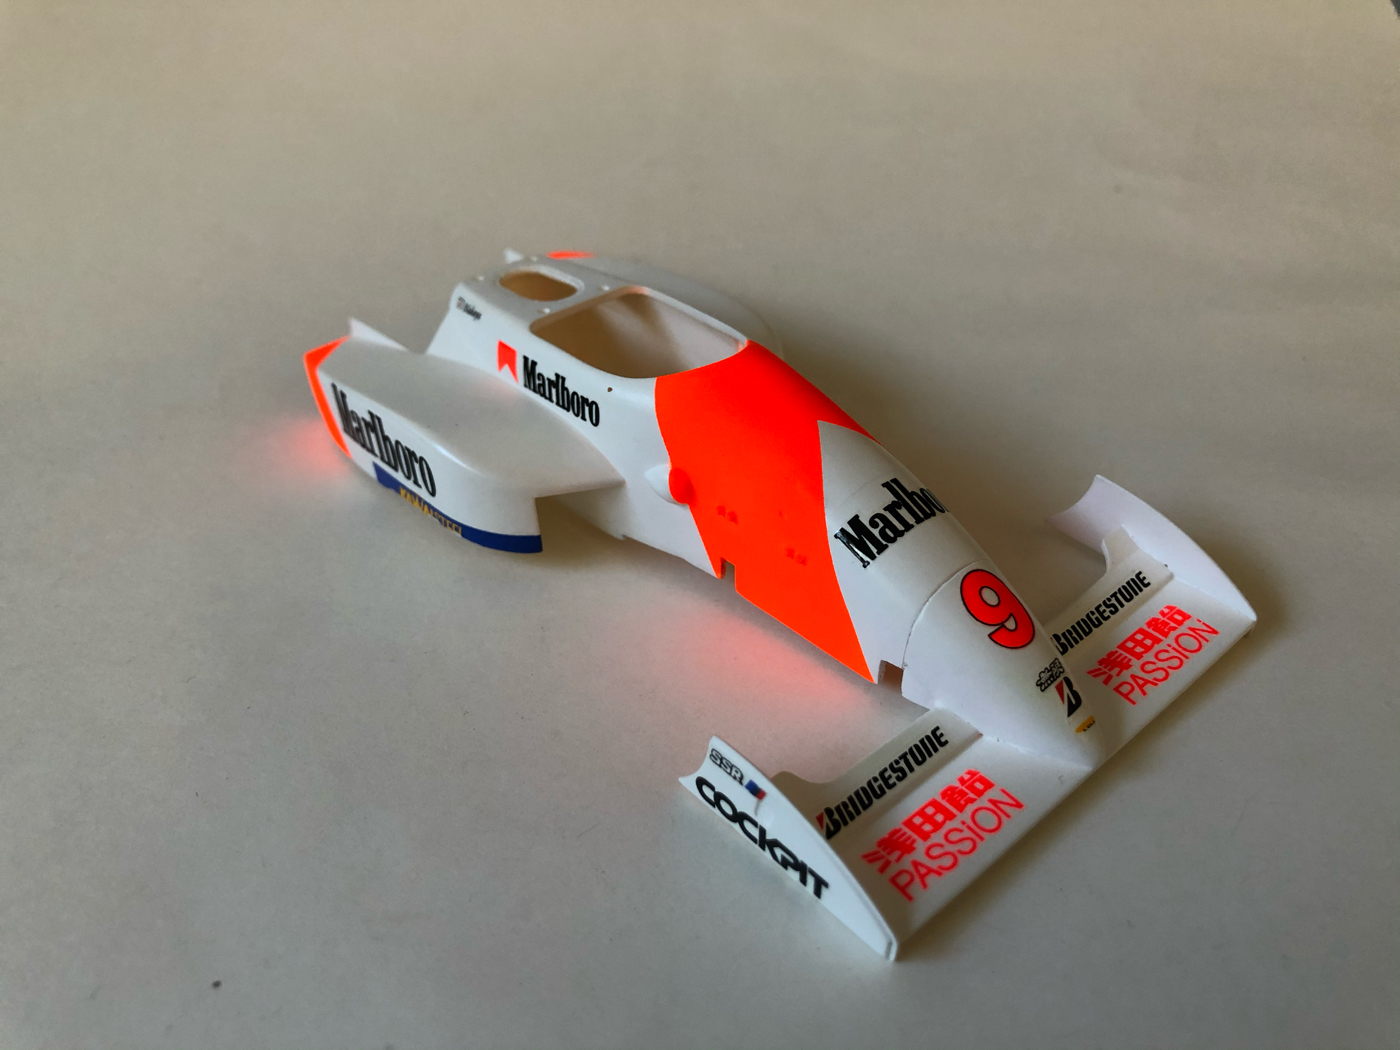  |
|
|
|
Post by 2lapsdown on Jan 27, 2020 21:48:33 GMT -5
Man, that flo red really pops! Everything looks great
John
|
|
|
|
Post by illeagle10 on Jan 28, 2020 6:00:23 GMT -5
I agree with John that flo red does pop! Great choice!
Jim
|
|
|
|
Post by Art Laski on Mar 6, 2020 2:54:50 GMT -5
Thank you, guys! Here's a shot of the completed wheels. There's a little silvering on the logo in this shot, but I fixed that after I saw this shot. 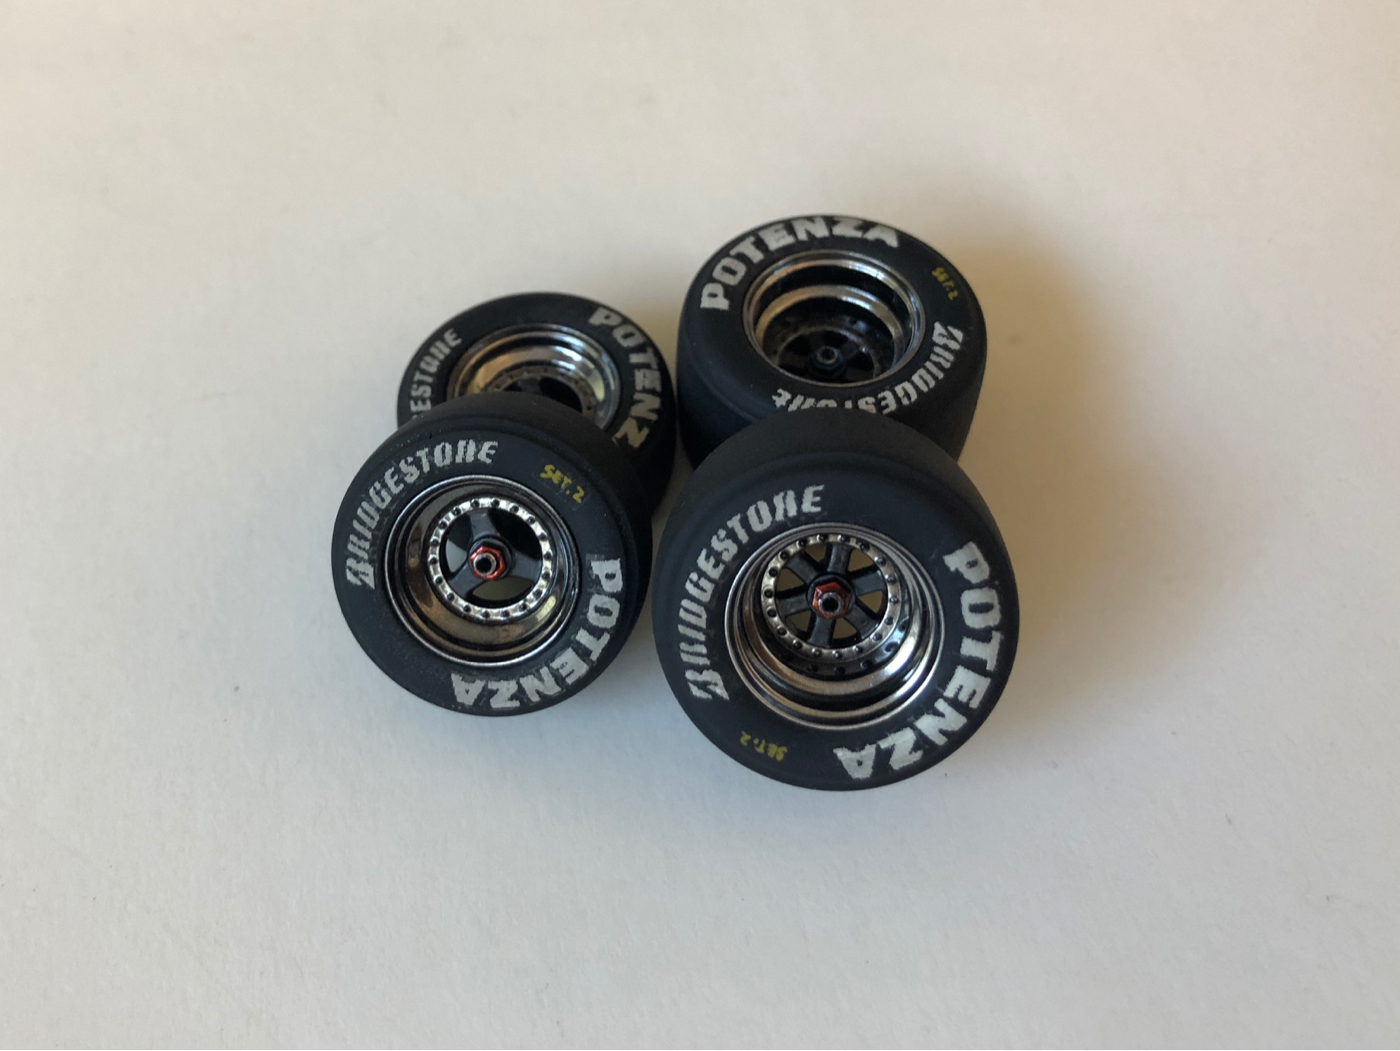 I got the seat completed. Added a new detailed shift linkage and a Scale Motorsport seat belt kit. The Sabelt logos I added. This was one of the most detailed cam locks I've seen. I really like this latch. Available at ScaleProShop.com . 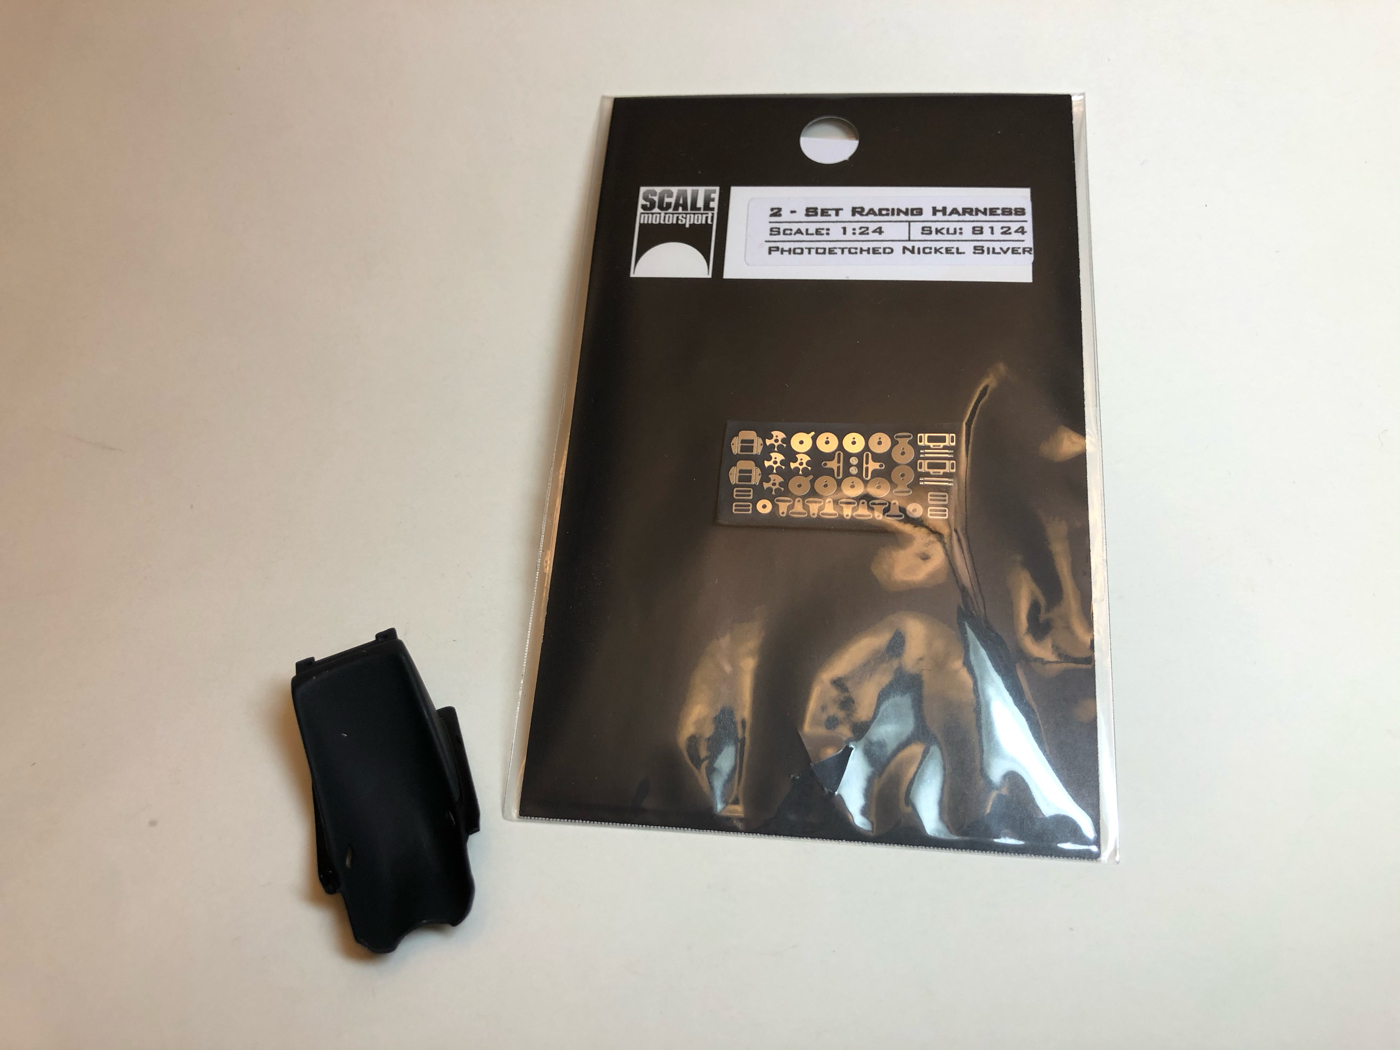 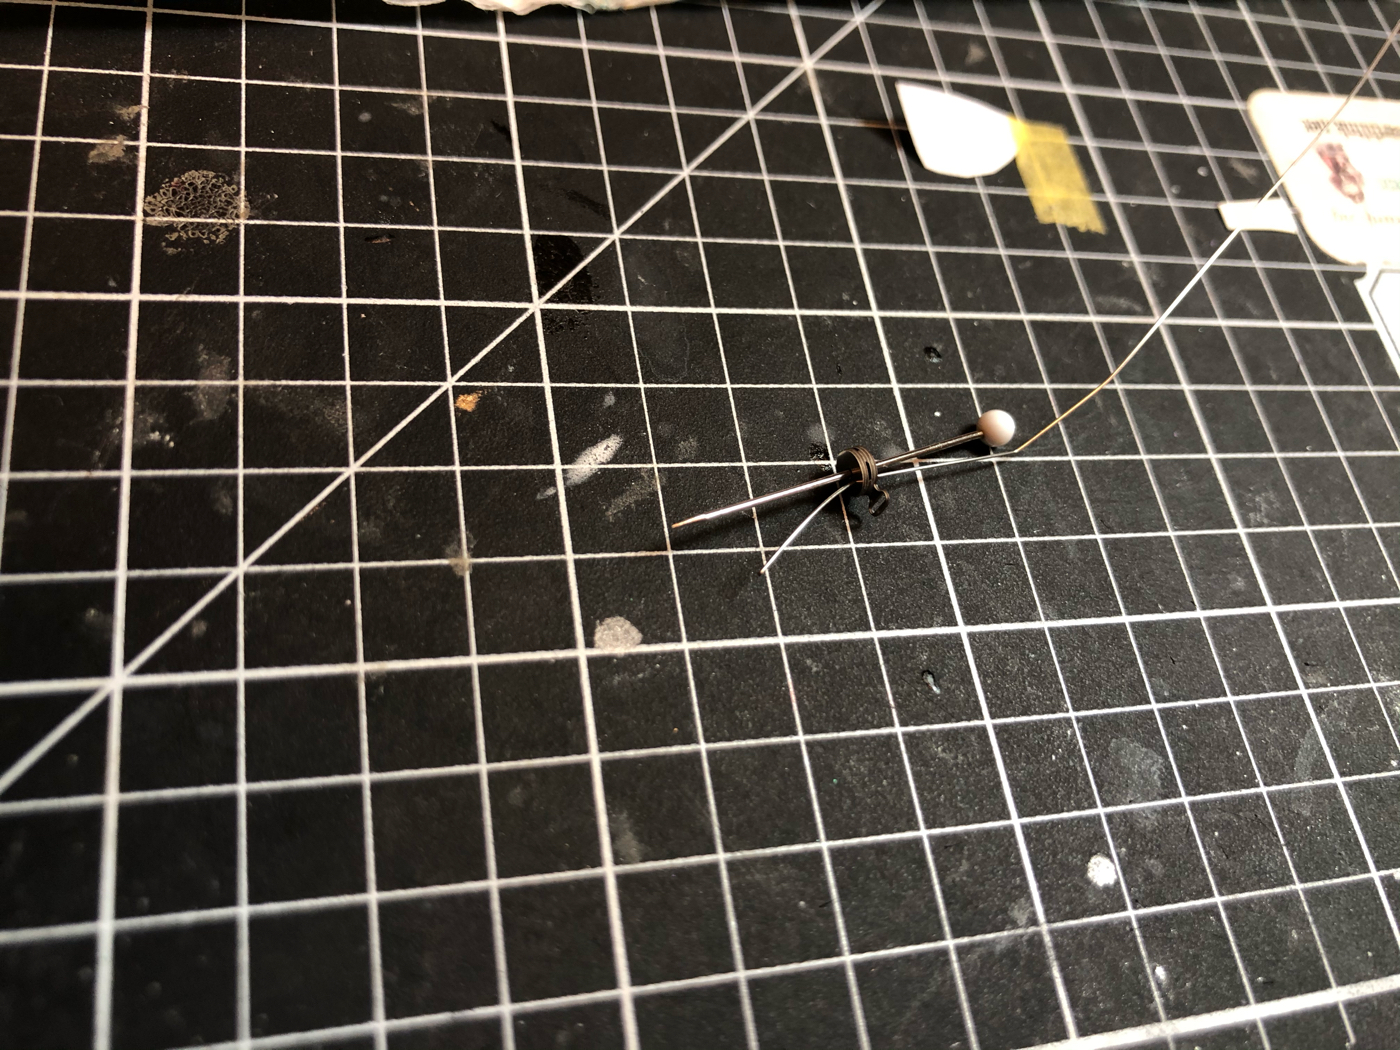 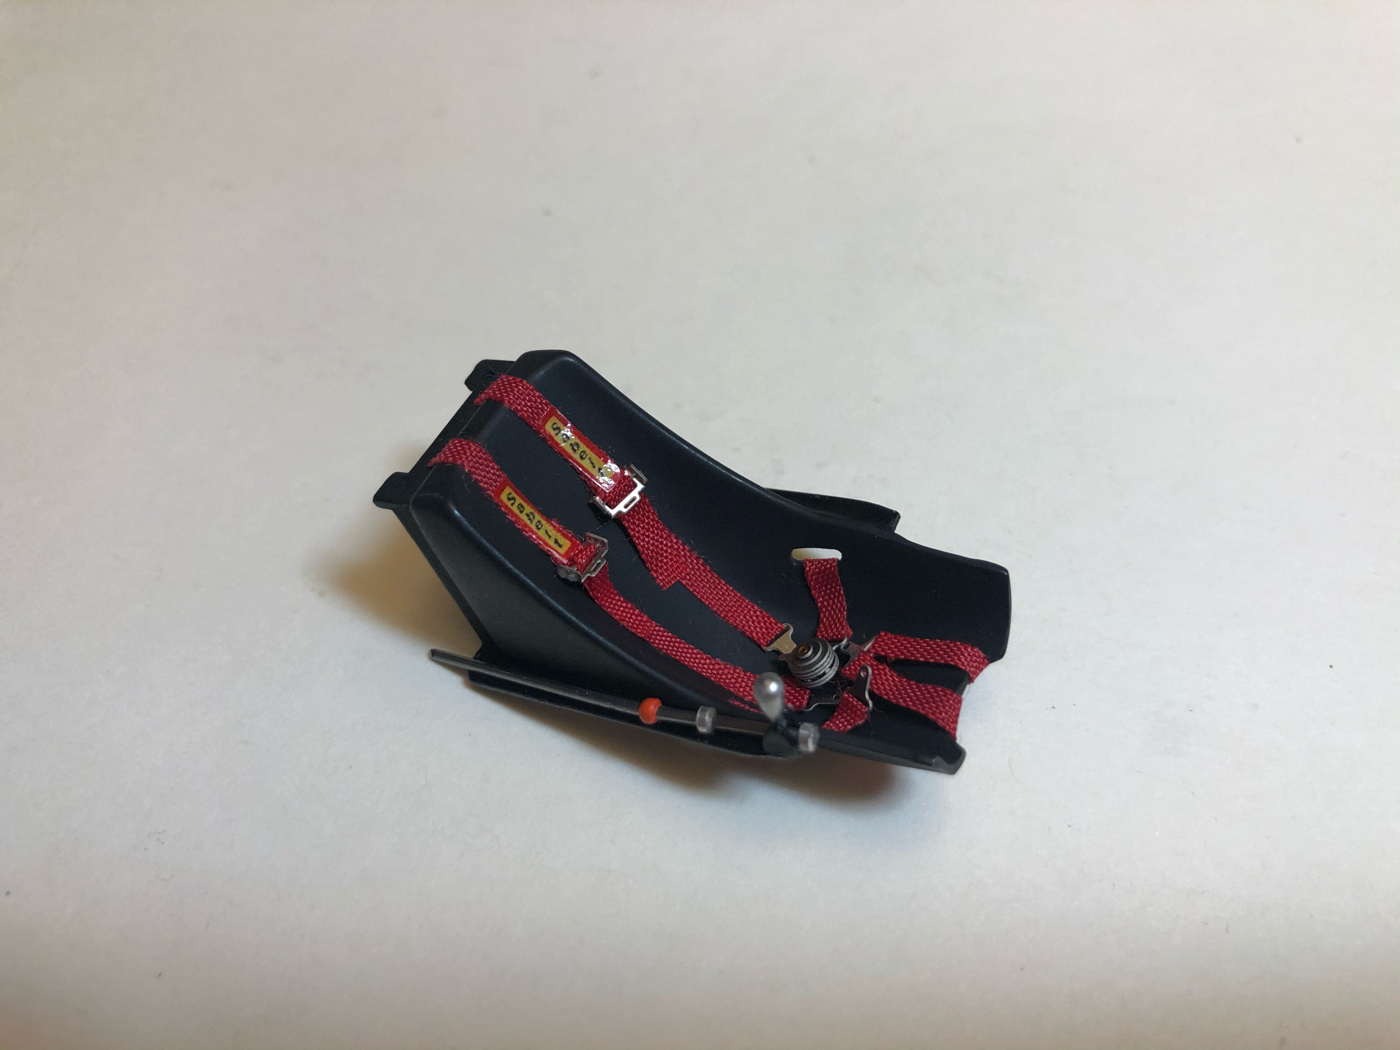 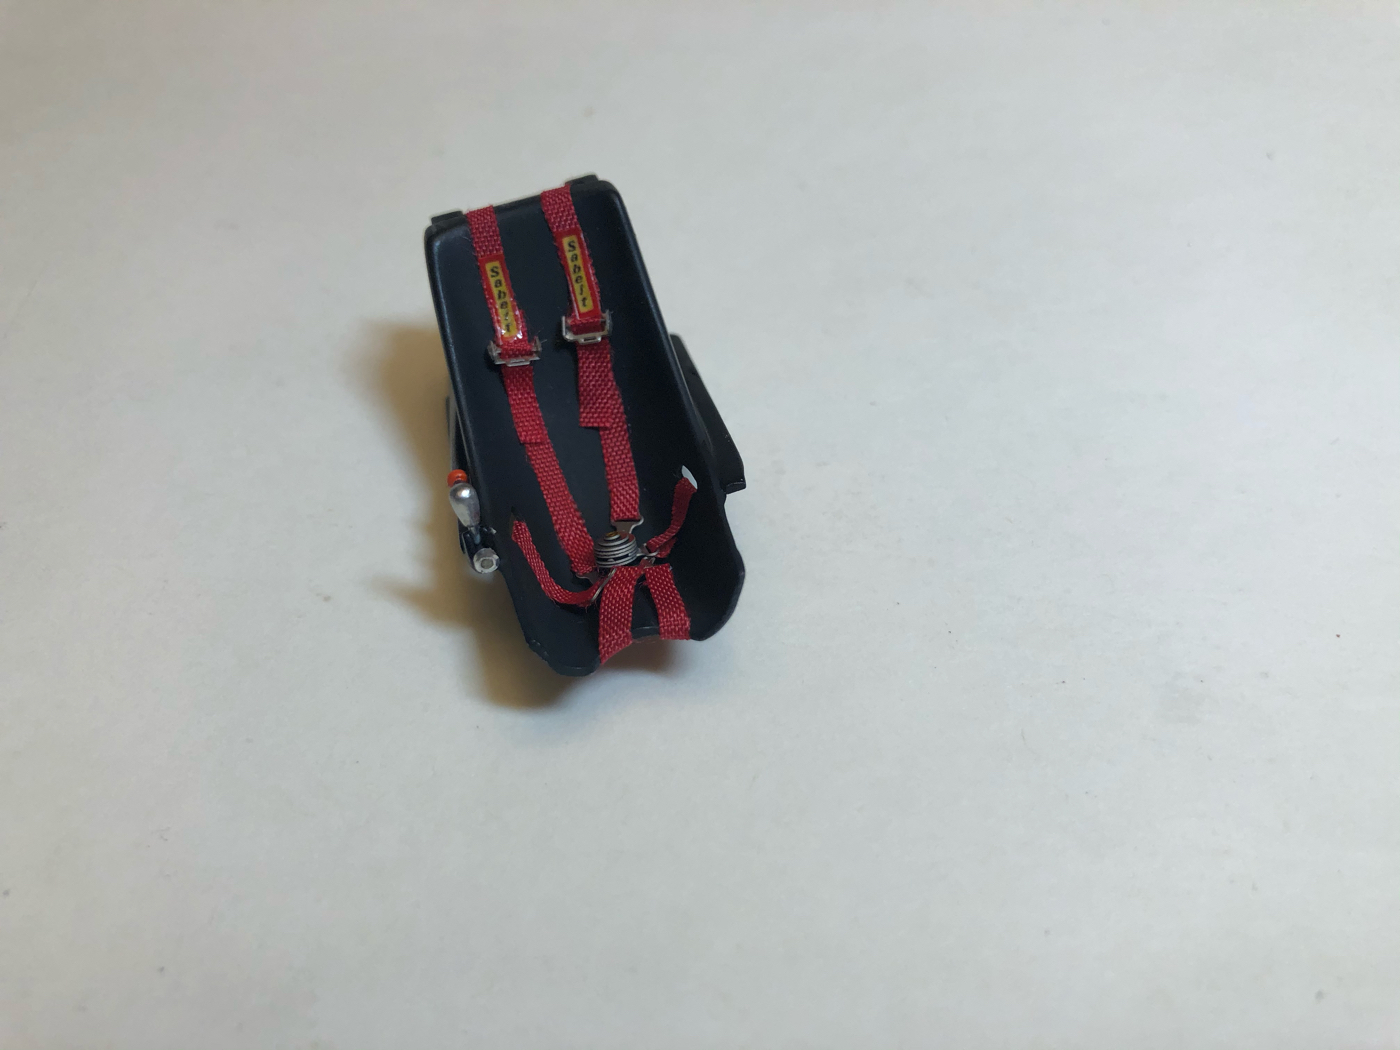 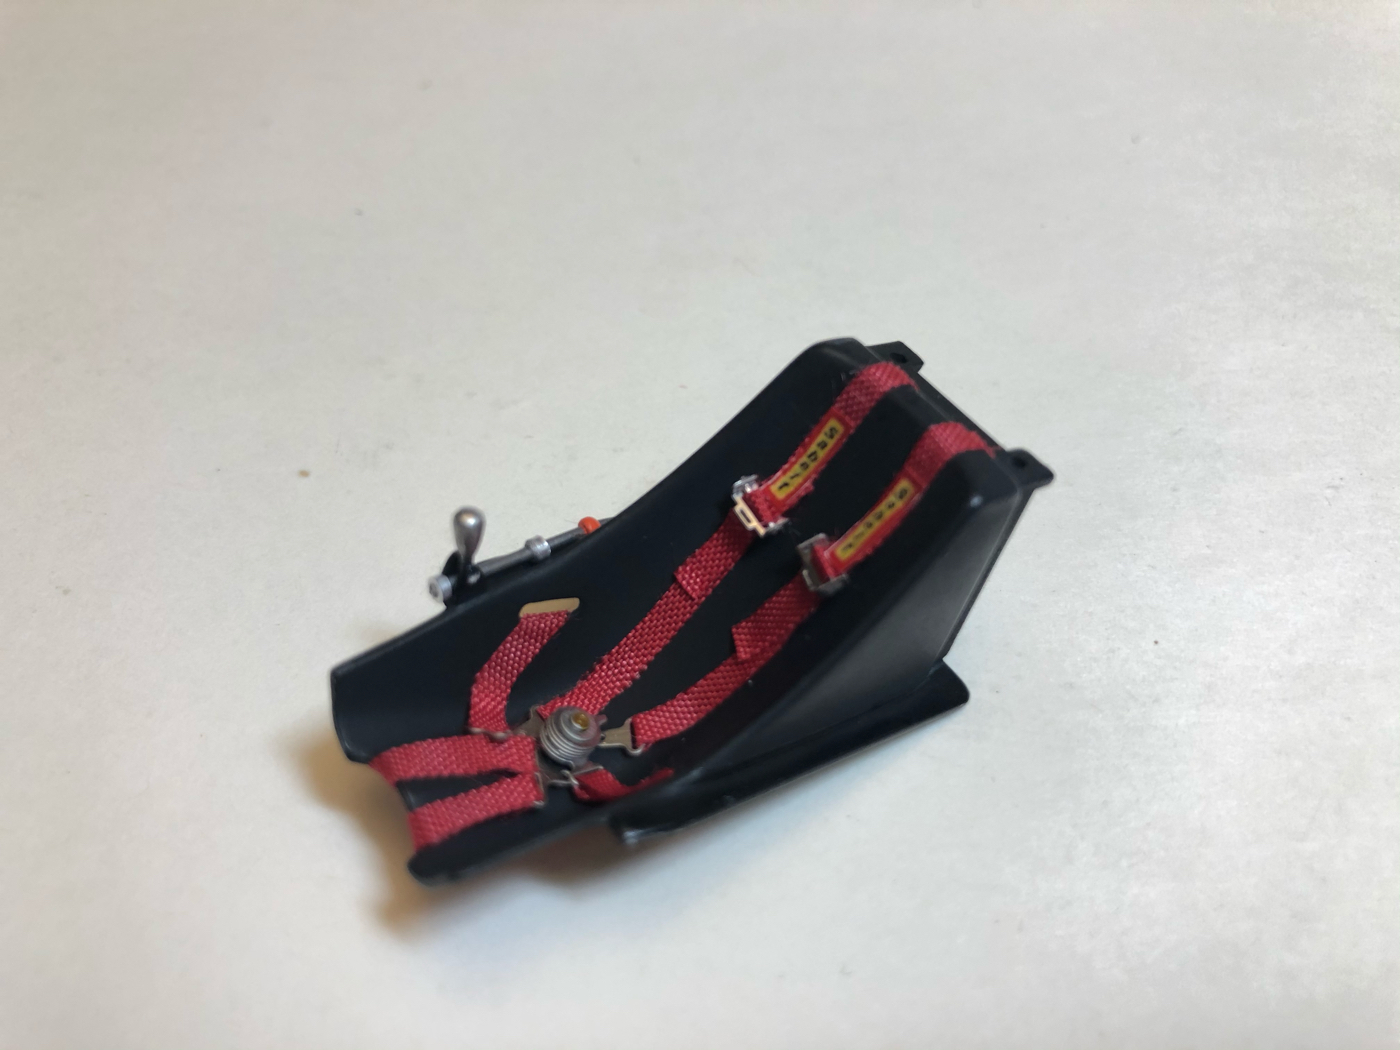 |
|
|
|
Post by illeagle10 on Mar 6, 2020 7:22:39 GMT -5
Seat and wheels looks great Art!
Jim
|
|
|
|
Post by Art Laski on Mar 6, 2020 14:21:35 GMT -5
Thanks, Jim!
|
|
|
|
Post by Art Laski on Mar 7, 2020 1:38:32 GMT -5
I was able to get the Gravity clear on, but not before ruining some of the decals. I found some issues with the bottom edge I apparently introduced with a dehydrator earlier in the painting process that I hadn't noticed, so while correcting them and handling the body, I wiped out some markings, including the smoking cowboy logos on the side pods. I was able to make most of the replacements myself, but the Smoking Cowboys were just not printing true black from my inkjet. Thankfully, my buddy Calvin at Hobbitime hobbitime.myshopify.com/ has some and saved the day. The clear came out show quality, but a bit too shiny for a race car, so I wet sanded it and polished it out. It still is shiny, but not overly so. 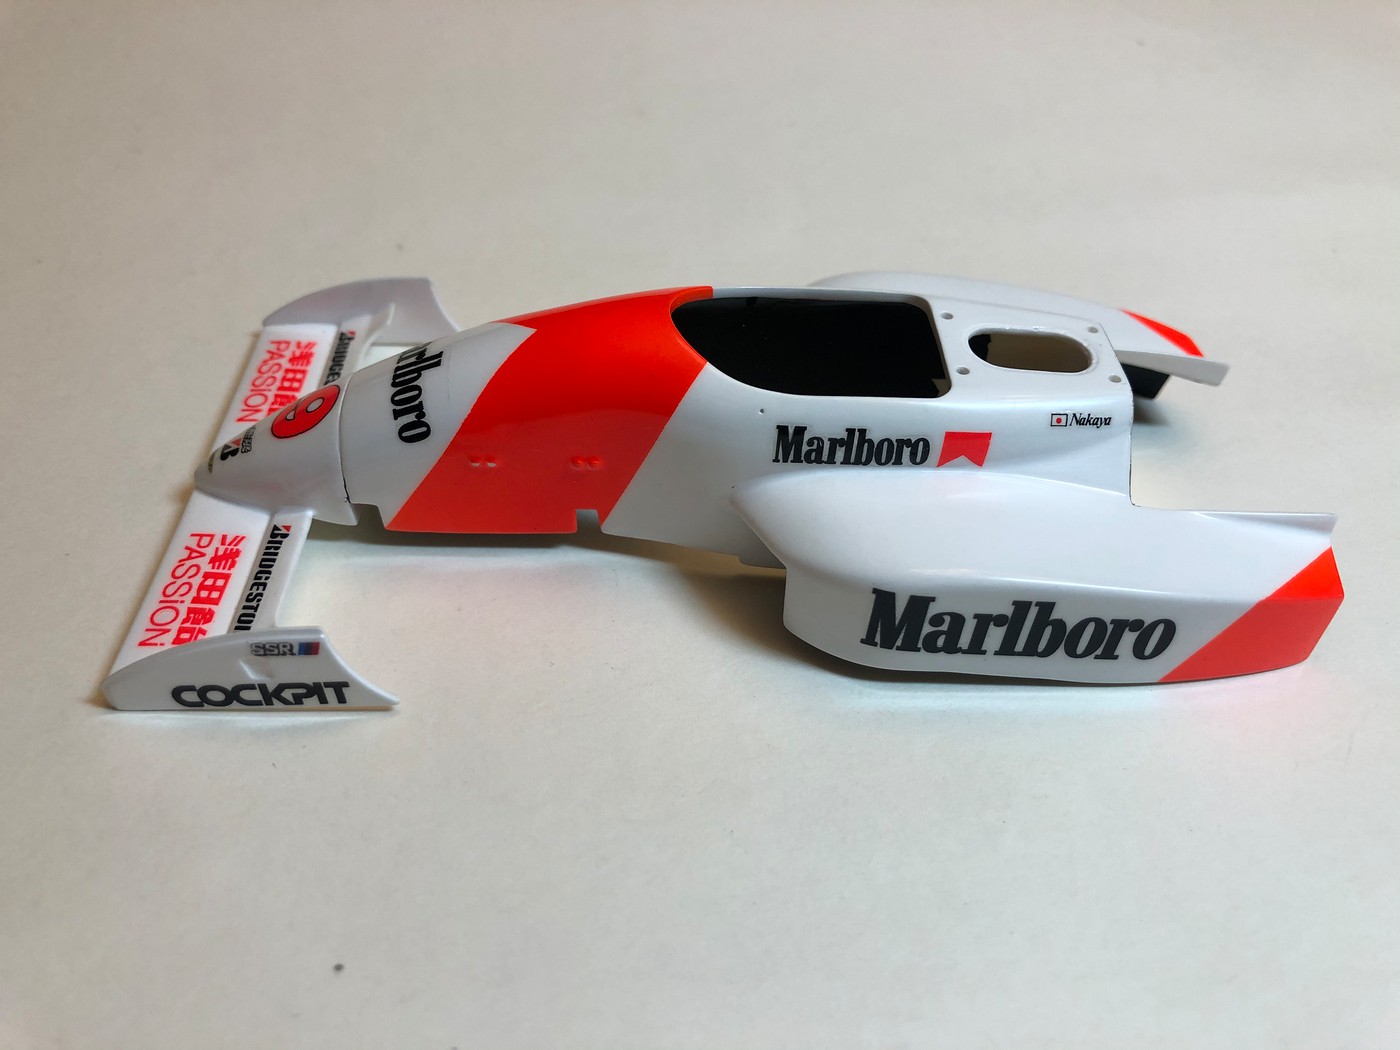 I used some gold BMF on the "firewall". It may not be perfectly accurate for this car, but some references on some other cars had gold, so I thought it would be a good look. It turns out, you can't really see it much anyway. 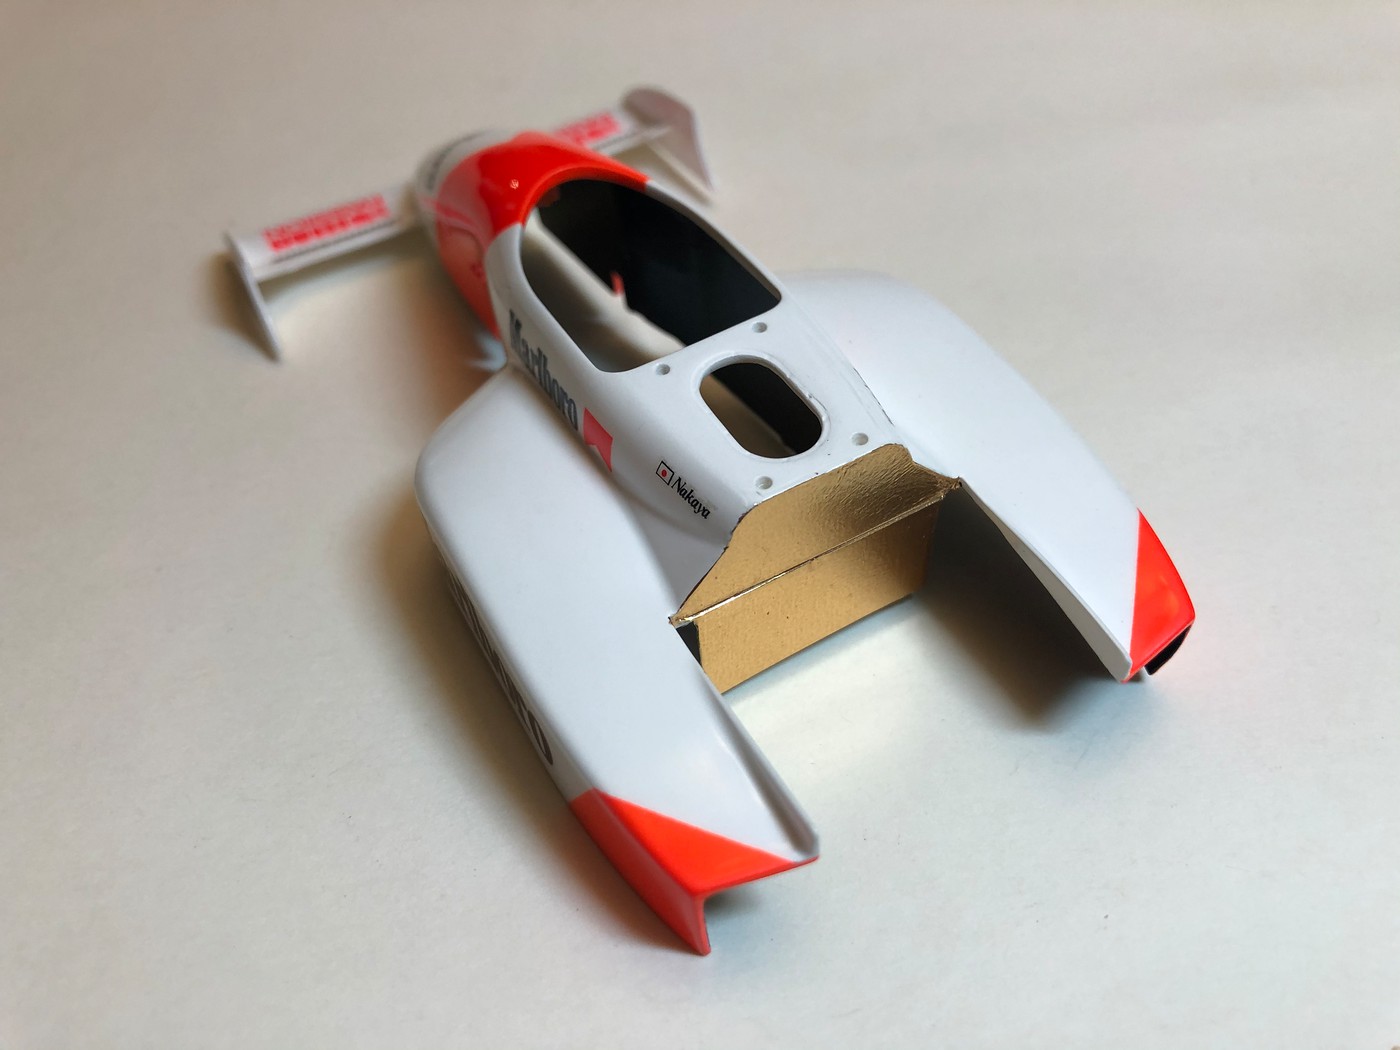 ![]() images43.fotki.com/v1218/photos/9/1464279/16203792/PhotoFeb24114530PM-vi.jpg images43.fotki.com/v1218/photos/9/1464279/16203792/PhotoFeb24114530PM-vi.jpg![]() 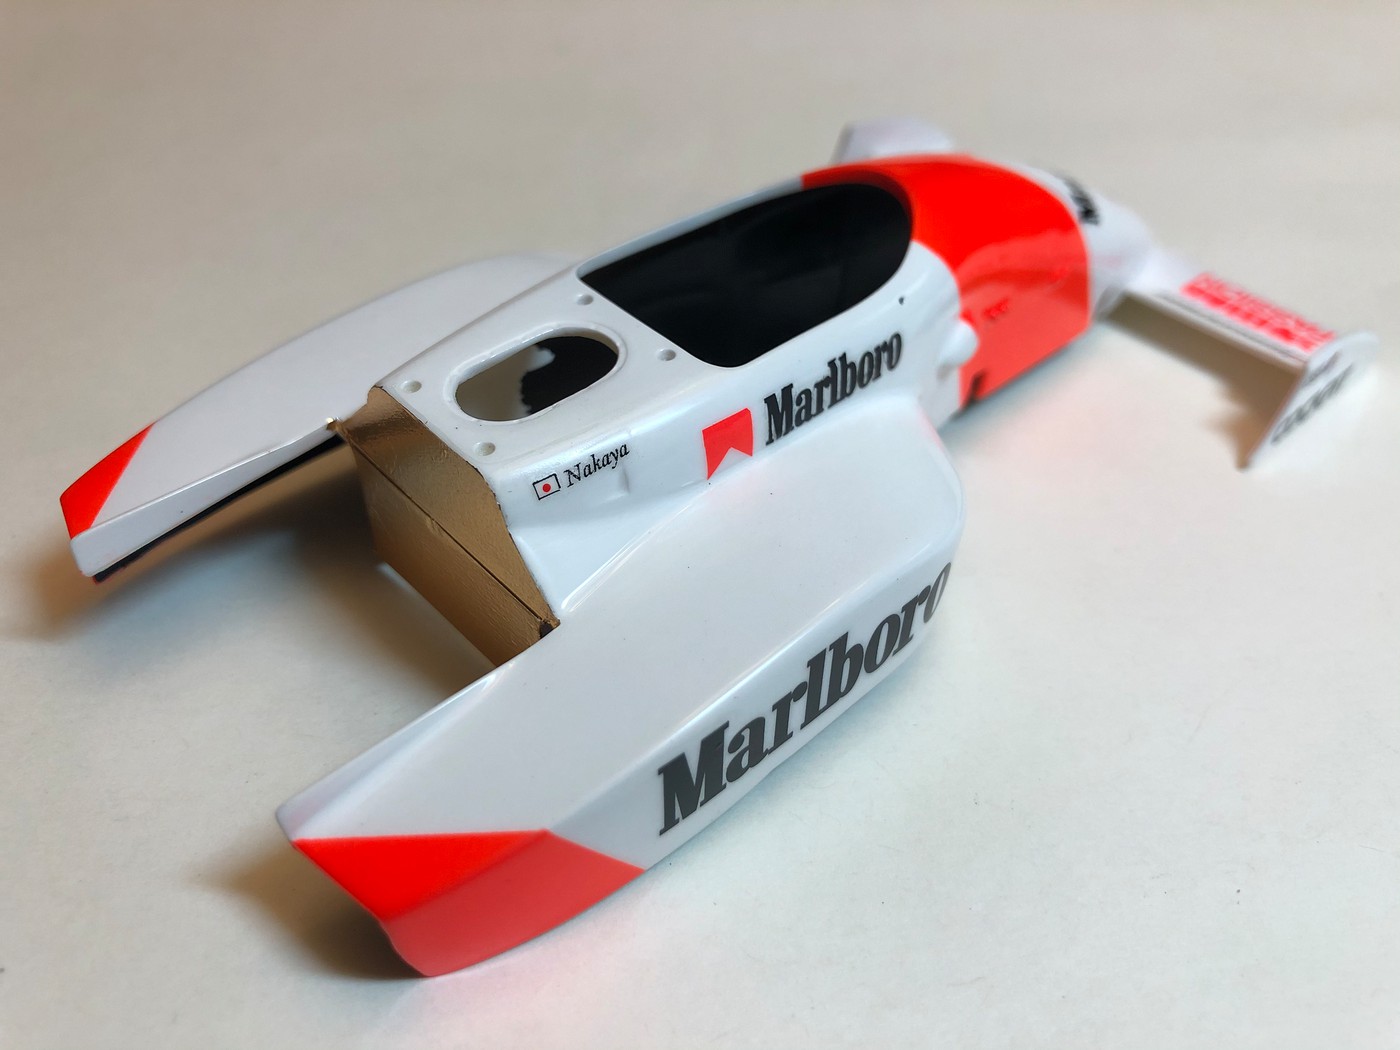 |
|