Deleted
Deleted Member
Posts: 0
|
Post by Deleted on Mar 3, 2015 14:34:11 GMT -5
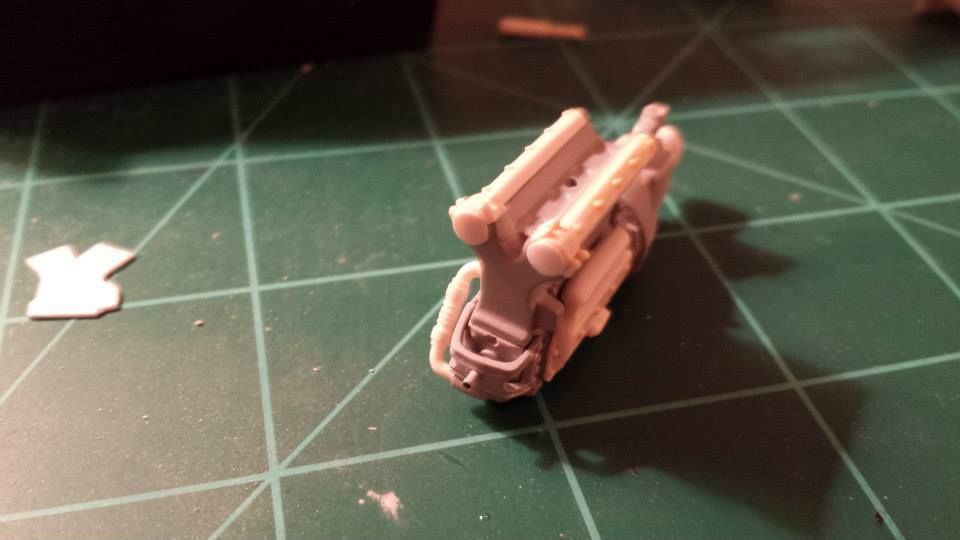
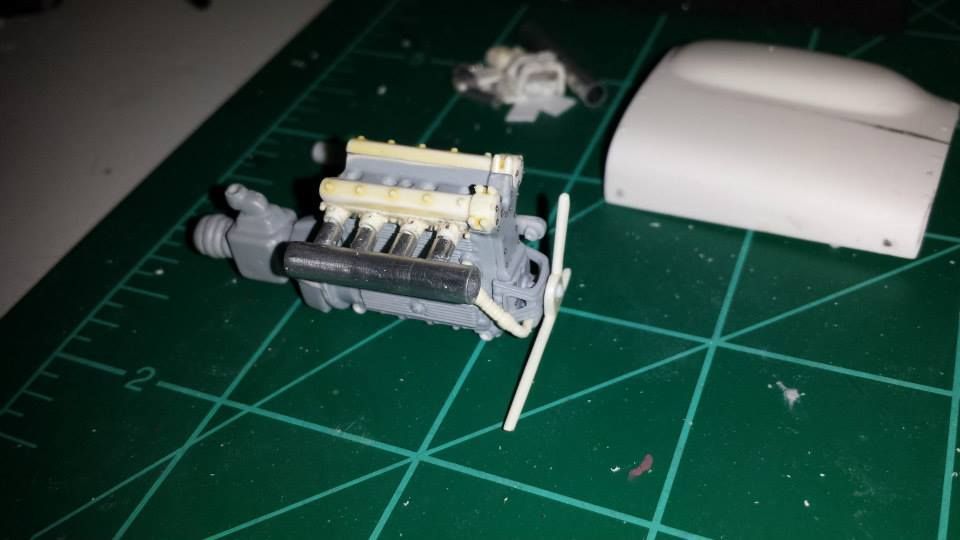
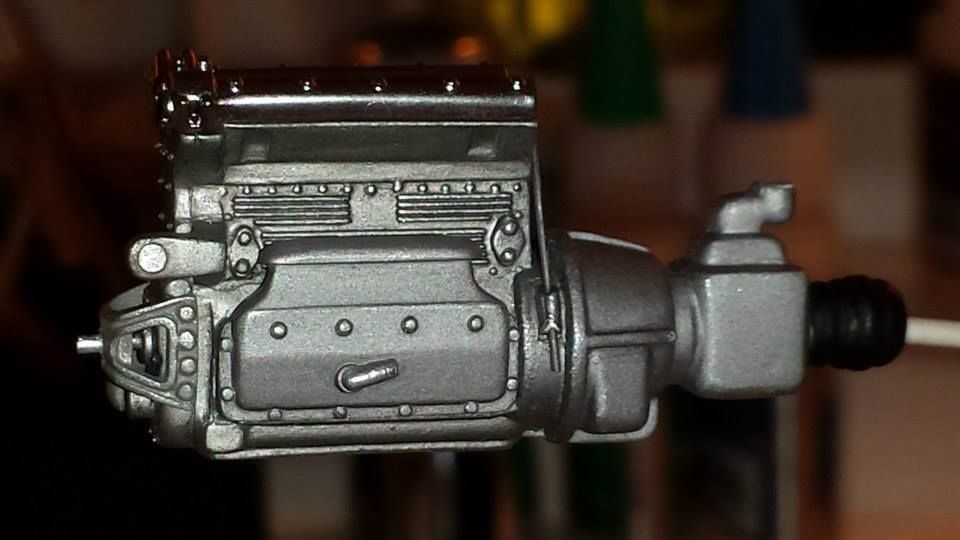
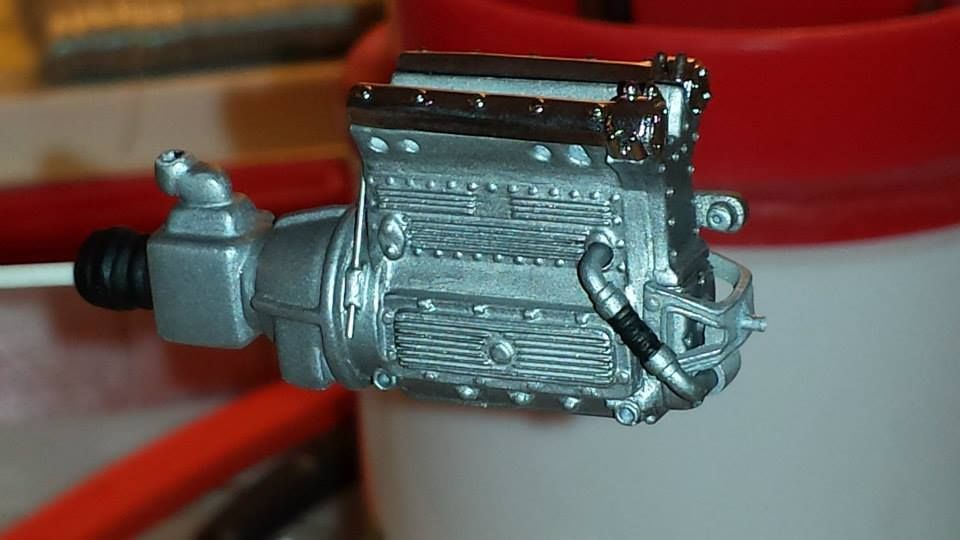
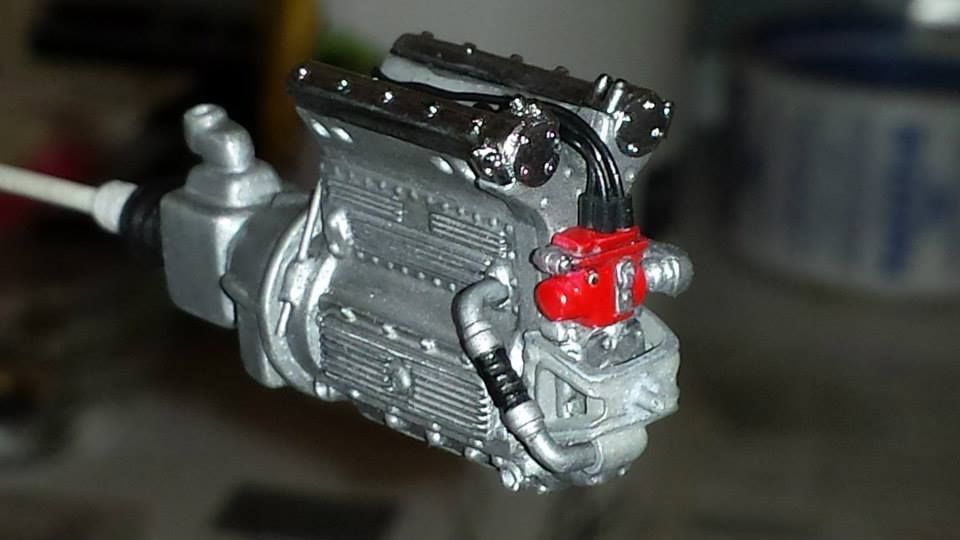
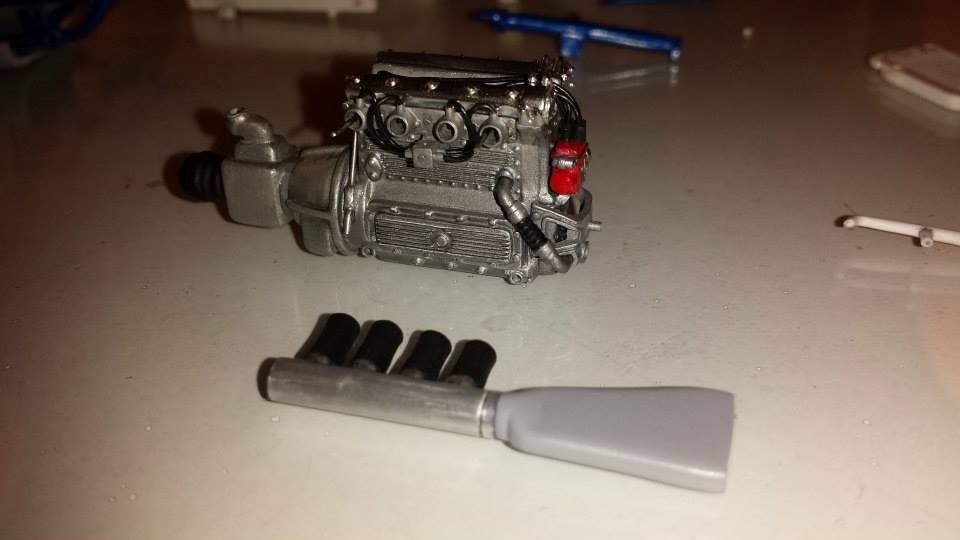
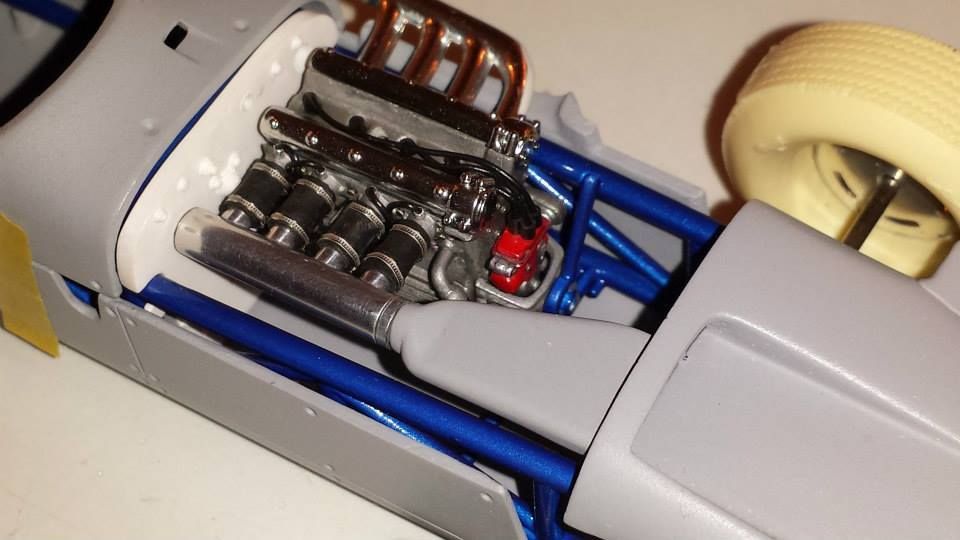
(UPDATE 7/20/16 : I've added a bunch of pictures from the last 3 months as I finished the build this earlier this week!)Hi Everyone. I am an Indy modeling newbie and I am in the process of building my vintage AMT Parnelli Jones 1963 winning roadster. I am using the updated resin nosecone, resin tires, and vacu-formed windshield, and decals I got from Indycals. My work currently has been constructing the chassis, lots of body work (still not complete) and scratch-building the front of the Offenhouser engine to remove the awful molded in starter bracket. attached are progress pictures. Speaking of the Offy engine I need some help on how to route the oil lines with the oil filter. Does anyone have pictures or diagrams on how the oil routing should go? I realize I will probably need to do some scratch-building but that is ok. Thanks for the help! 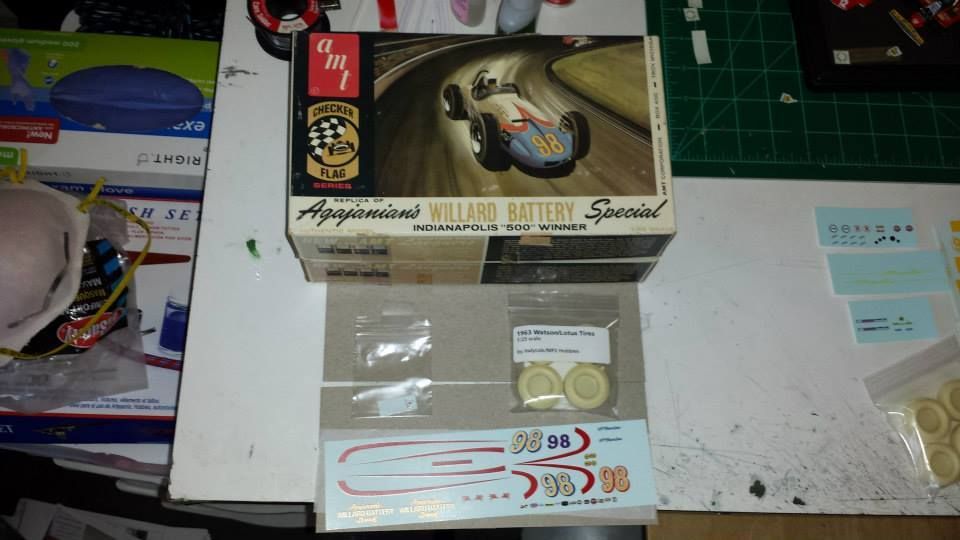 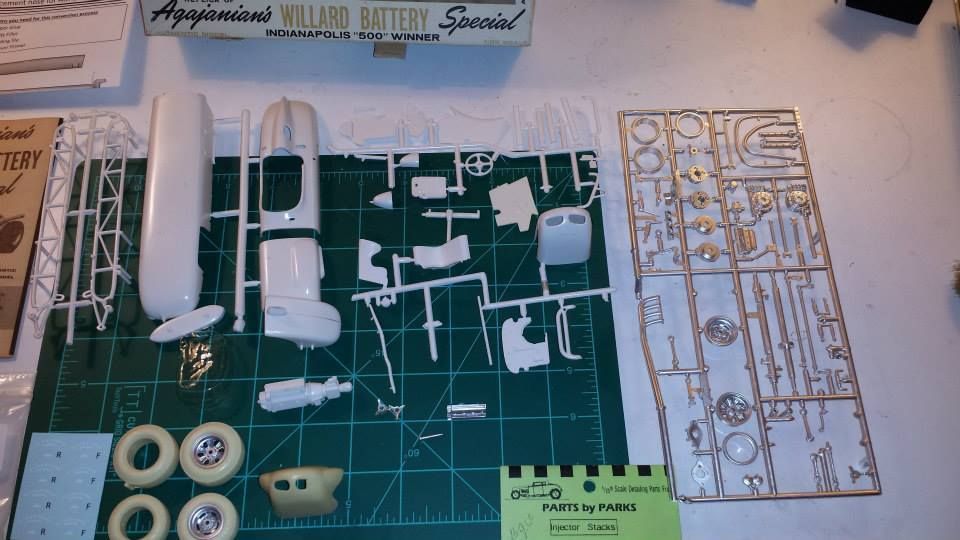 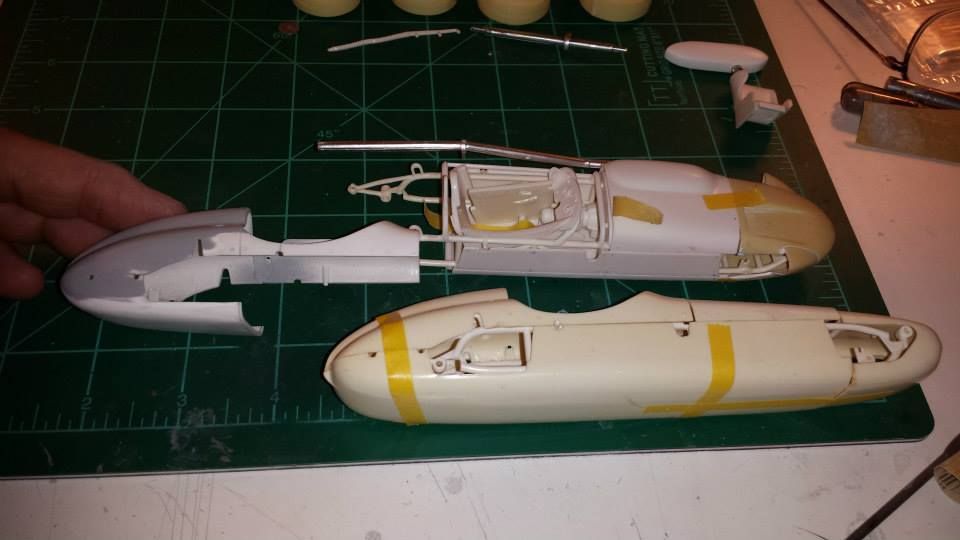 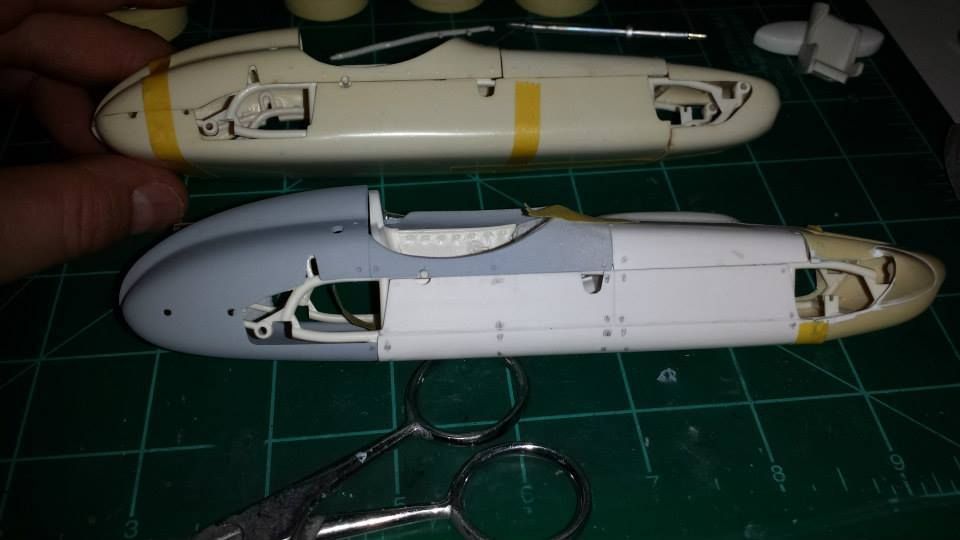  
|
|
Deleted
Deleted Member
Posts: 0
|
Post by Deleted on Mar 3, 2015 14:36:05 GMT -5
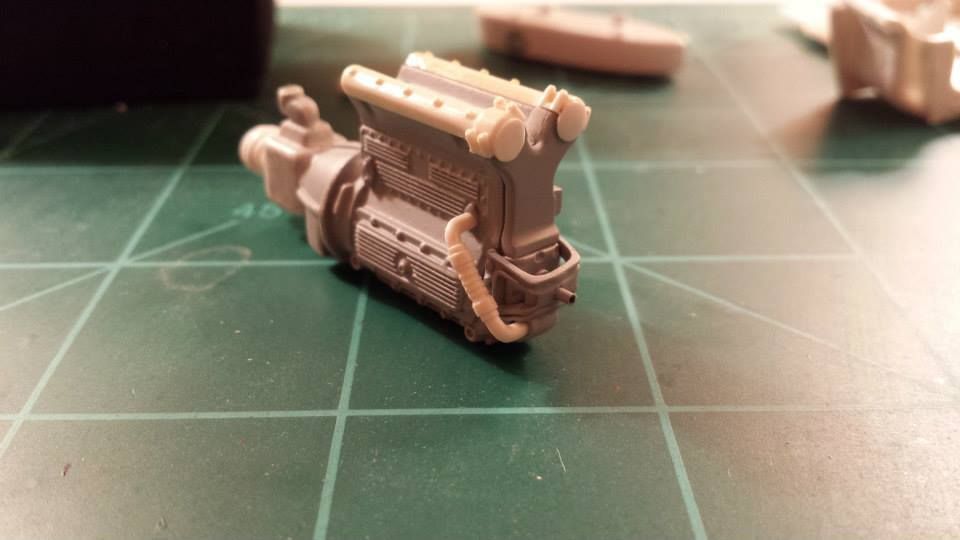
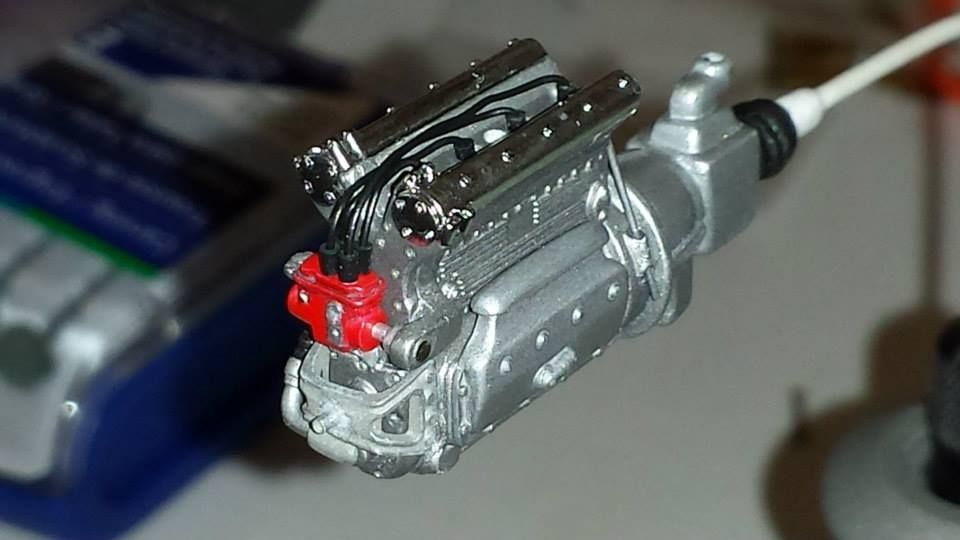
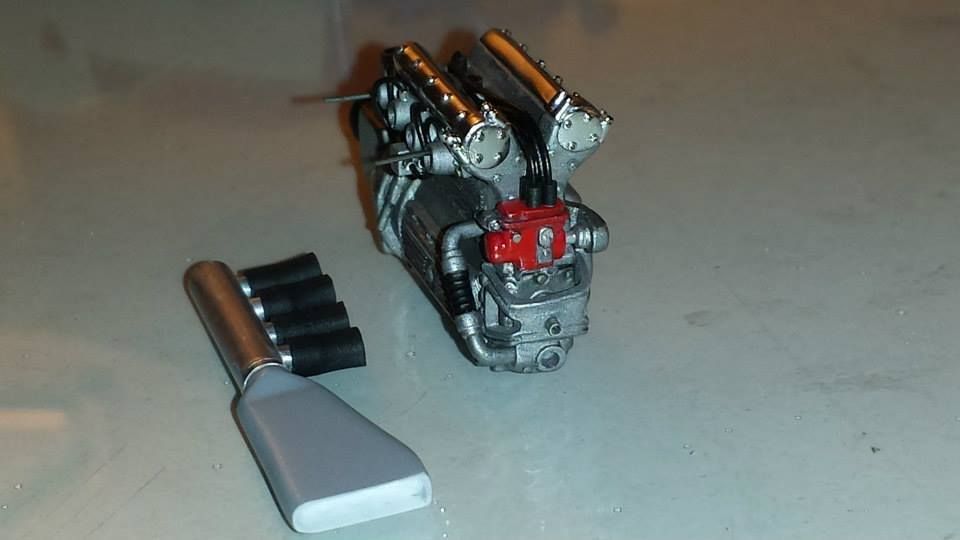
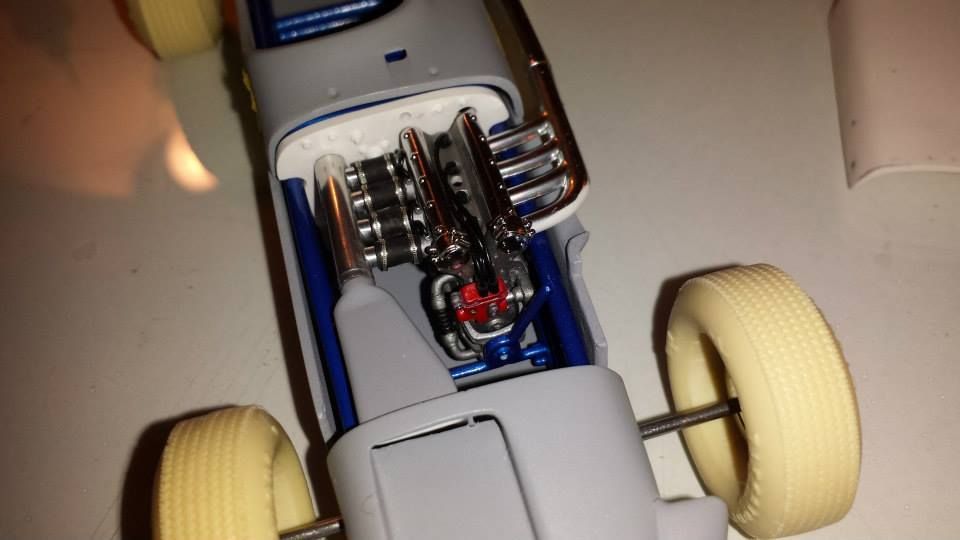
Couple of pictures of the scratch building I have been doing on the front of kit engine.. Hopefully I can start painting soon. 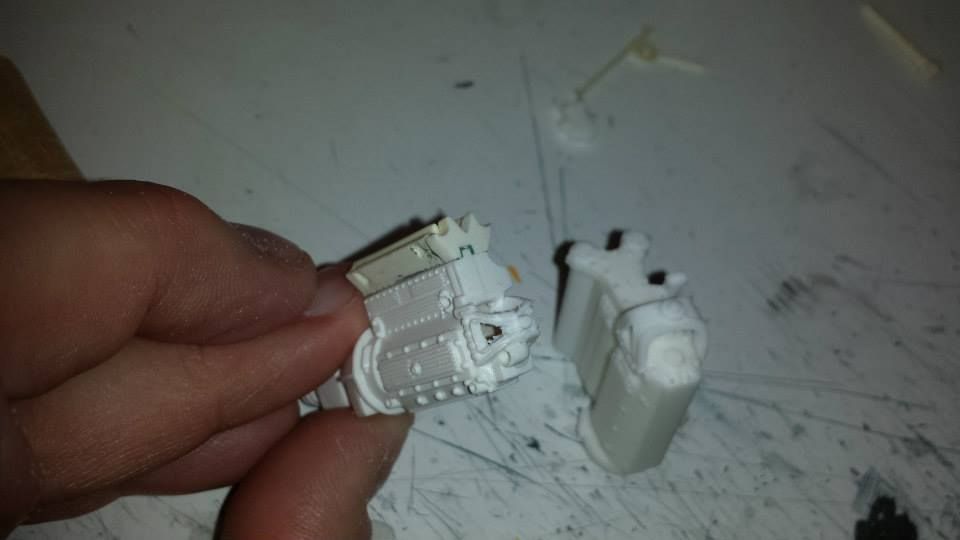 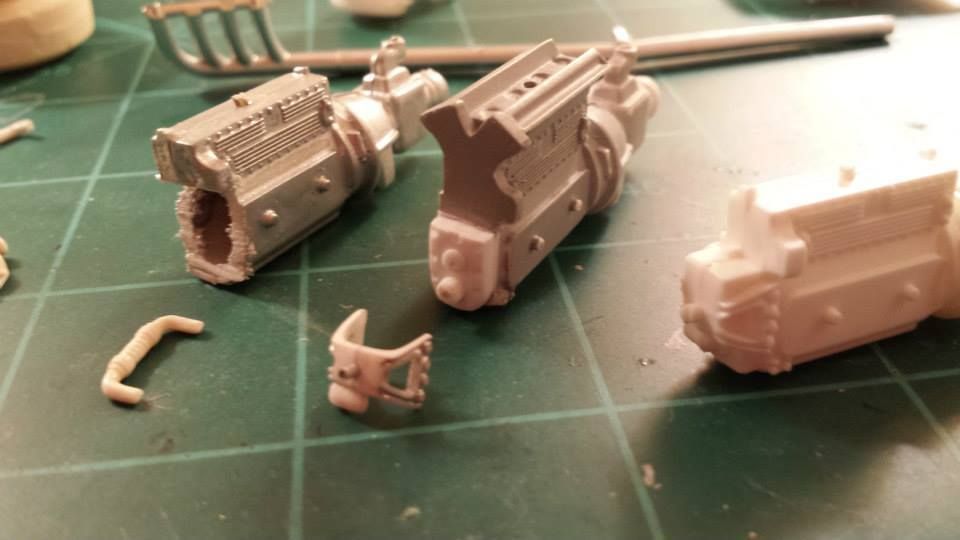 |
|
|
|
Post by Art Laski on Mar 3, 2015 14:55:28 GMT -5
Looks like you're off to a good start. Keep it going!
|
|
|
|
Post by illeagle10 on Mar 3, 2015 14:59:46 GMT -5
Looking good Andy! Glad you not only joined us, but are participating with a great WIP!
Jim
|
|
Deleted
Deleted Member
Posts: 0
|
Post by Deleted on Mar 3, 2015 16:06:25 GMT -5
Thanks for the compliments.. I'll try and post some more pictures later as it has been a slow process for me to get this old kit to look the way I want it to.. Especially the engine..Chalk it up to OCD I guess..
Hopefully you all have some pictures of the oil line routing as that is bugging the crap out of me... |
|
Deleted
Deleted Member
Posts: 0
|
Post by Deleted on Mar 3, 2015 23:16:02 GMT -5
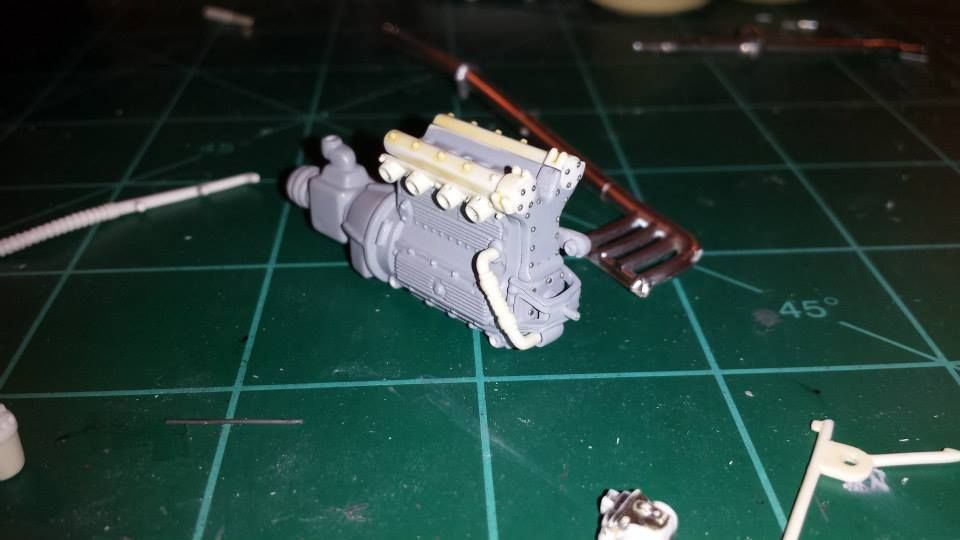
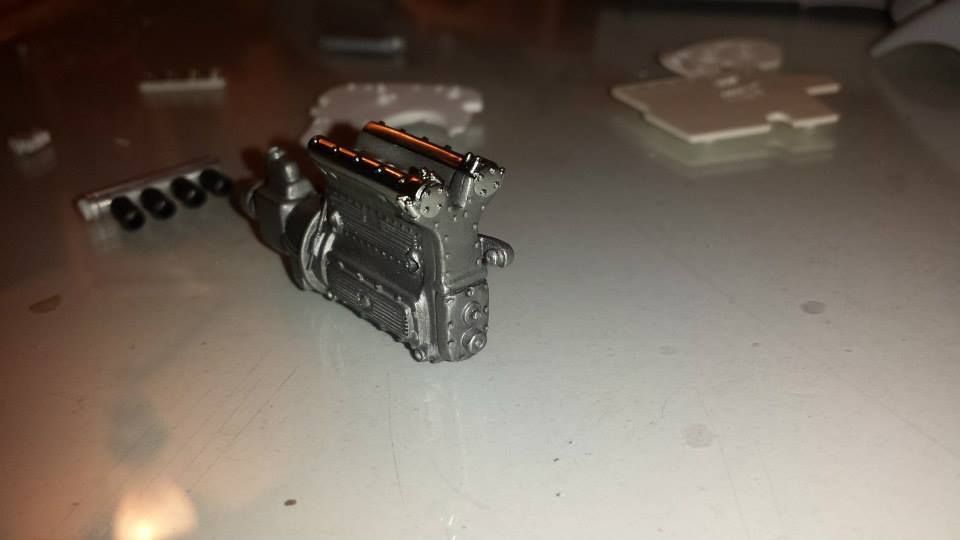
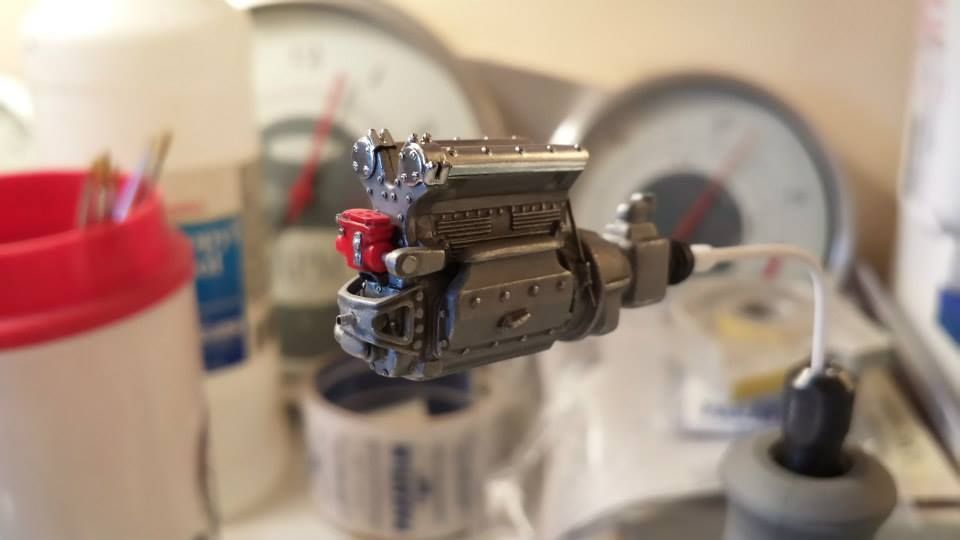
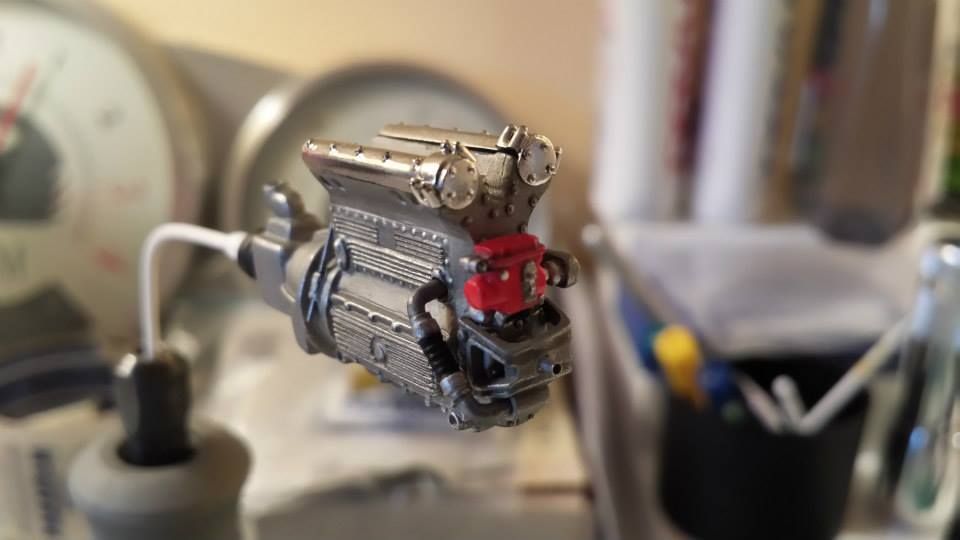
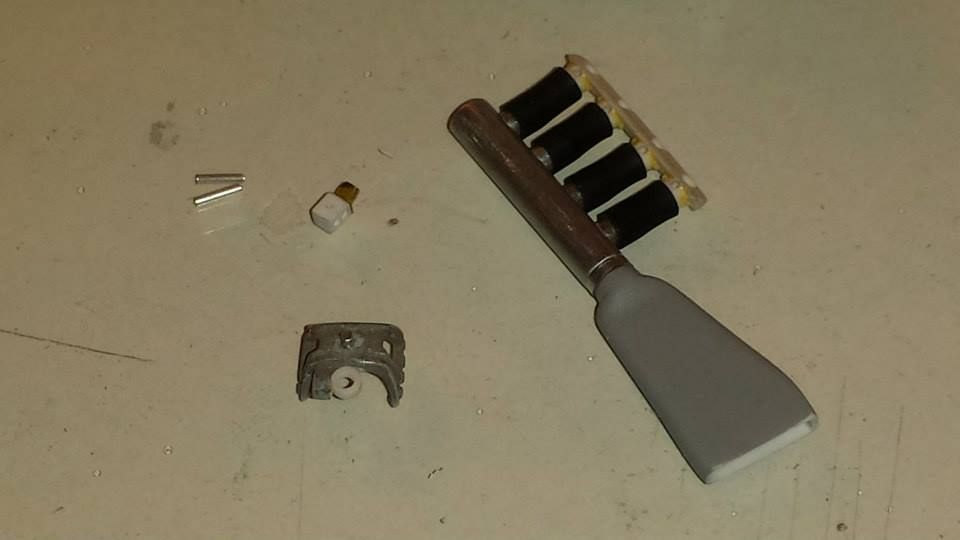
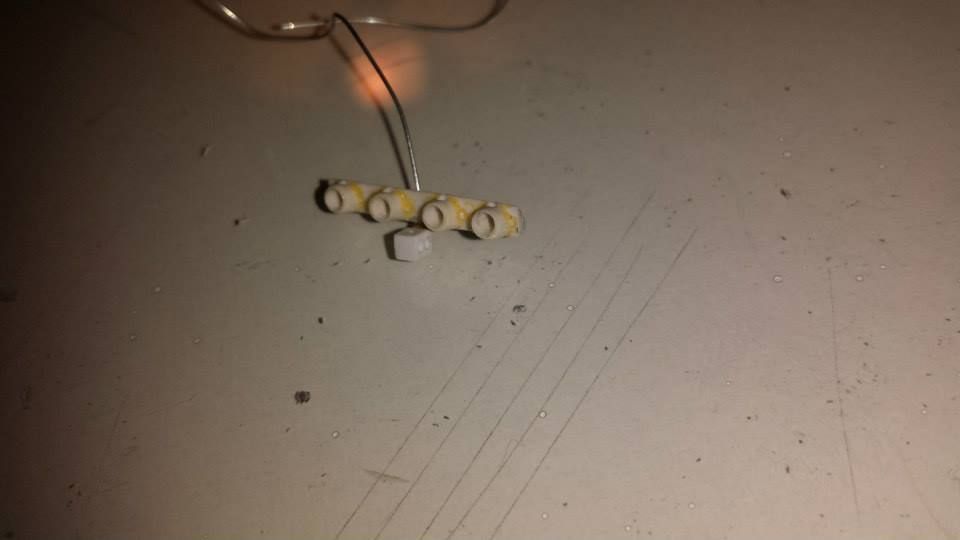
Here are a couple of more pictures showing the work I did on the kit engine thus far when compared to an unmodified engine.. 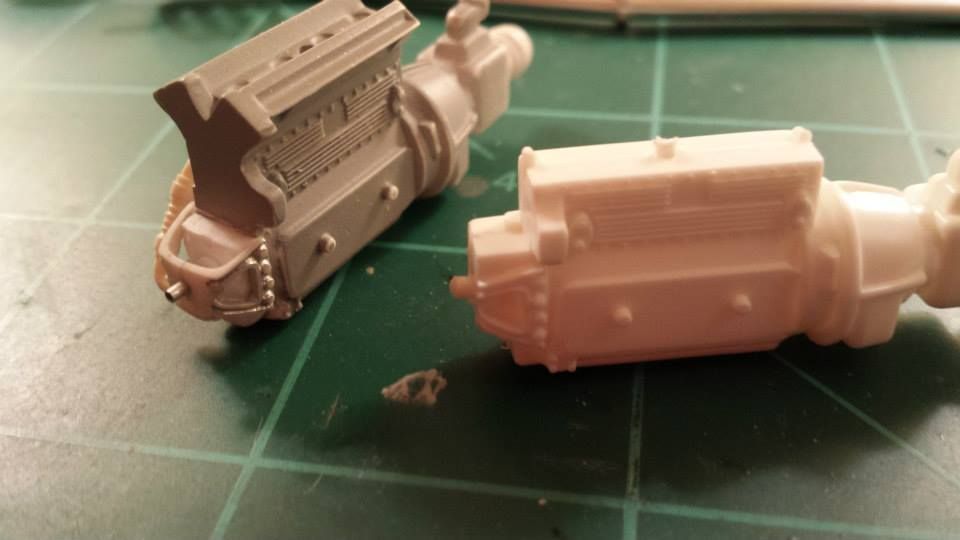 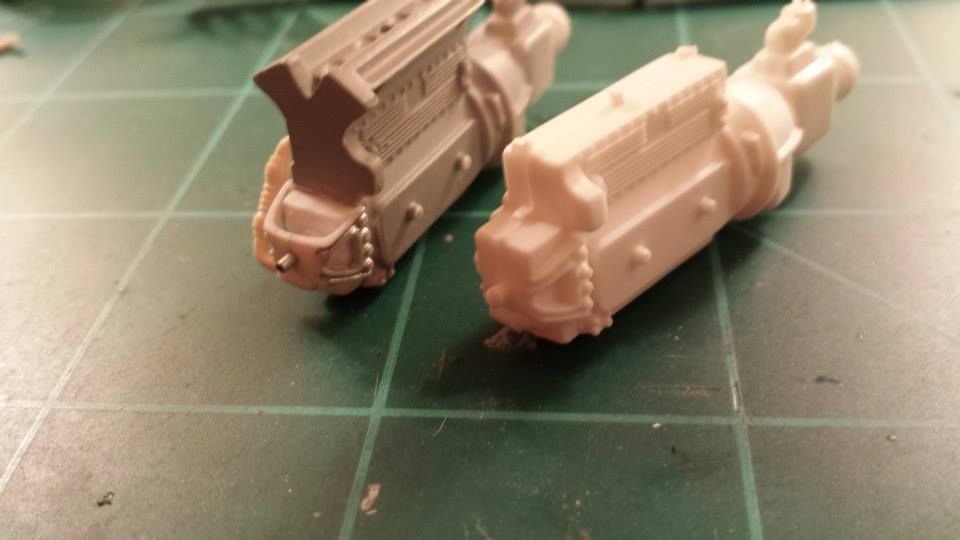 |
|
|
|
Post by MikeB on Mar 4, 2015 10:42:18 GMT -5
Looking good so far and welcome to the fun house Andy!!
|
|
Deleted
Deleted Member
Posts: 0
|
Post by Deleted on Apr 23, 2015 21:39:18 GMT -5
|
|
Deleted
Deleted Member
Posts: 0
|
Post by Deleted on Apr 23, 2015 21:42:43 GMT -5
|
|
Deleted
Deleted Member
Posts: 0
|
Post by Deleted on Apr 23, 2015 21:46:24 GMT -5
|
|
Deleted
Deleted Member
Posts: 0
|
Post by Deleted on Apr 23, 2015 21:52:55 GMT -5
|
|
Deleted
Deleted Member
Posts: 0
|
Post by Deleted on Apr 23, 2015 22:00:40 GMT -5
|
|
|
|
Post by illeagle10 on Apr 24, 2015 6:03:09 GMT -5
Great work Andy! It's really coming together!
Jim
|
|
Deleted
Deleted Member
Posts: 0
|
Post by Deleted on Apr 24, 2015 22:04:52 GMT -5
Thank you for the compliments! The Detail Master number of the hose clamps I used is DM2480. Here is the package..  |
|
Deleted
Deleted Member
Posts: 0
|
Post by Deleted on Jun 28, 2015 17:07:35 GMT -5
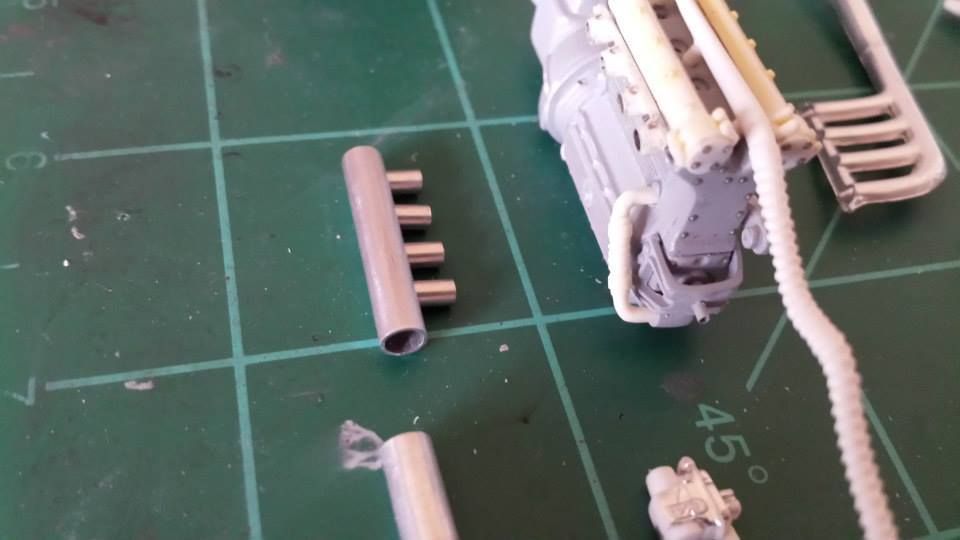
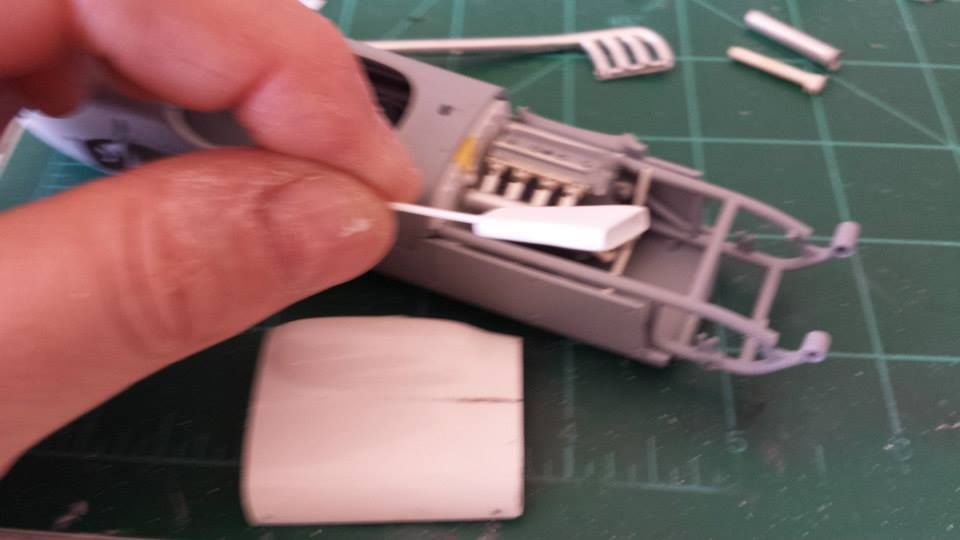
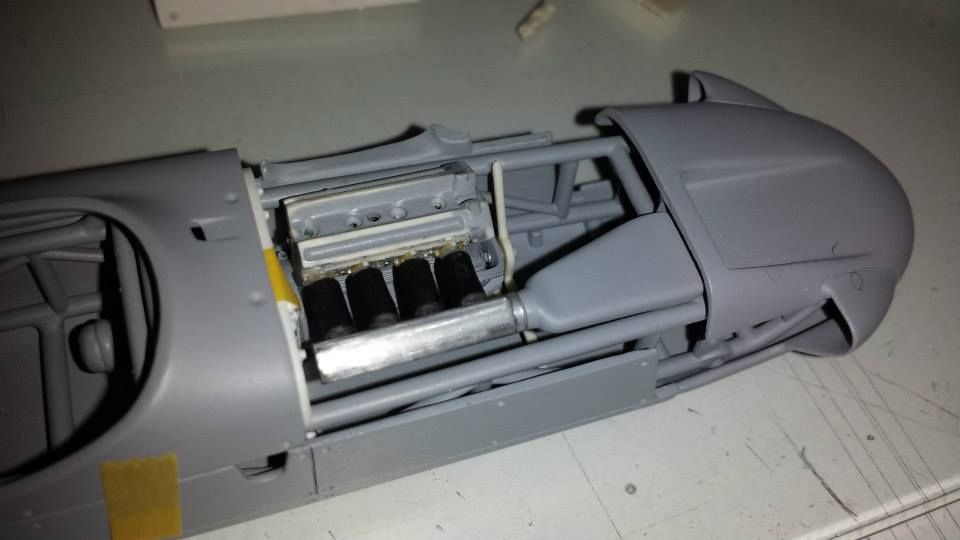
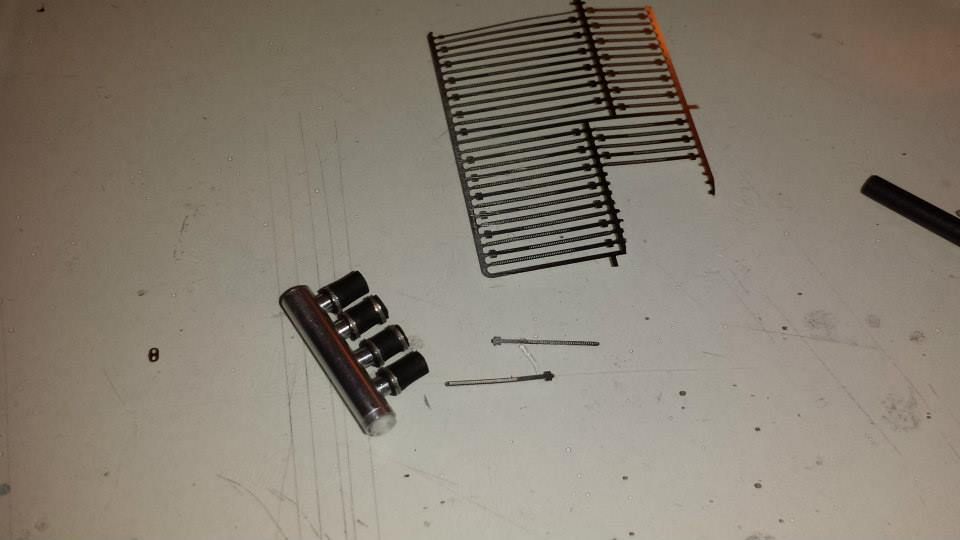
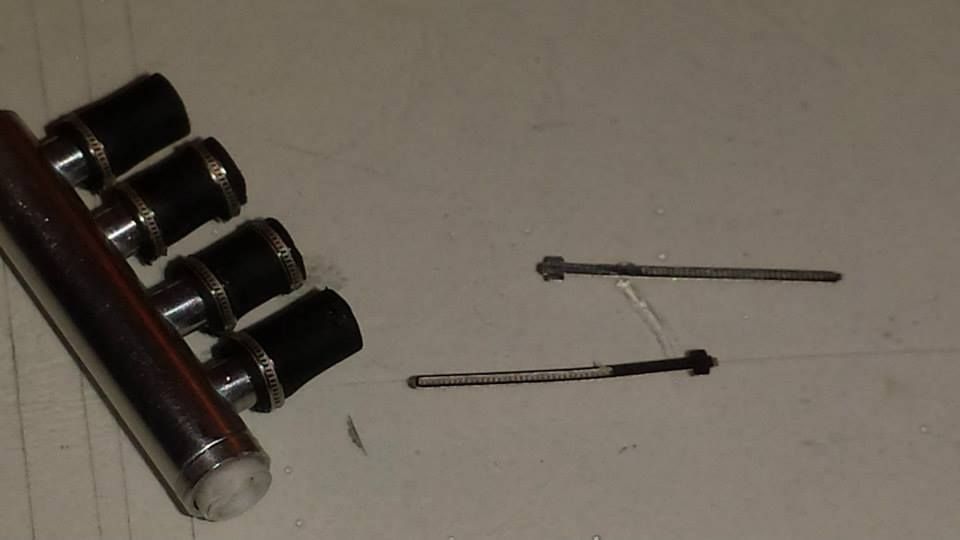
UPDATE 6/27/15More pictures building and detailing suspension parts, radiator, dashboard, interior, firewall, installation of the engine, oil lines, fuel lines and installation of the front suspension. .......... Got a tip from another builder of this kit that the right side offset is way too much in this kit. So I cut a 1/16 of an inch from the right side to make the offset more like the real car. 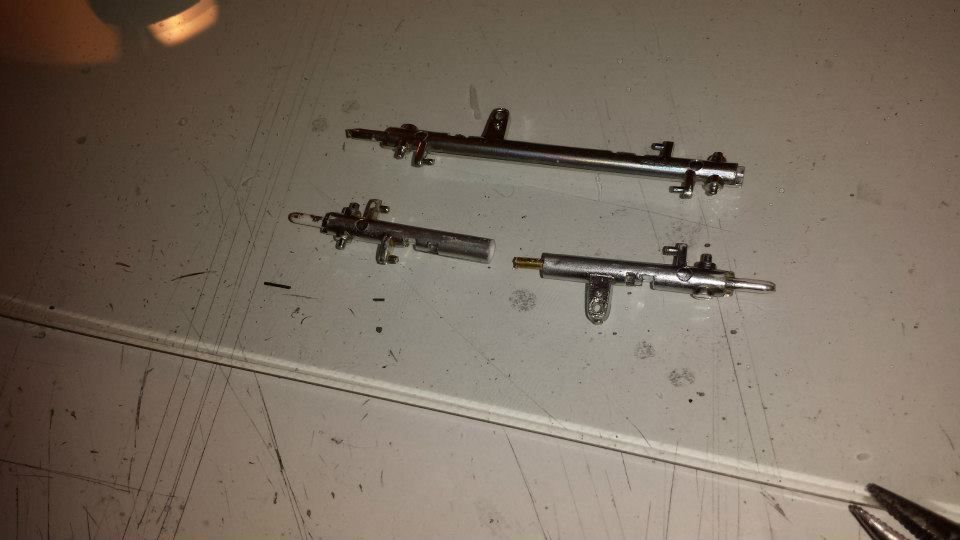 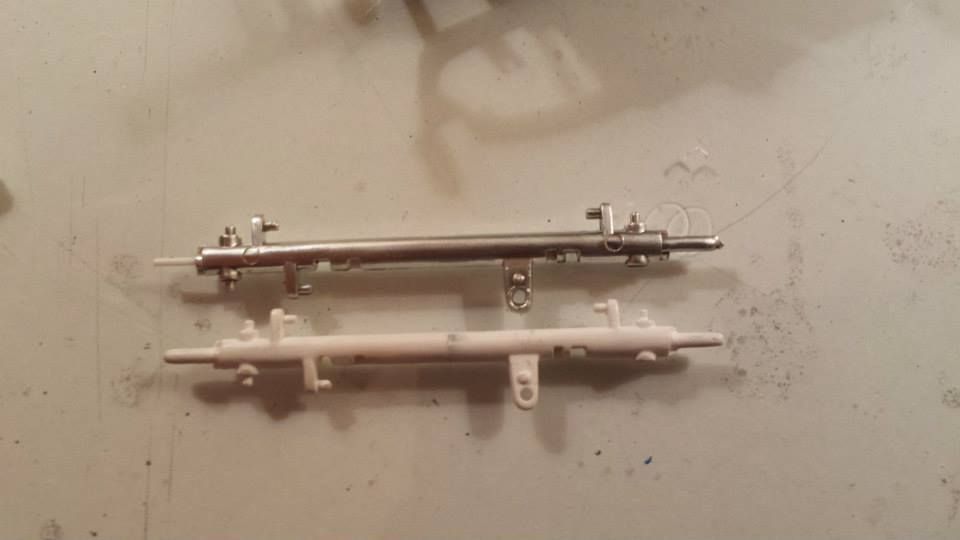 Next group of pics I tackled one of the most boring aspect of any build for me.. And that is the time consuming process of removing all the flash sink marks and nasty mold lines from all the small parts. Most of these parts were were chromed in the kit so I used the chrome as kind like a guide paint to show the mold lines and where to sand. Afterwards the part were dunked in straight chlorine bleach to remove any remaining plating. These parts are going to be repainted with Alclad chrome. 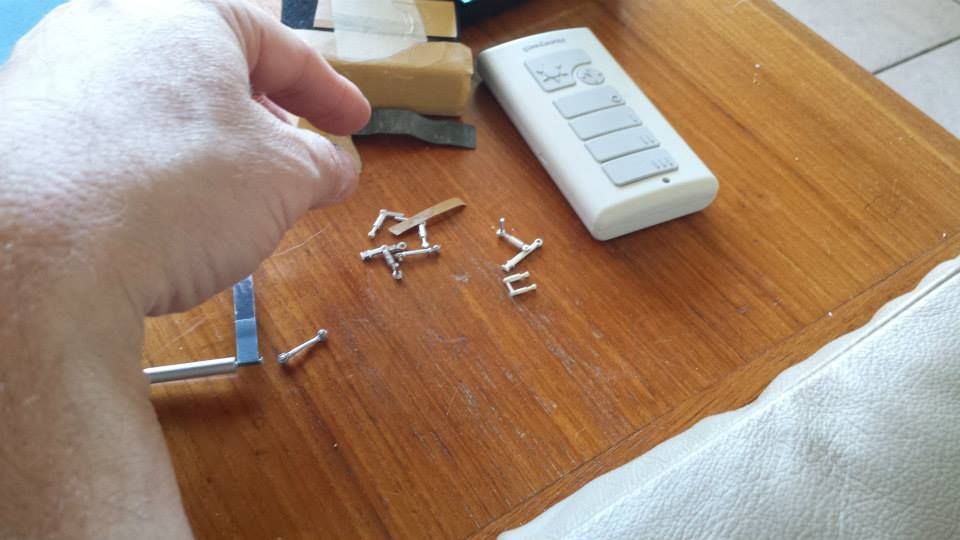 After sanding away the mold lines on some the suspension parts the tubing parts still did not look right so I decided to cut away the tubing portion of these parts and replaced them with Albion micro tubing 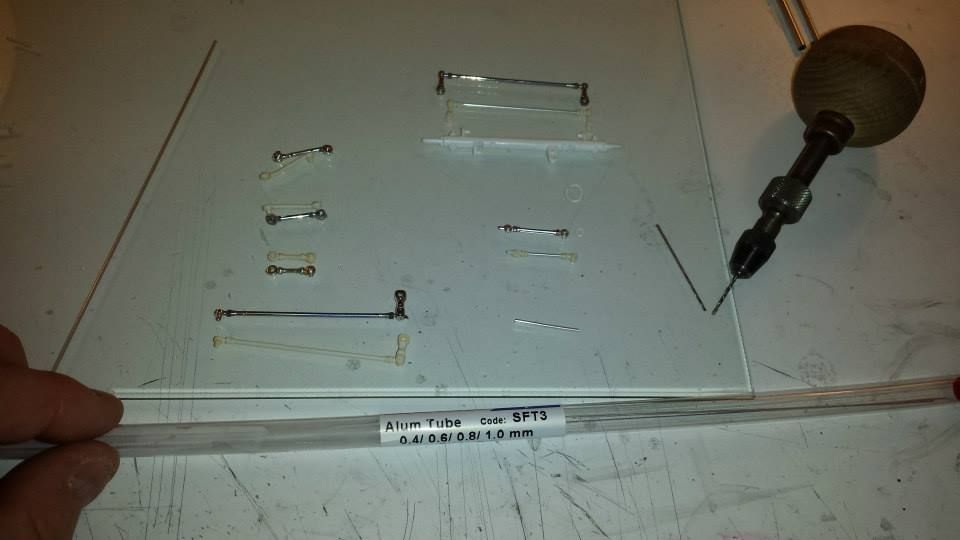 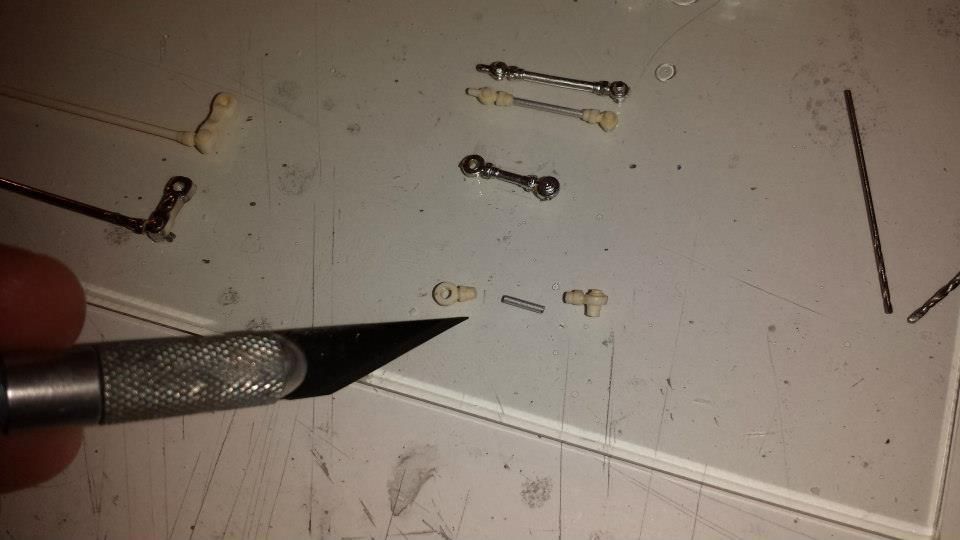 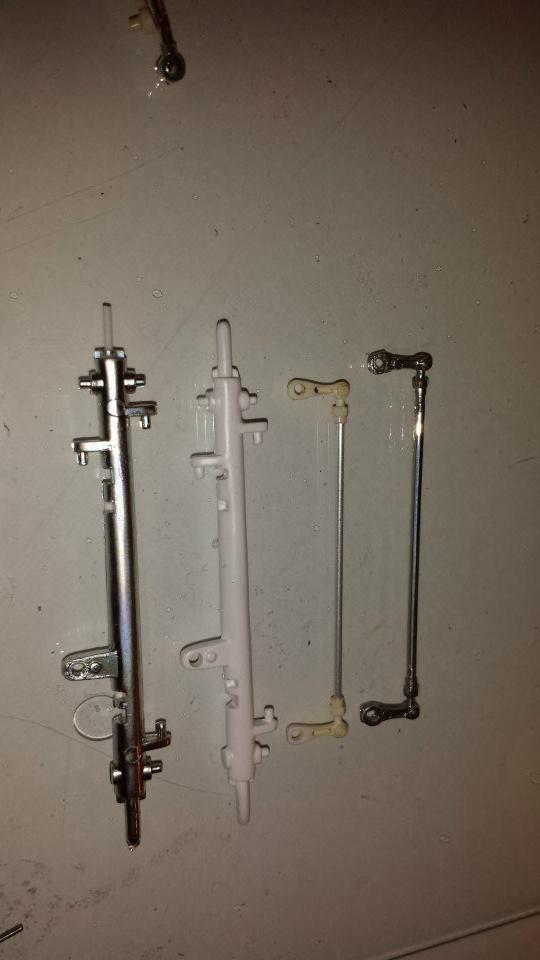
|
|