Deleted
Deleted Member
Posts: 0
|
Post by Deleted on Jul 20, 2016 22:23:13 GMT -5
Body is primed white in prep for the pearl white base coats 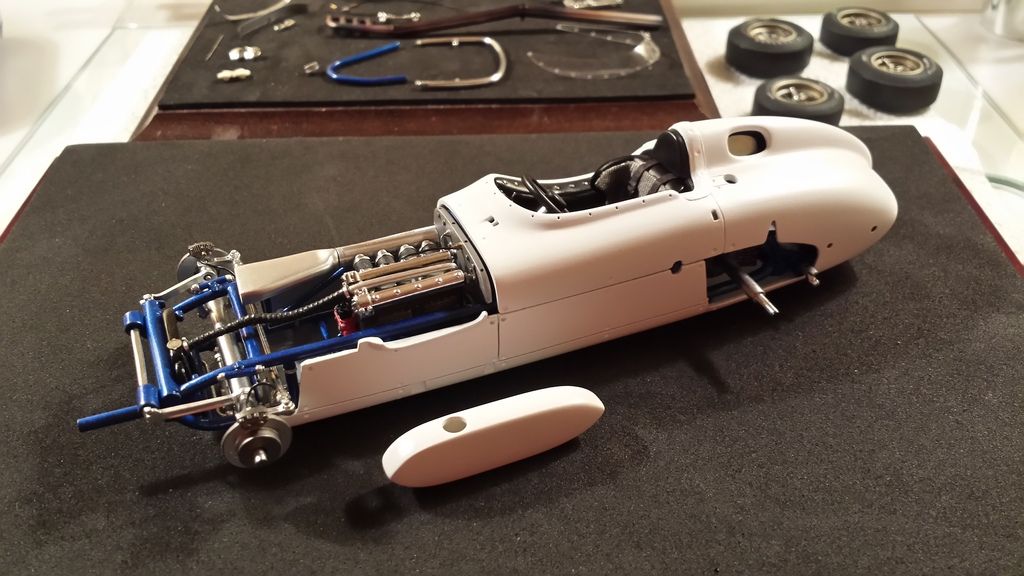 I sprayed 2 spoons with 2 different types of pearl white I had to see which would be more appropriate for Ole' Calhoun. The Top spoon was Tamiya pearl white and the bottom spoon is house of color snoflake pearl white.. I decided to go with the tamiya pearl white as the pearl flake were more in scale with the car. 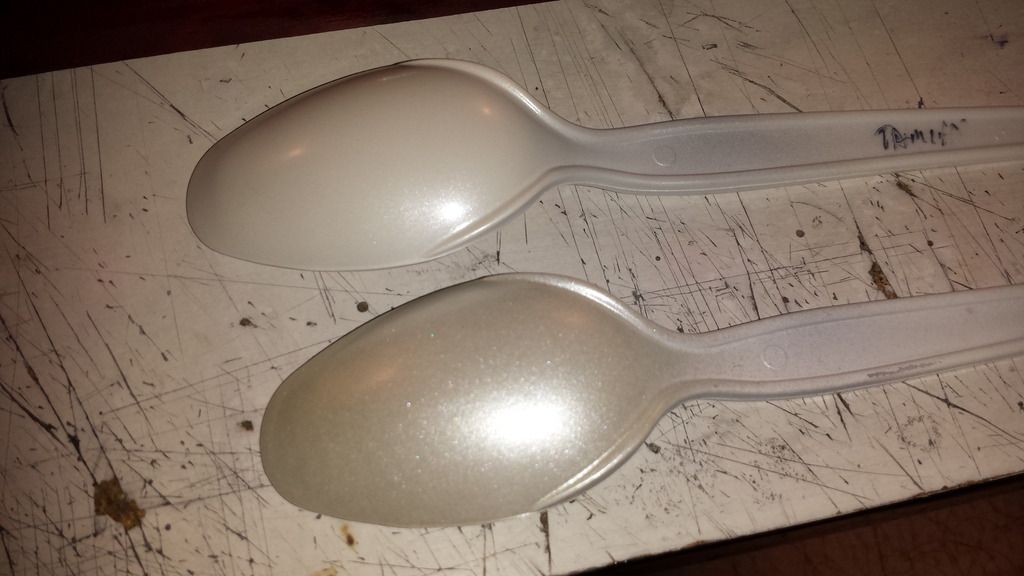 A close up of the 4 sets of indycals replacement decals i used, These decals are beautiful.. I decided to buy 4 as the cars graphics are really complicated and mistakes were bound to happen. 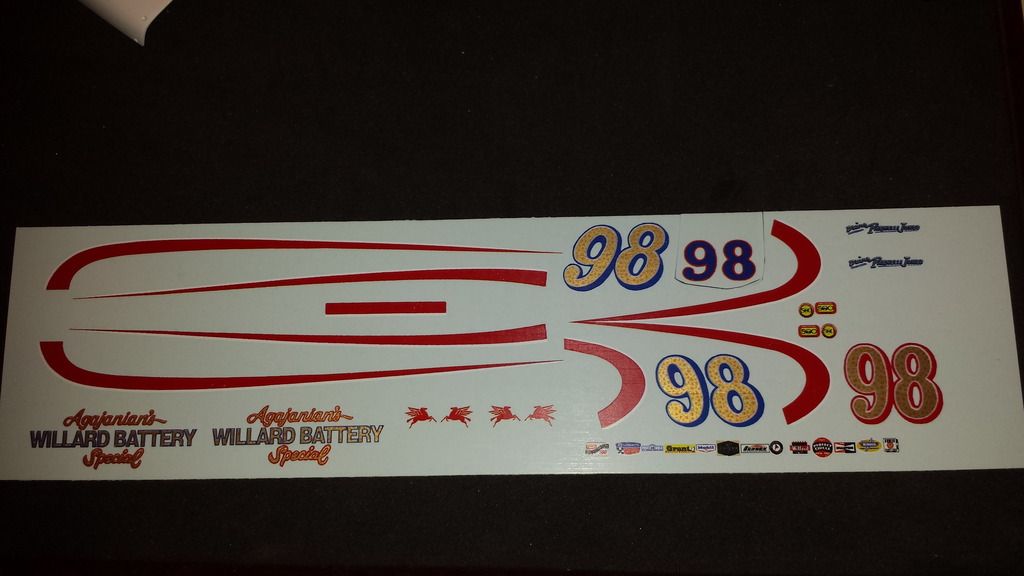 I decided to paint the external oil tanks 1st with the base coat of tamiya pearl white and decal then clear coat to make sure there will be no issue 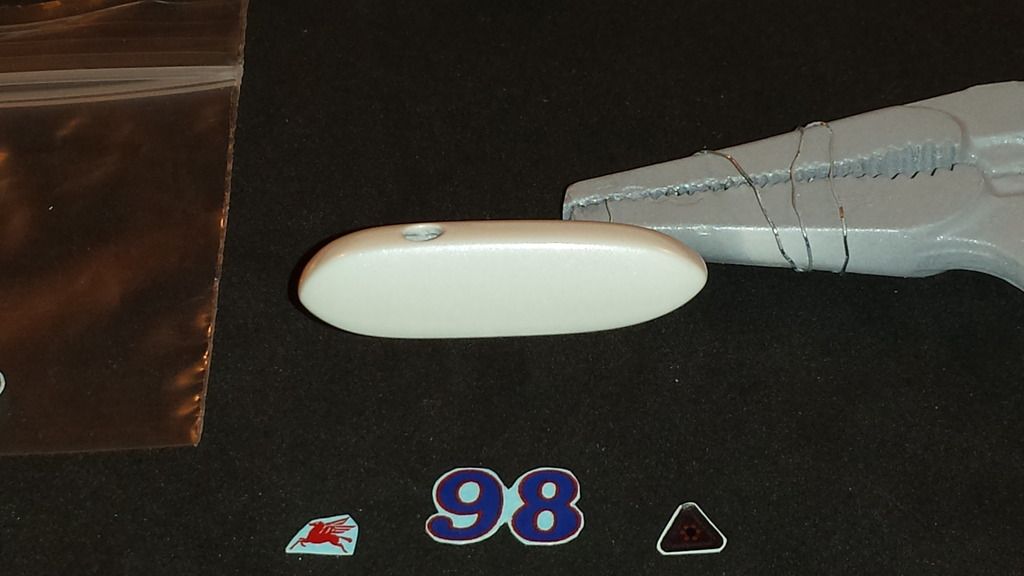 Tank is decal-led! Looks great!  All the rest of the body parts are painted Tamiya pearl white  I used Gravity Paints Polyurethane 3 parts clear on this build but decided to test it on the oil tank first. 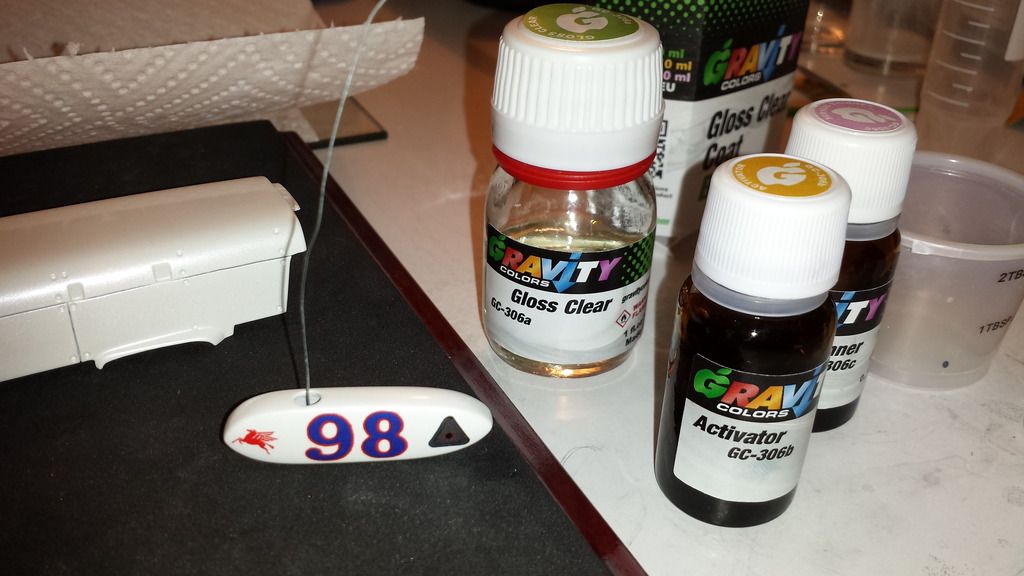 Clear laid down nicely and did not effect the decals! 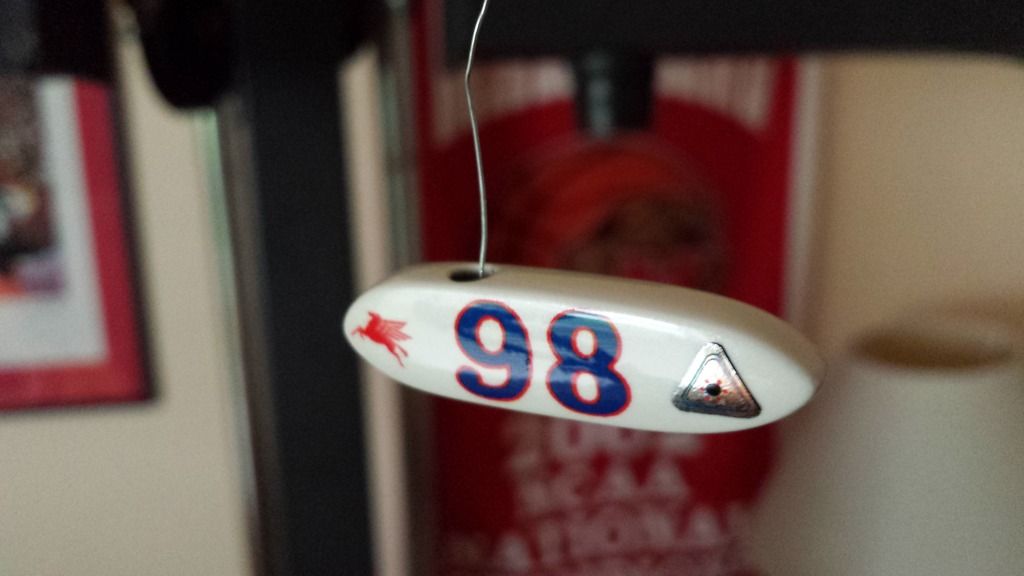 |
|
Deleted
Deleted Member
Posts: 0
|
Post by Deleted on Jul 20, 2016 22:23:50 GMT -5
To start laying out the graphics I figured the best place to start would be on the hood. So I made a bunch of photocopies of the decal sheets. I then cut out the red stripes and laid them on the body with tape. 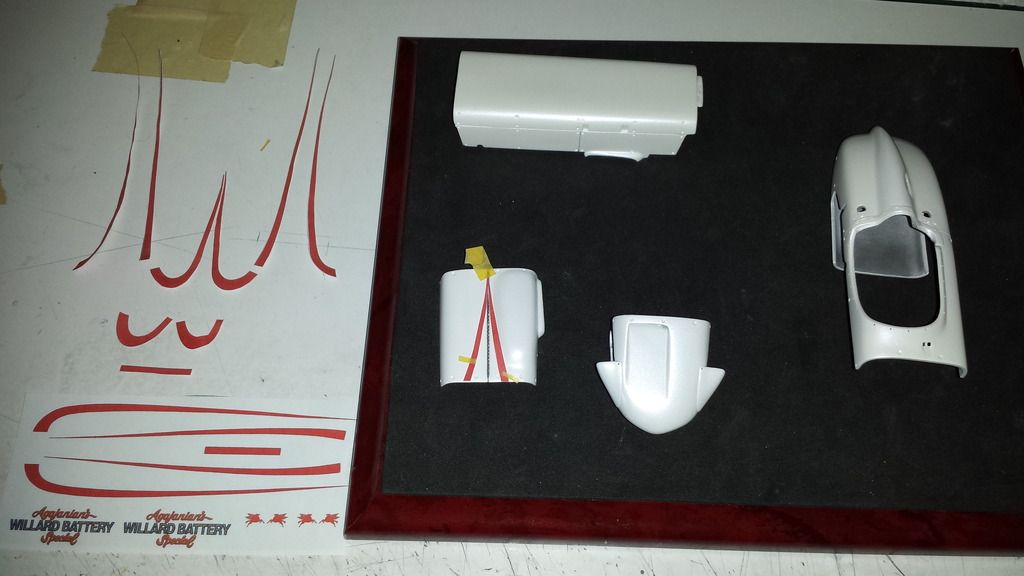 close up of the paper copy of the hood stripes which allowed me to position them on the hood in it's proper location for the Mica blue base coat 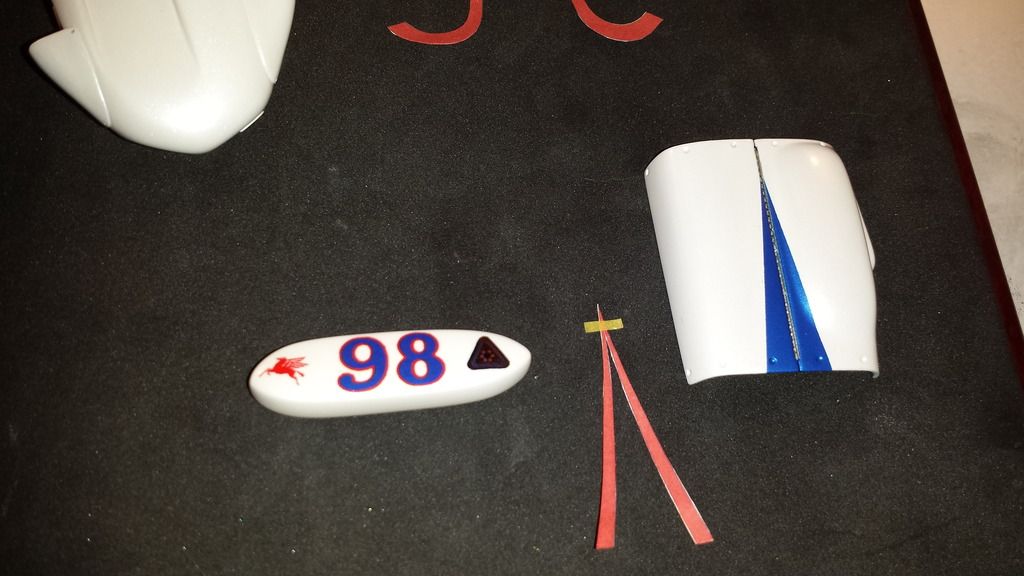 With the paper stripe in place you can see how the decals will lay on. 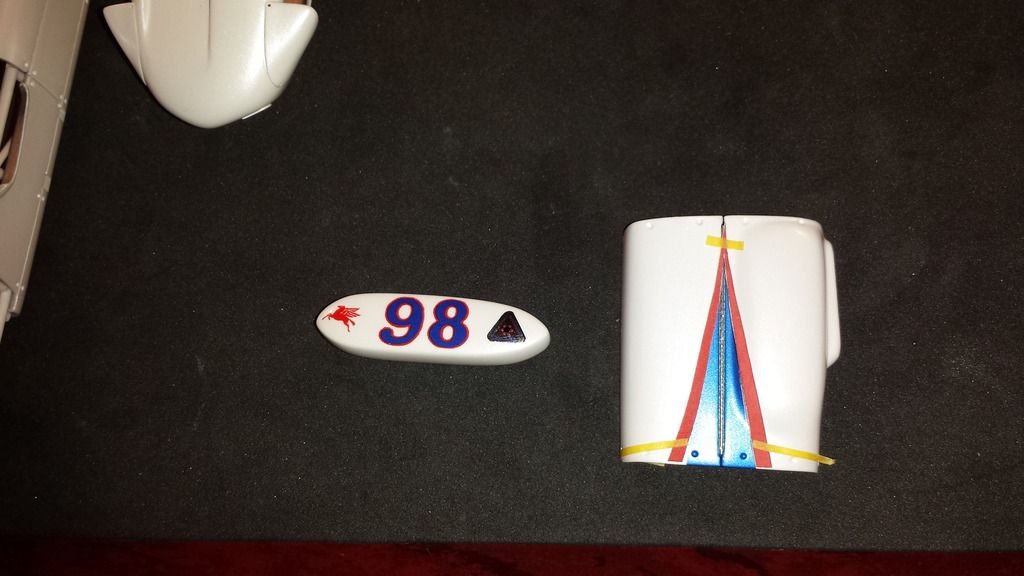 With the hood stripe created I the started to lay out the nose cone and side stripes 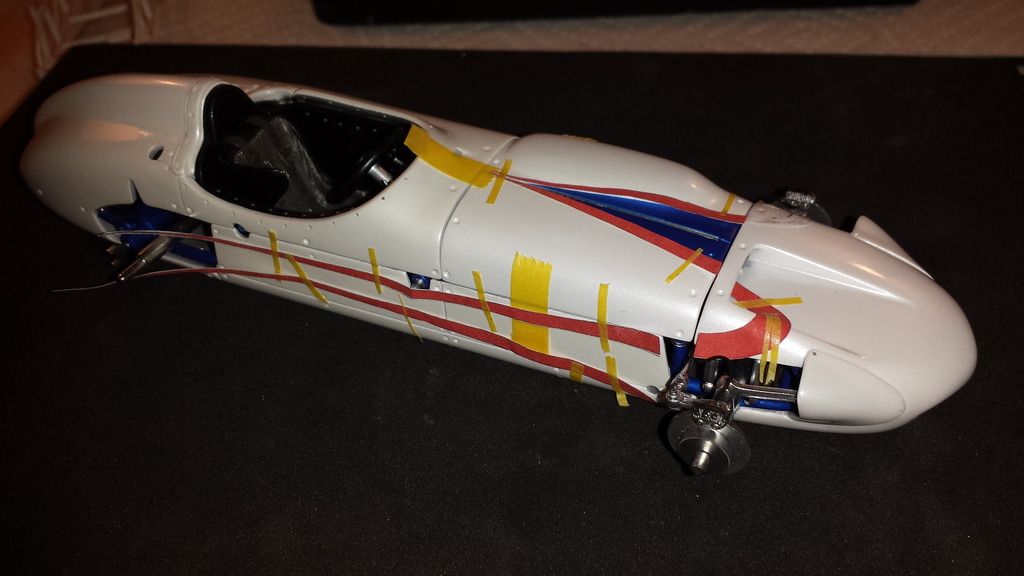 Complicated nosecone stripe is laid out 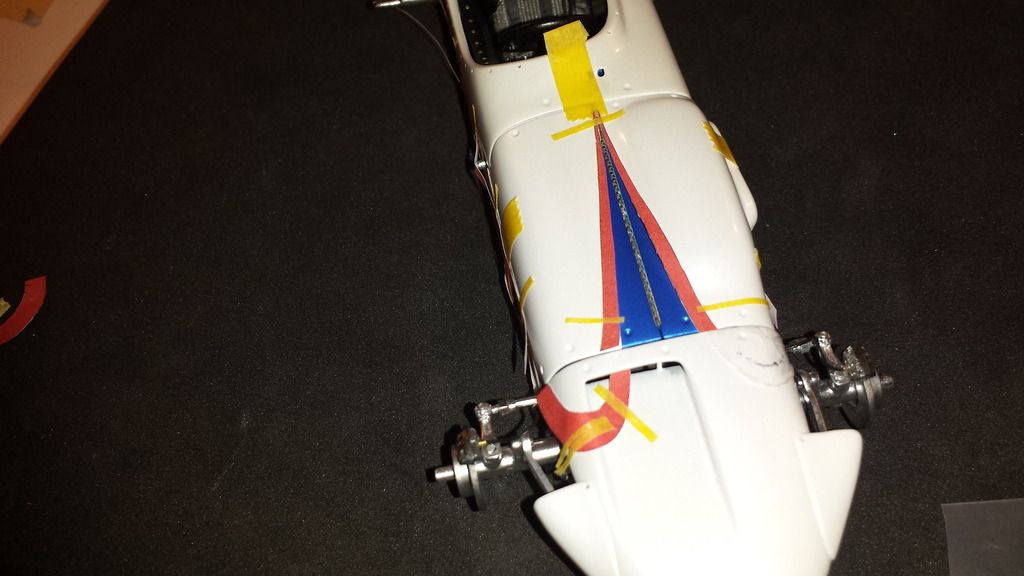 |
|
Deleted
Deleted Member
Posts: 0
|
Post by Deleted on Jul 20, 2016 22:24:16 GMT -5
To mask the stripe I used Paraflim flexible masking material as it's easily manipulated for whatever masking you need  Masked.. Nose cone is painted Mica Blue 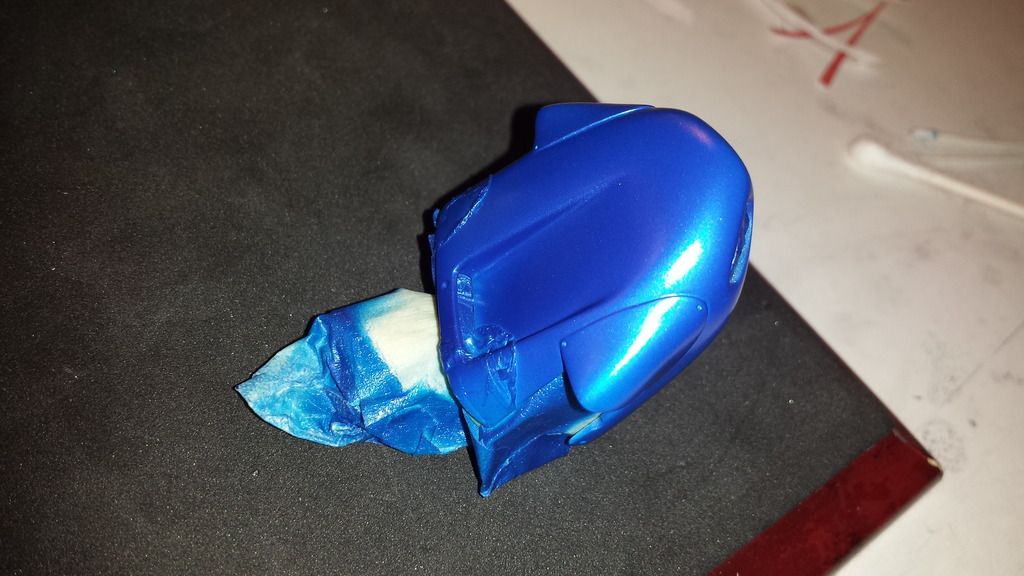 Once dry nose cone is back on the car for the side stripes 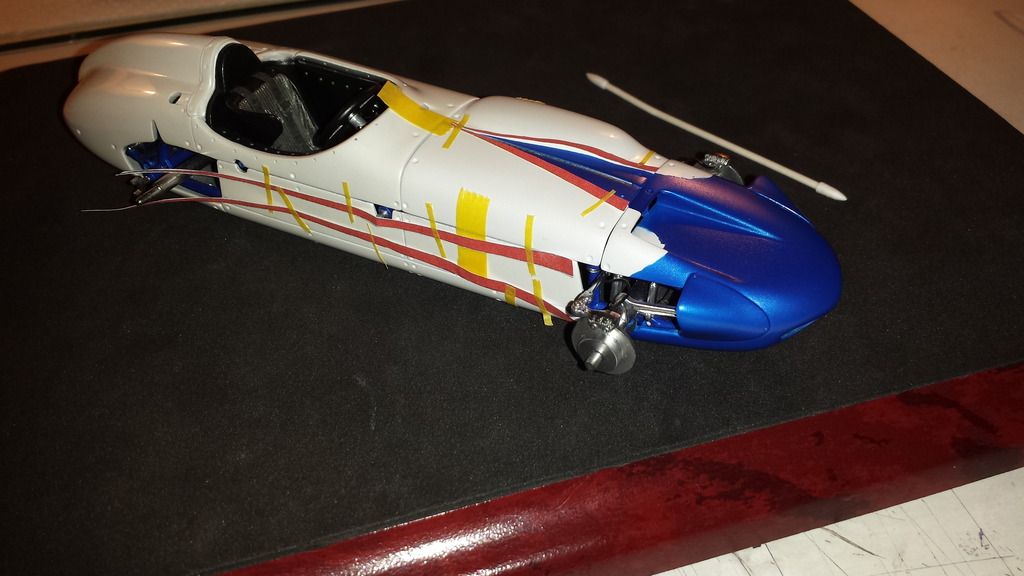 Decided to install the hood decals. Look great! 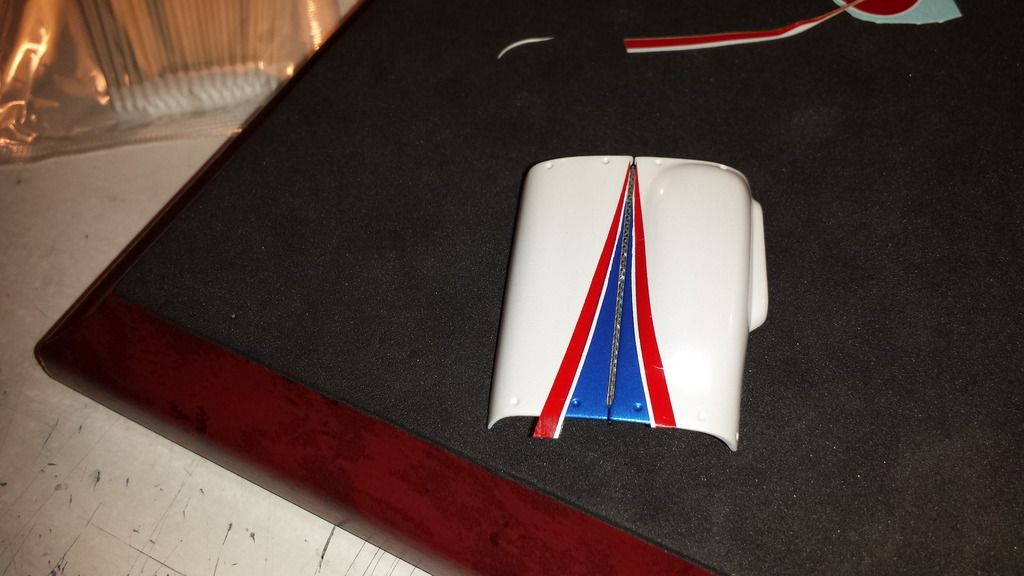 Look even better with the sponsor decals! 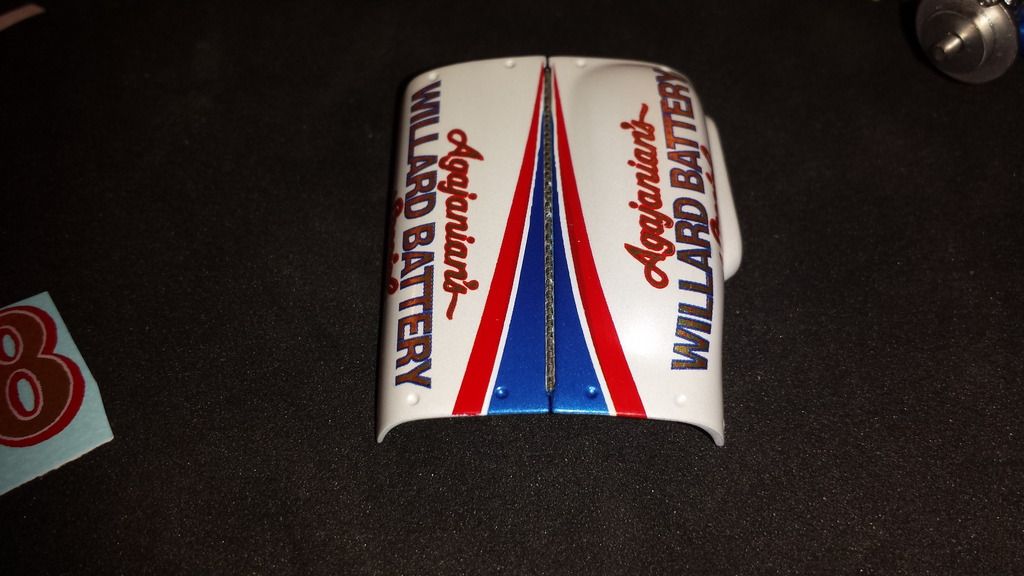 |
|
Deleted
Deleted Member
Posts: 0
|
Post by Deleted on Jul 20, 2016 22:24:44 GMT -5
Nose cone stripes and the famous number 98 decal is installed.. 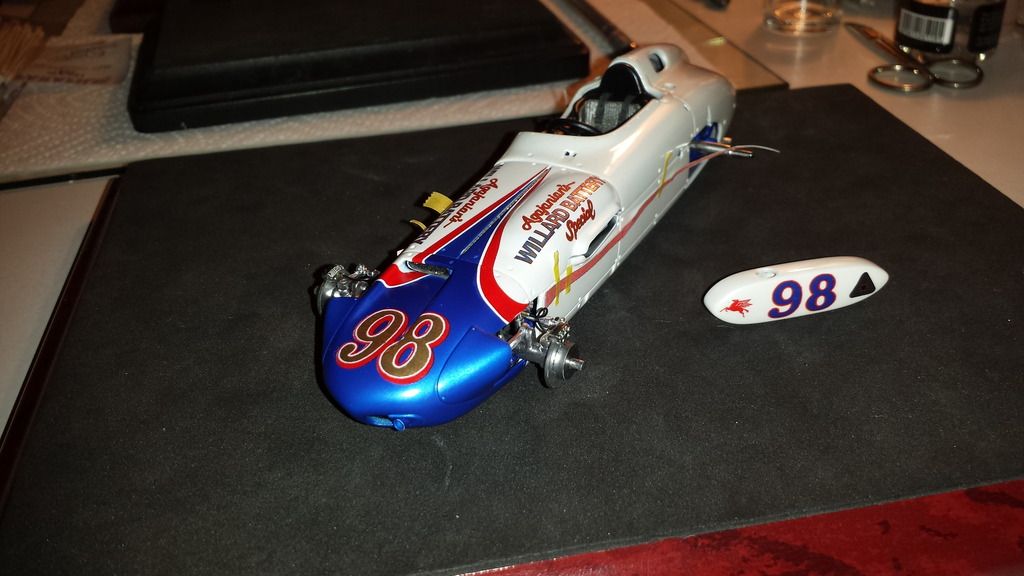 The Indycals decals are awesome! 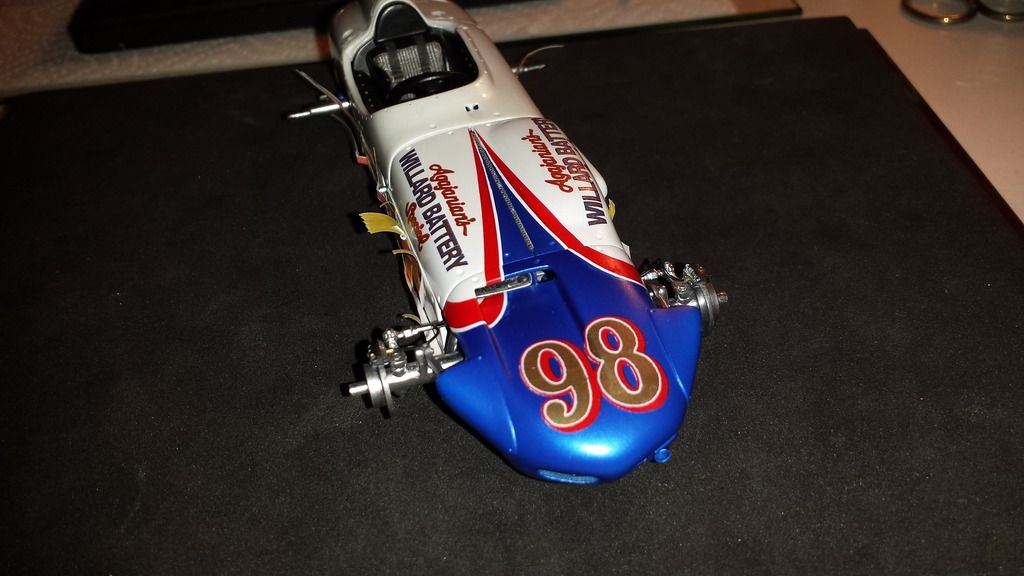 Final position of the side stripes. 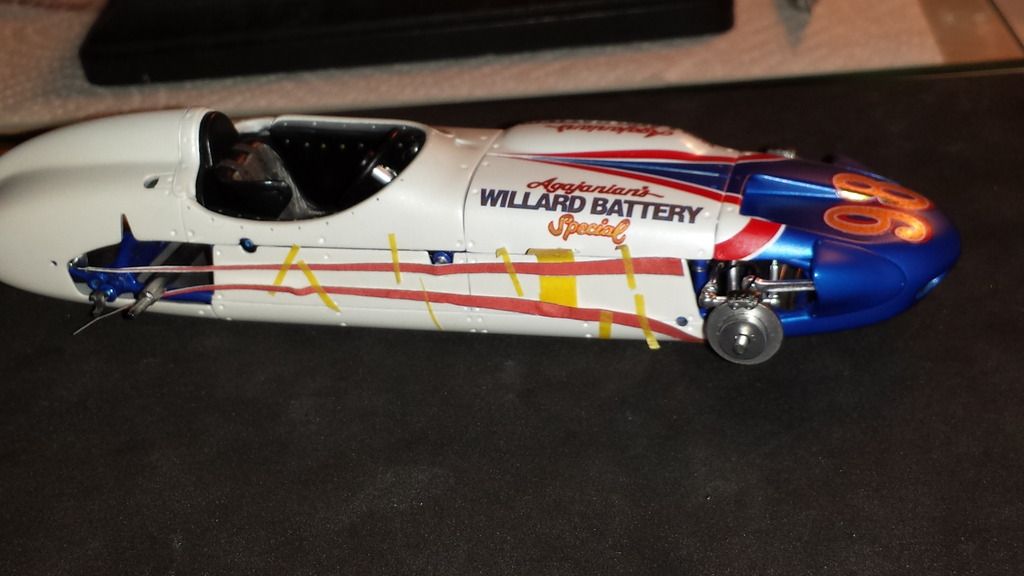 After some careful masking we have blue side stripes! 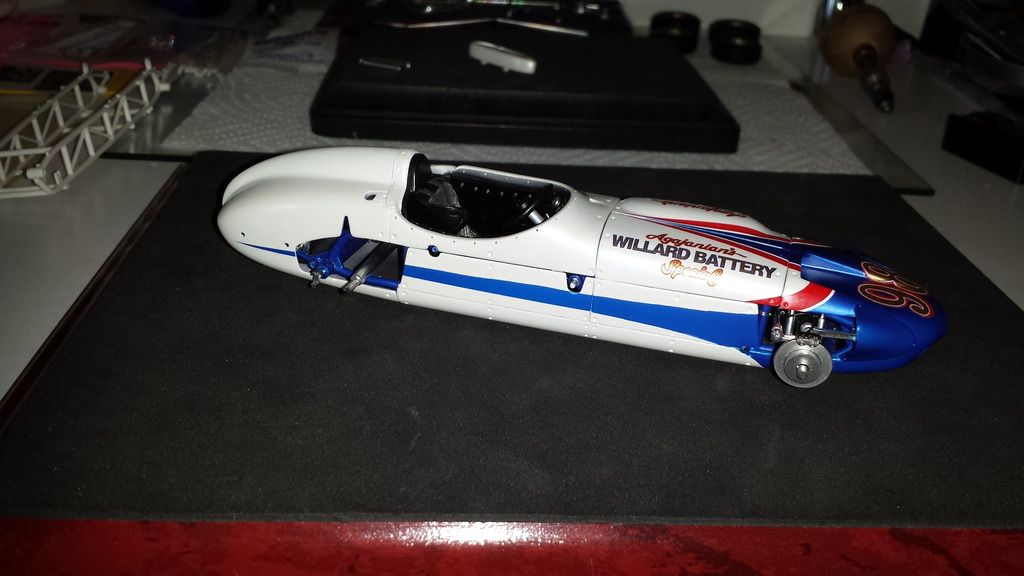 On both sides!  After the side stripe decals are installed. 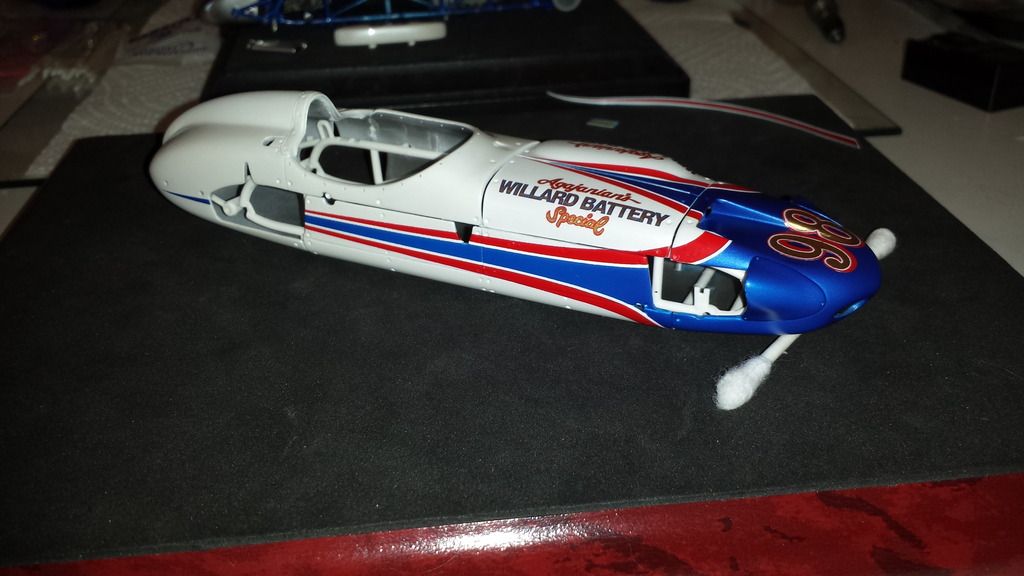 Other Side 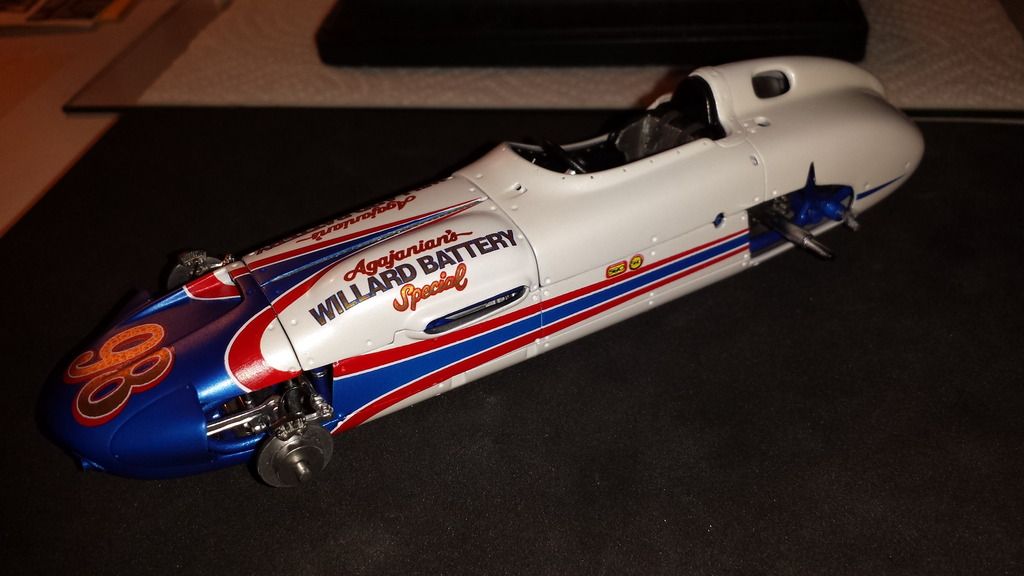 |
|
Deleted
Deleted Member
Posts: 0
|
Post by Deleted on Jul 20, 2016 22:25:16 GMT -5
|
|
Deleted
Deleted Member
Posts: 0
|
Post by Deleted on Jul 20, 2016 22:26:03 GMT -5
|
|
Deleted
Deleted Member
Posts: 0
|
Post by Deleted on Jul 20, 2016 22:26:35 GMT -5
A couple of days later the nose cone polished! And hood lip is re-installed  The Replicas and Miniatures of Maryland photo-etched Dzus fasteners are attached with Future clear acrylic to the indentations. 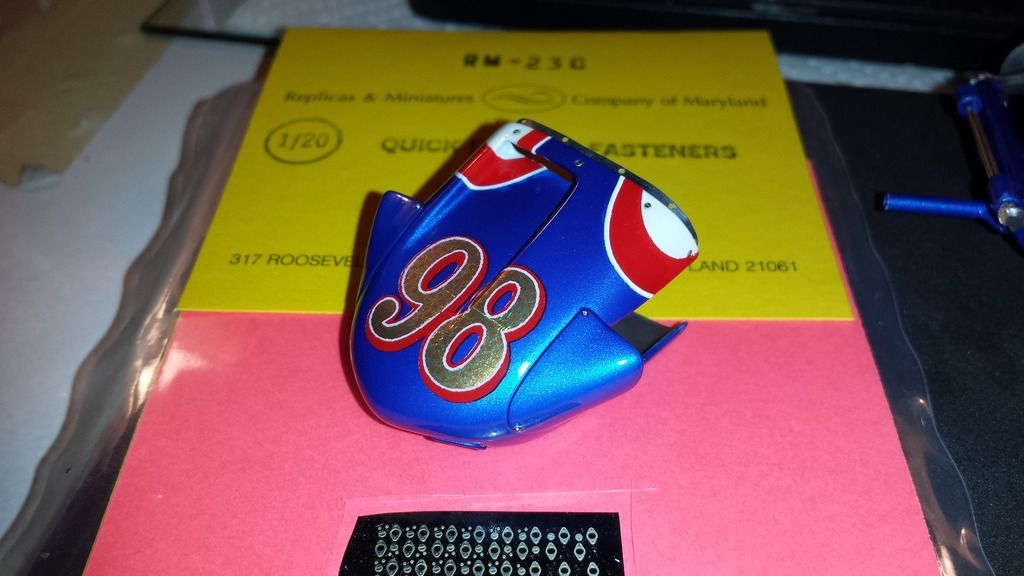 Micro screws I fitted a while ago to the nose cone side pods are permanently installed. 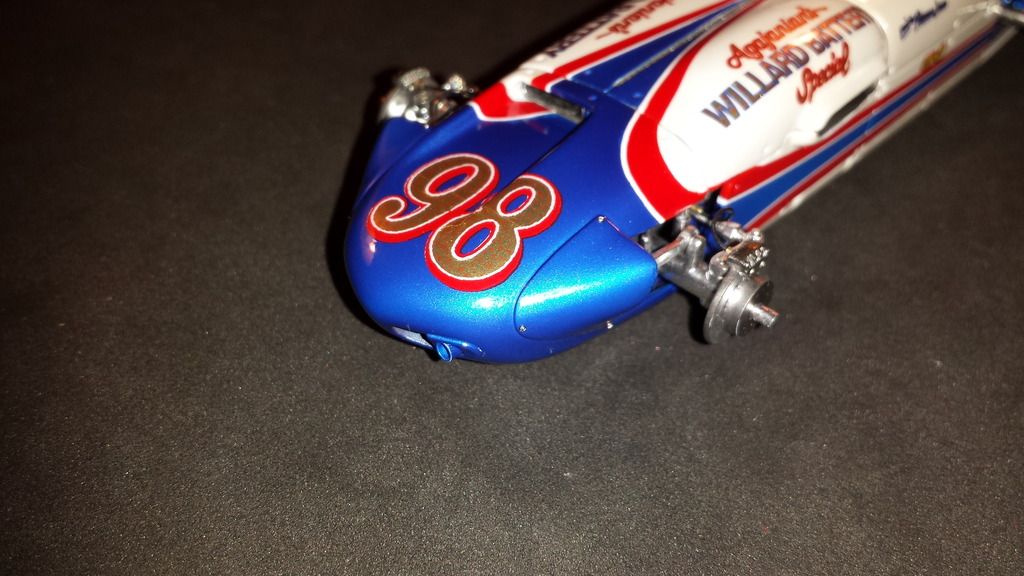 More Dzus fasteners installed on lower body pan 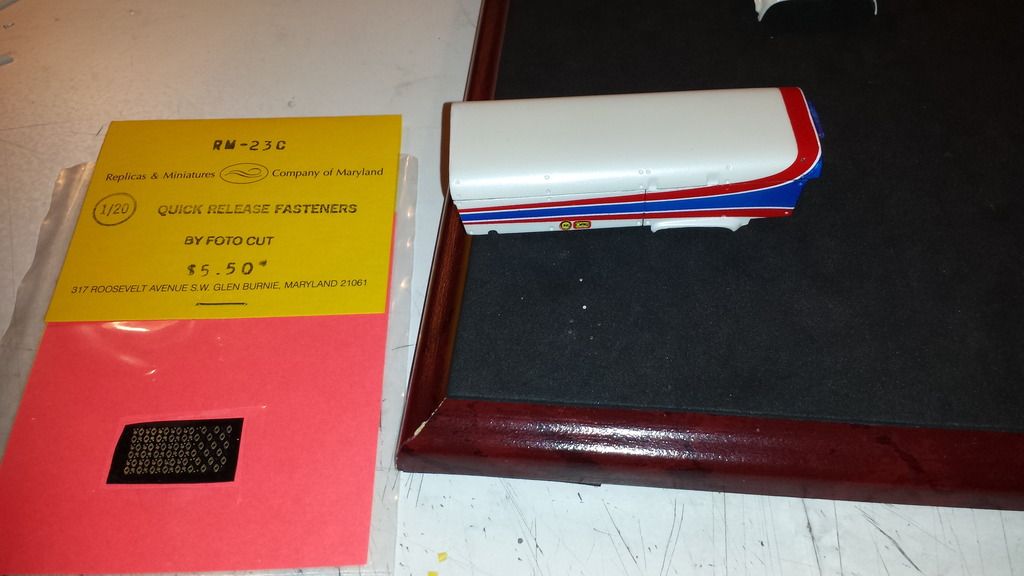 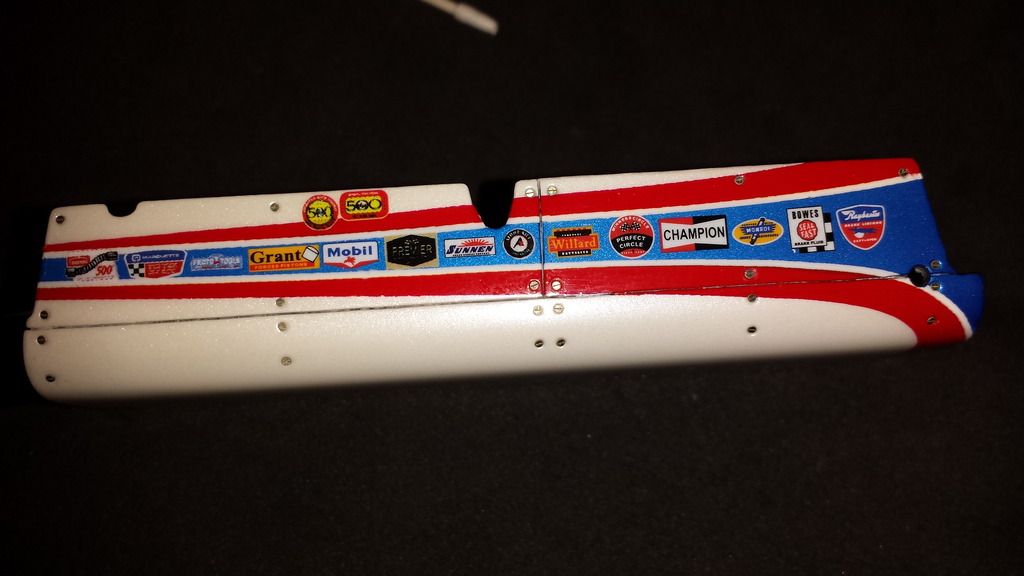 |
|
Deleted
Deleted Member
Posts: 0
|
Post by Deleted on Jul 20, 2016 22:27:01 GMT -5
|
|
Deleted
Deleted Member
Posts: 0
|
Post by Deleted on Jul 20, 2016 22:27:43 GMT -5
Upper and lower body permanently attached to the frame!  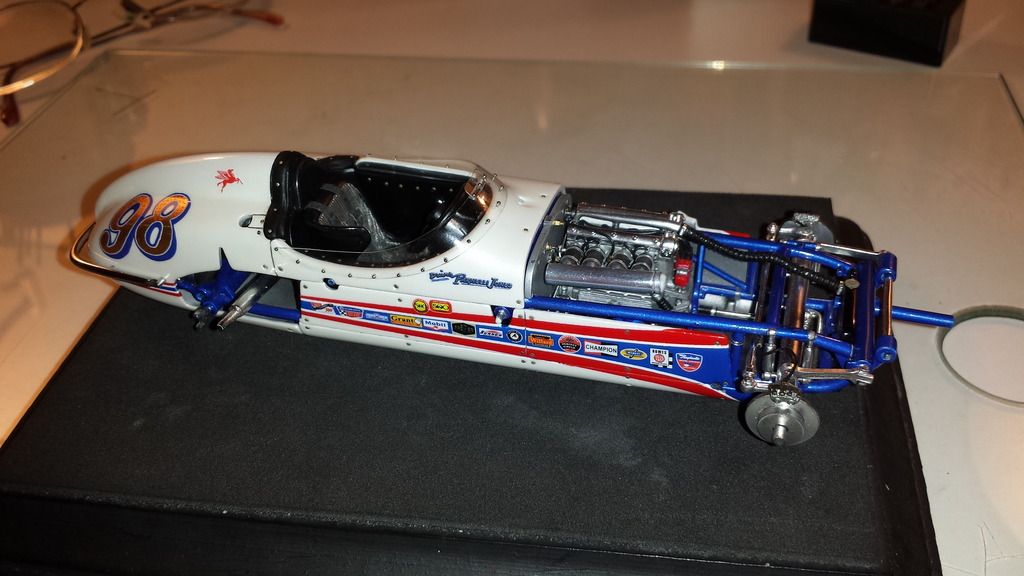 Rear suspension is installed. 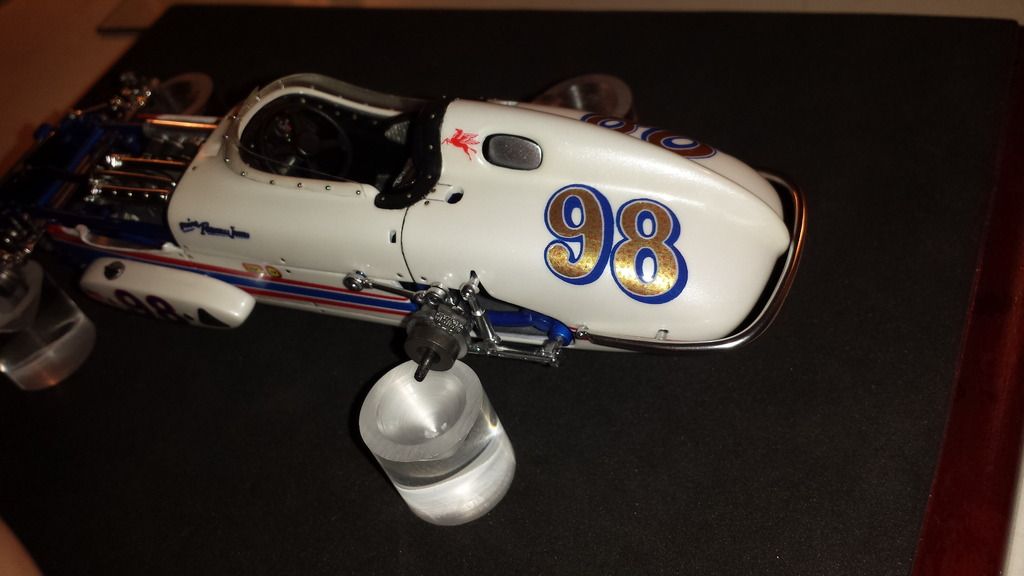 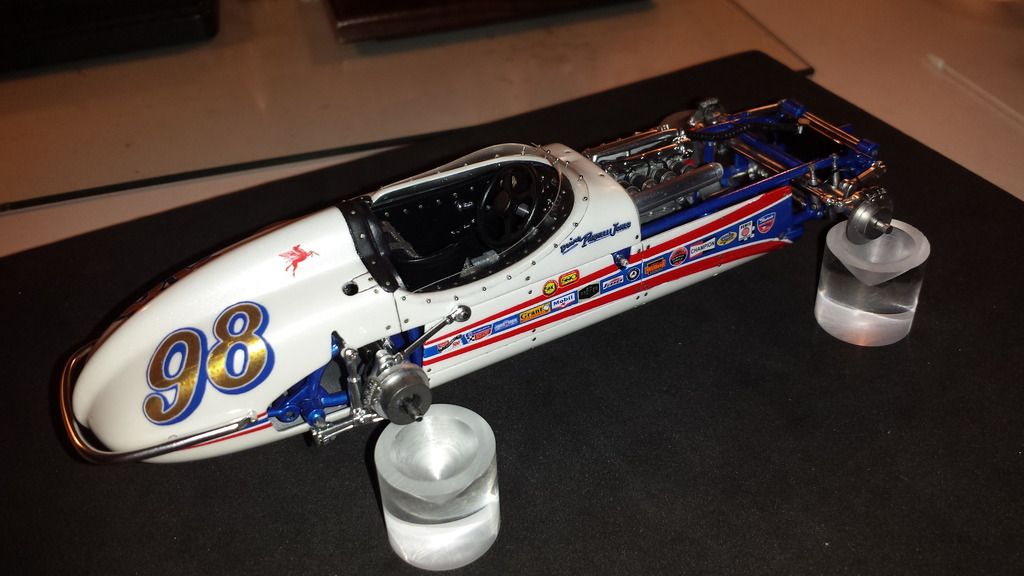 Steering arm is installed.. 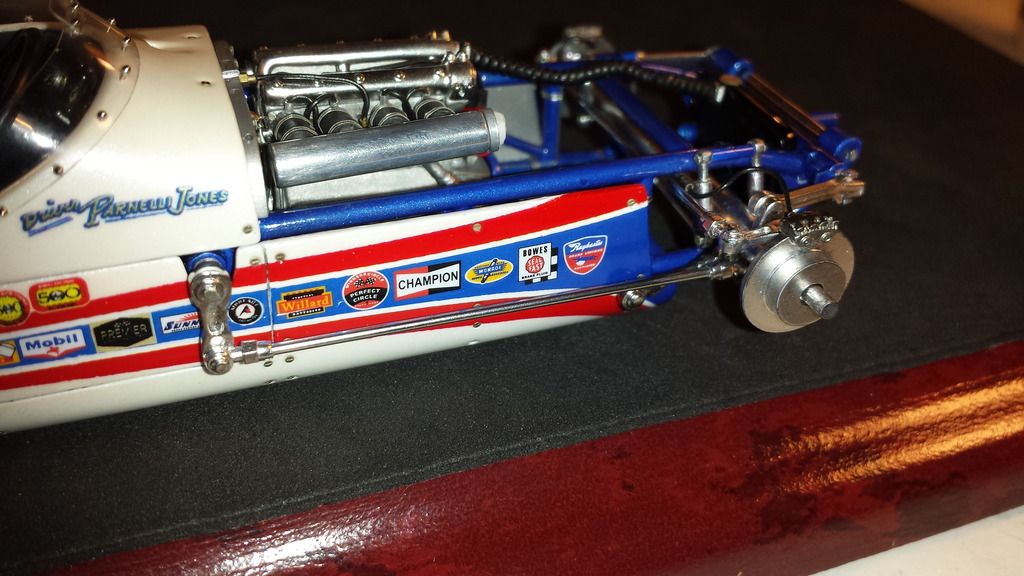 Installed drag link. What nice is it does not interfere with the nose cone.  Pro Tech photo-etched bolts installed on various points of the suspension and steering links. 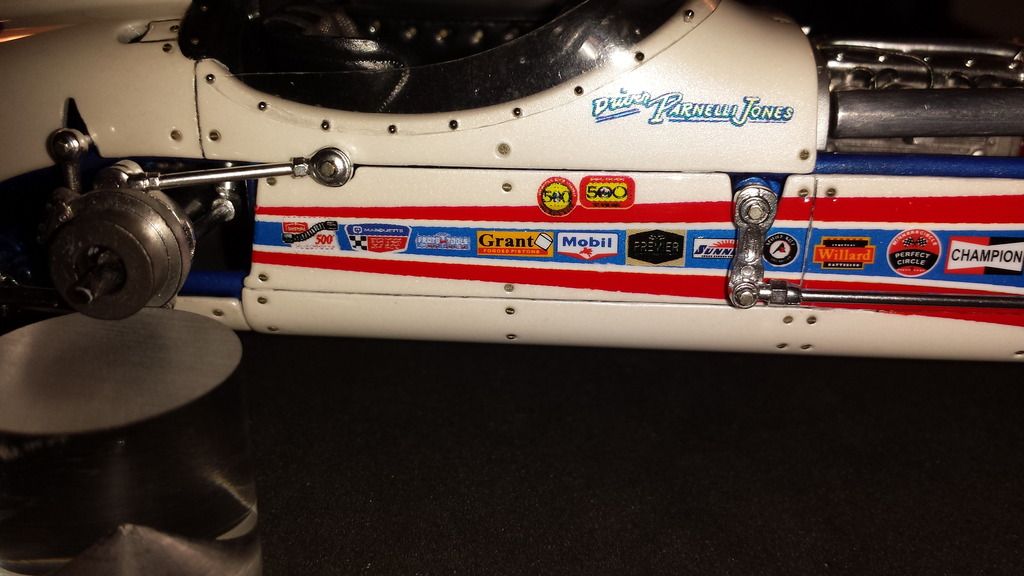 Fuel cap was painted Alclad gold titanium and the latch Alclad chrome 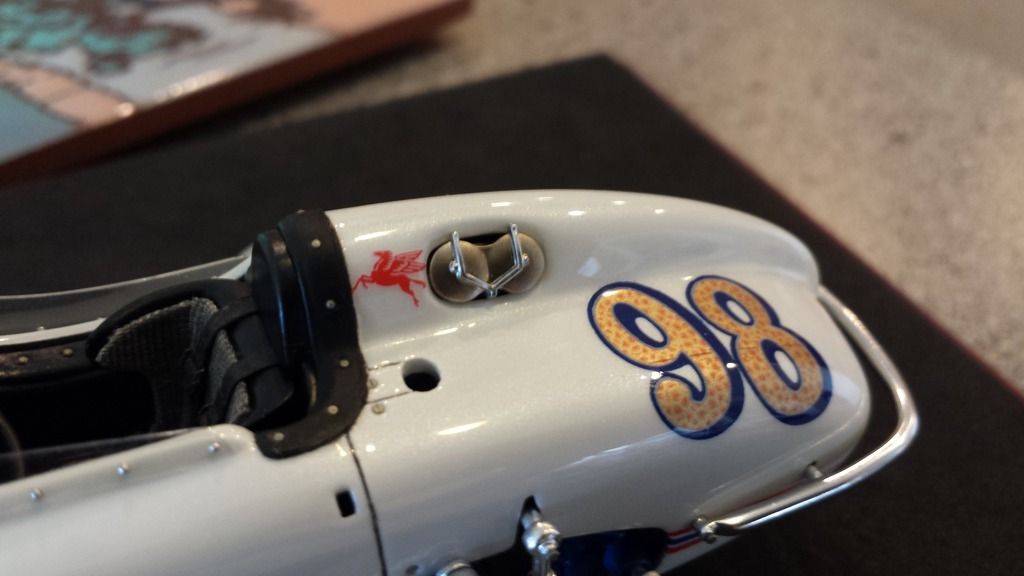 Roll bar is installed 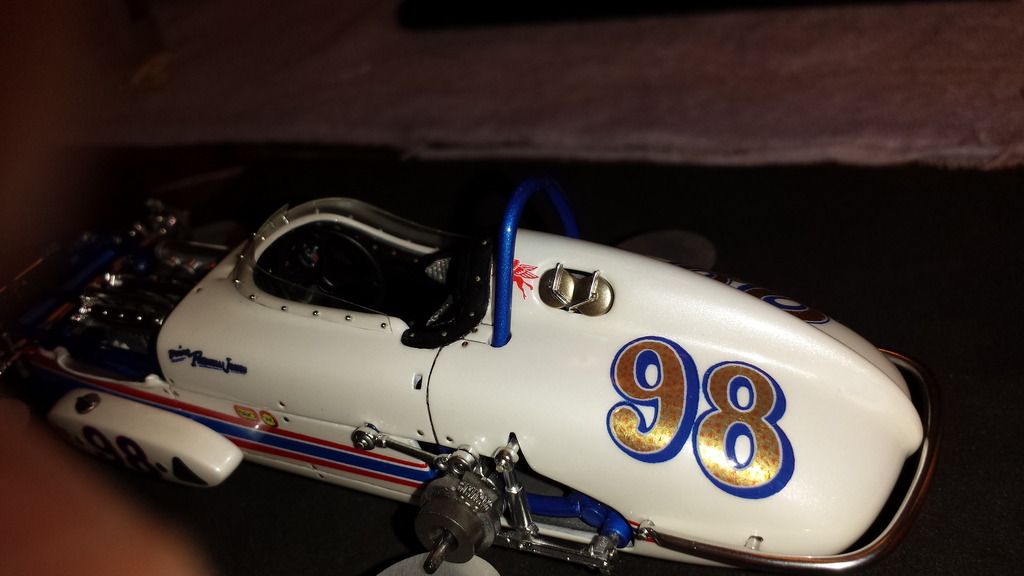 |
|
Deleted
Deleted Member
Posts: 0
|
Post by Deleted on Jul 20, 2016 22:28:27 GMT -5
Rear tires are attached with 5 minute epoxy. 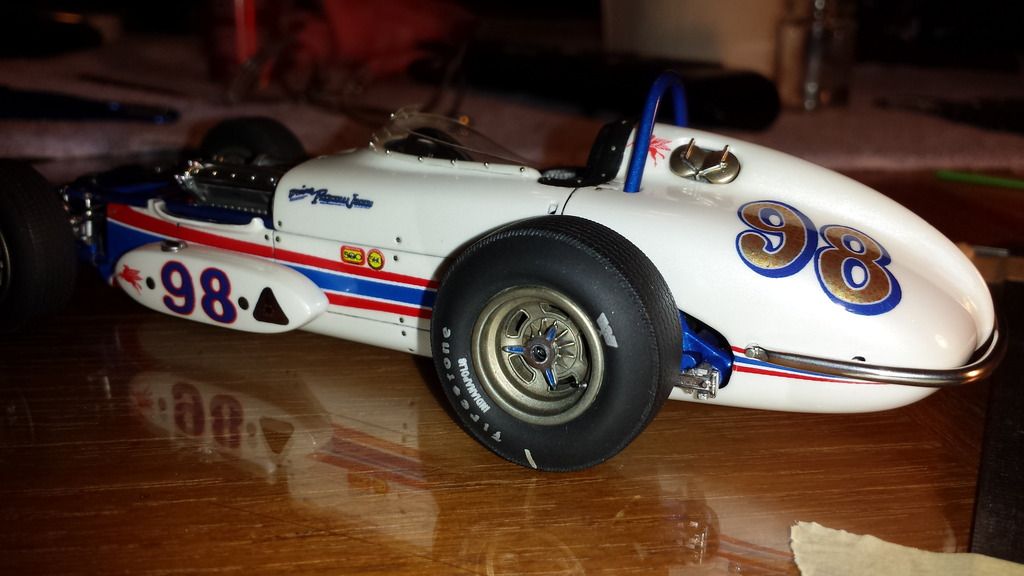 Since the wheels are exposed it's critical that they are straight (especially when it is judged at a contest) so lots of checking and rechecking while the epoxy cured. 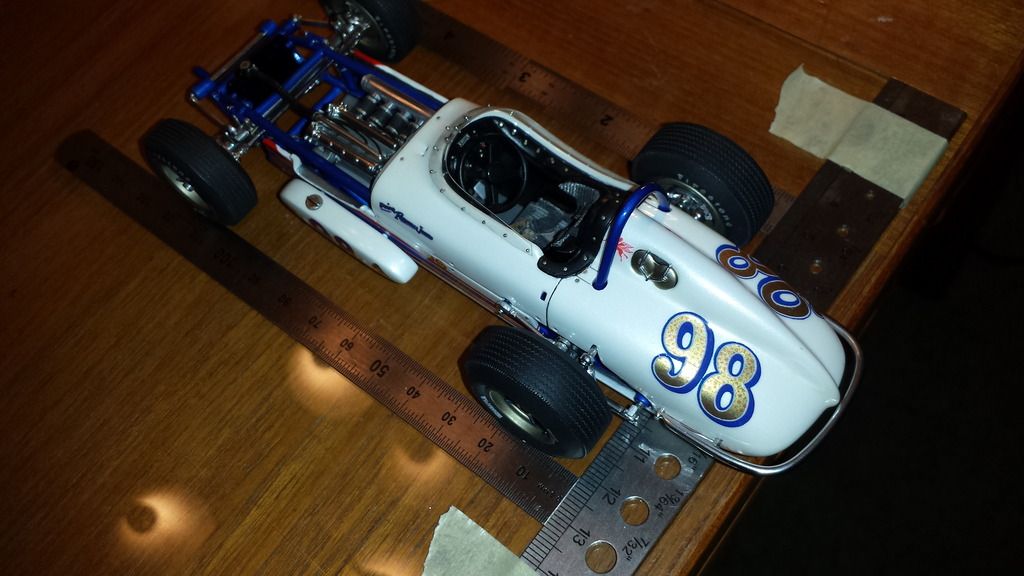 Front wheels and tires are installed.. 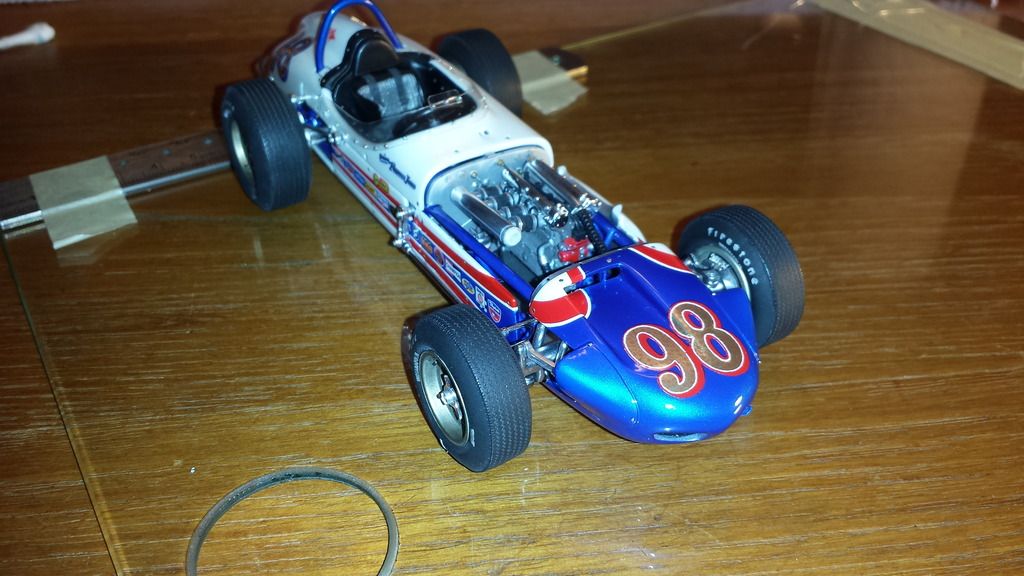 Header and exhaust pipe are permanently attached. 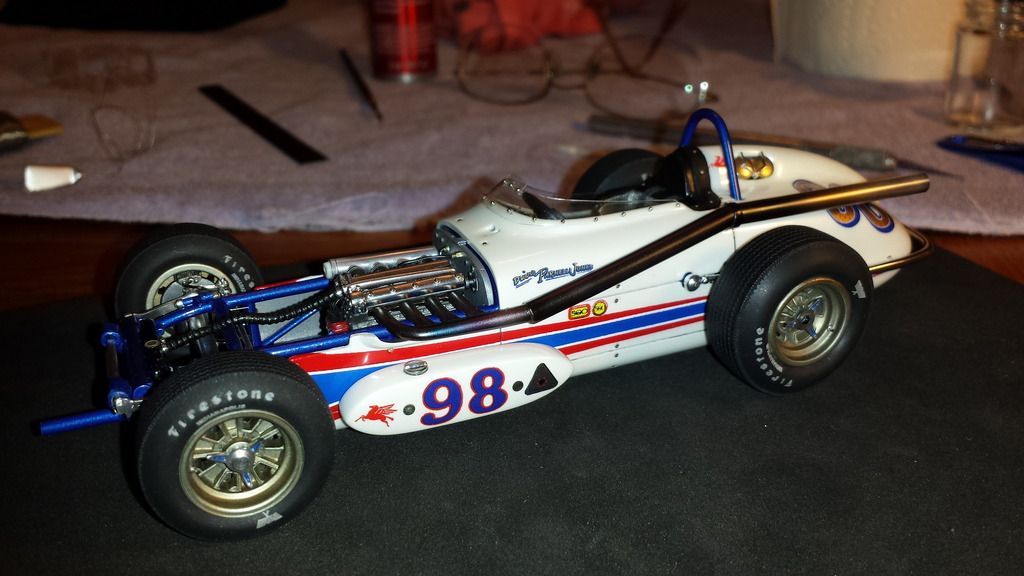 Close up of the header on the 255 Offy. I added photo etched bolts to the header. 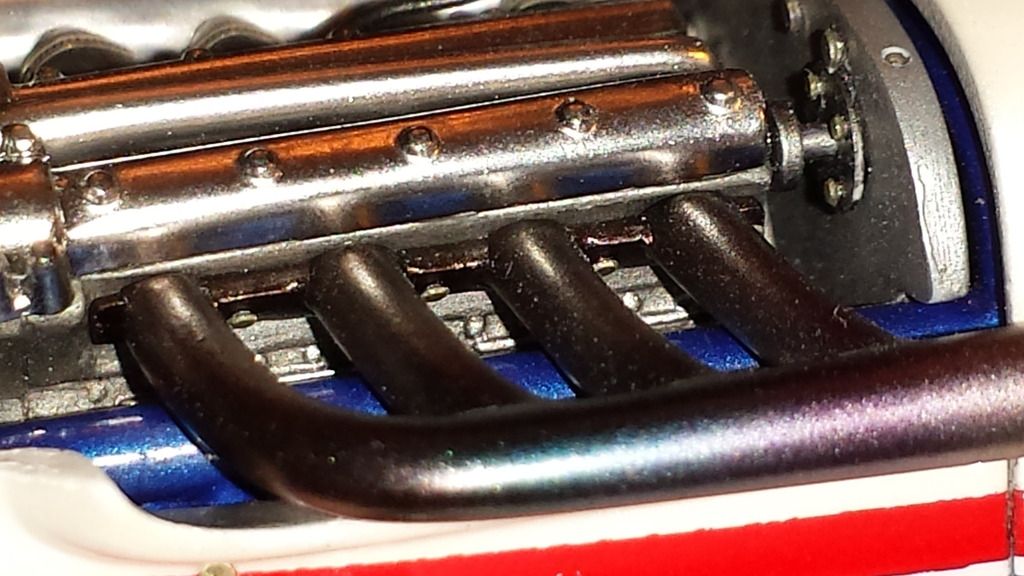 Tail pipe has the proper stance 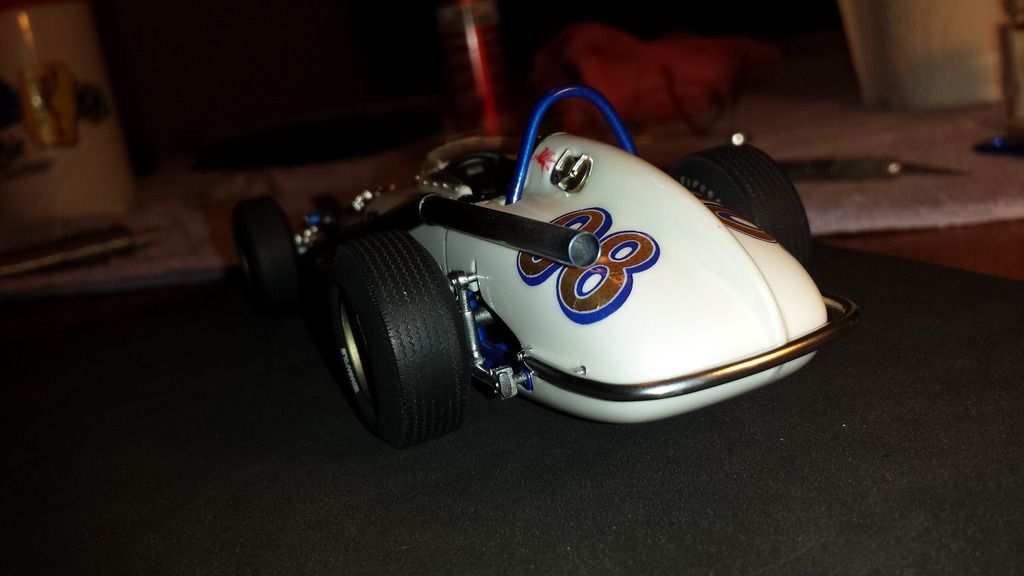 Last Item I reinstalled was the ram air scoop which I repainted with Alclad polished Aluminum. As I did not like the finish on it previously... 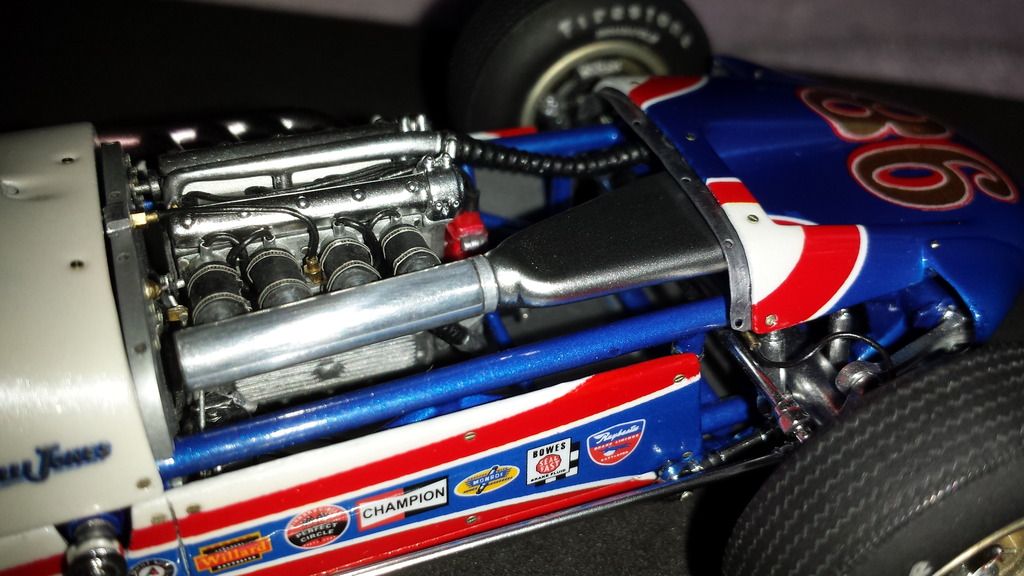 |
|
Deleted
Deleted Member
Posts: 0
|
Post by Deleted on Jul 20, 2016 22:28:55 GMT -5
|
|
|
|
Post by jj66 on Jul 21, 2016 1:35:33 GMT -5
That's a superb job! Cleaning all around
|
|
billj
Junior Member

Posts: 56 
|
Post by billj on Jul 21, 2016 11:53:19 GMT -5
Fantastic model of Ole Calhoun. Super detail and results. 2 years is a lot of investment, the result looks like fine jewelry. Congratulations on the final product, superb.
|
|
|
|
Post by Art Laski on Jul 21, 2016 11:57:24 GMT -5
Very nice, Andy! All that hard work paid off. It's a great looking model.
|
|
|
|
Post by herk56 on Jul 21, 2016 16:43:25 GMT -5
Just.....wow!
Brian
|
|


